
Introduction
Follow this guide to remove and replace the power supply on a PlayStation 5.
Before you begin, completely power down and unplug all cables from your console. Remember to follow general electrostatic discharge (ESD) safety procedures while repairing the console.
-
-
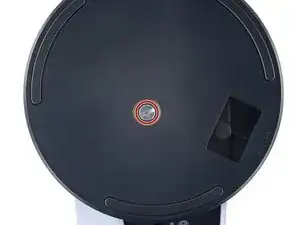
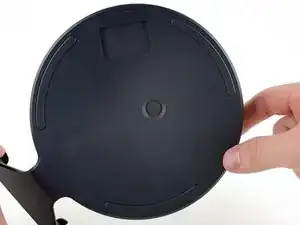
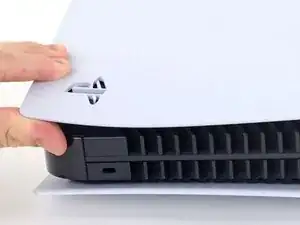
If your PlayStation 5 is in its vertical orientation, flip it upside down so the stand is facing up.
-
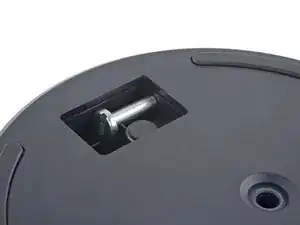
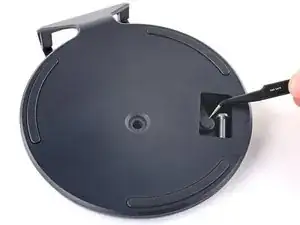
Use a coin or a flathead screwdriver to remove the 26.5 mm-long stand screw.
-
-
-
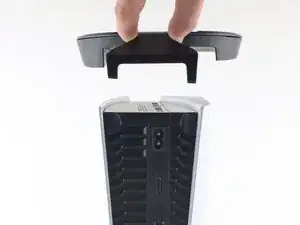
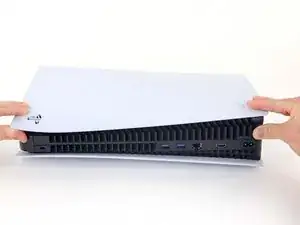
If your PlayStation 5 is in its horizontal orientation, rest it on its face with the charging port facing up.
-
Lift the stand straight up to remove it.
-
-
-
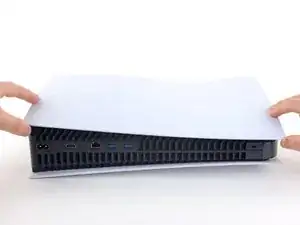
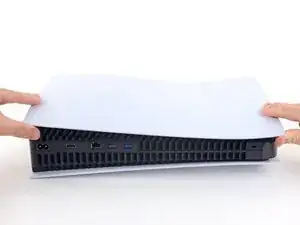
Flip the device over so that the USB and ethernet ports are on the left side from your perspective.
-
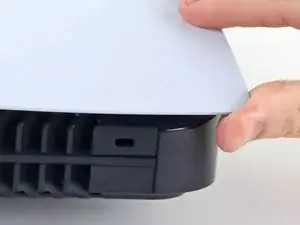
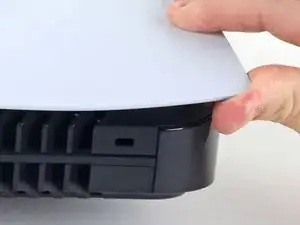
Lift up the corner of the faceplate to unclip it from the case.
-
-
-
While lifting up the corner, slide the faceplate towards the bottom of the device.
-
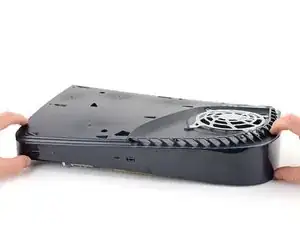
Remove the right faceplate.
-
-
-
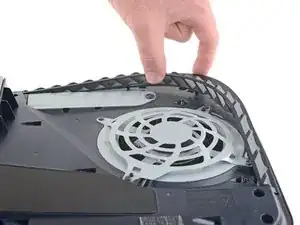
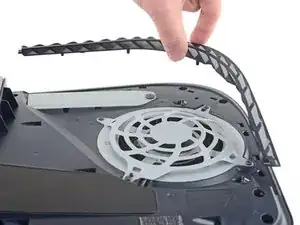
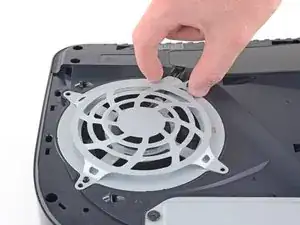
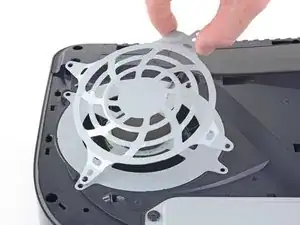
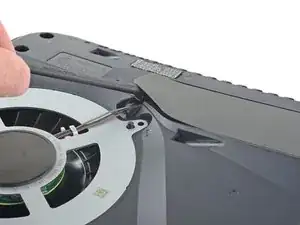
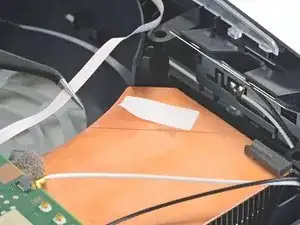
Insert the flat end of a spudger underneath the grille and into the gap above the fan.
-
Lift up with the spudger to pry the grille away from the case.
-
-
-
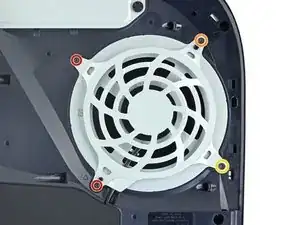
Use a TR8 Torx security driver to remove the four screws securing the fan shroud to the case:
-
Two 23.3 mm-long screws
-
One 11.4 mm-long screw
-
One 31 mm-long screw
-
-
-
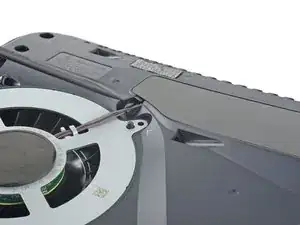
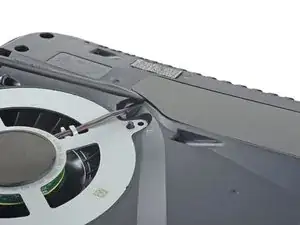
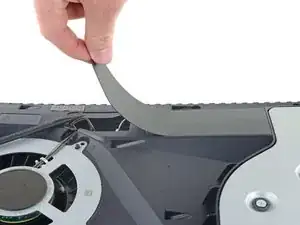
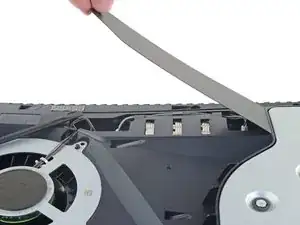
Insert the flat end of a spudger beneath the black wire cover and into the gap above the fan wires.
-
Use the spudger to peel up the wire cover until you can grip it with your fingers.
-
-
-
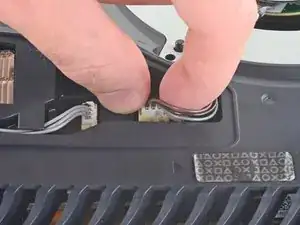
Use your fingers to grip the edges of the fan cable connector, and pull up to disconnect it from the motherboard.
-
-
-
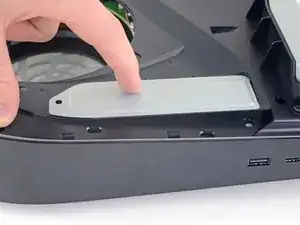
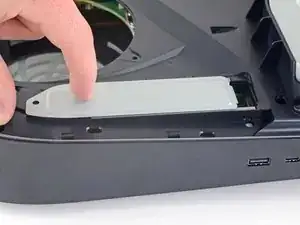
Use your finger to slide the SSD cover towards the top of the device to unclip it from the case.
-
Remove the SSD cover.
-
-
-
Use your fingers to grip the edges of the optical drive cable connector, and pull up to disconnect it from the motherboard.
-
-
-
Use your fingers to grip the edges of the optical drive cable connector, and pull up to disconnect it from the optical drive.
-
-
-
Use a T8 Torx driver to remove the eleven screws securing the case:
-
Six 18.6 mm-long screws
-
Two 23.3 mm-long screws
-
Two 43.2 mm-long screws
-
One 7.3 mm-long screw
-
-
-
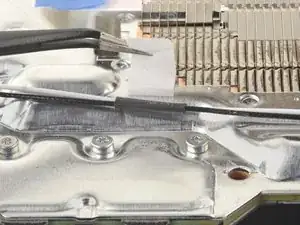
Use the flat end of a spudger to press down on the optical drive connector's metal locking tab.
-
With the metal tab depressed, use a pair of tweezers to pull the blue pull tab directly away from the connector to disconnect the cable from the optical drive.
-
-
-
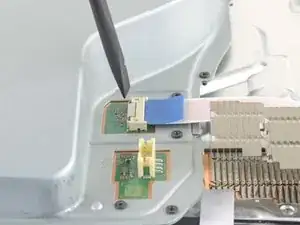
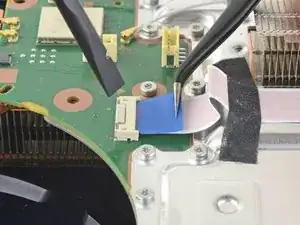
Use a pair of tweezers to pull the blue pull tab directly away from the connector to disconnect the power and eject button ribbon cable.
-
-
-
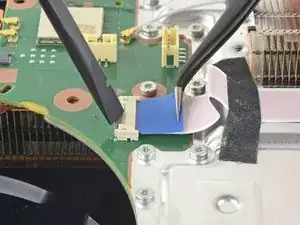
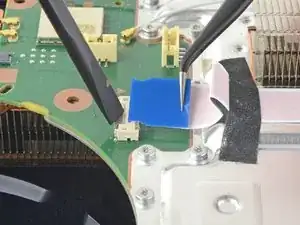
Use a pair of tweezers to pull the blue pull tab directly away from the connector to disconnect the LED ribbon cable.
-
-
-
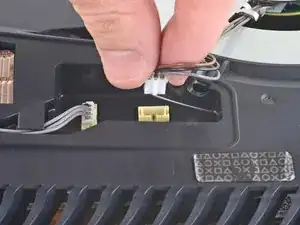
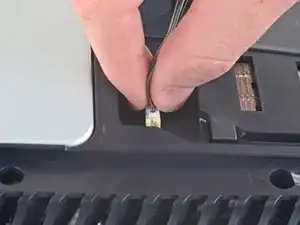
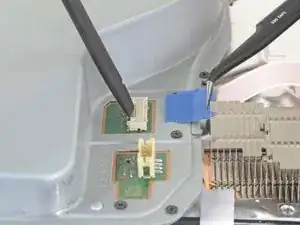
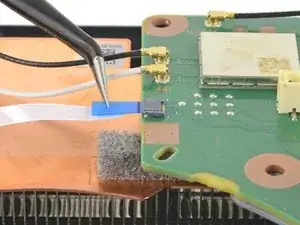
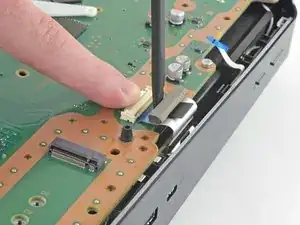
Use a pair of tweezers to grip the white Wi-Fi antenna wire at its metal base, as close to the connector as possible.
-
Lift the wire's connector straight up to disconnect it from the motherboard.
-
Repeat for the black Wi-Fi antenna wire.
-
-
-
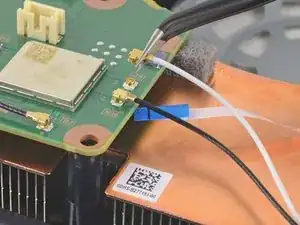
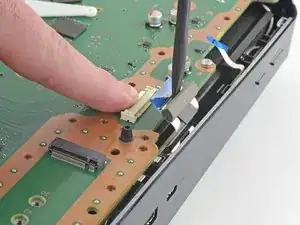
Use a pair of tweezers to grip the black or blue power supply antenna wire at its metal base, as close to the connector as possible.
-
Lift the wire's connector straight up to disconnect it from the motherboard.
-
Repeat for the white power supply antenna wire.
-
-
-
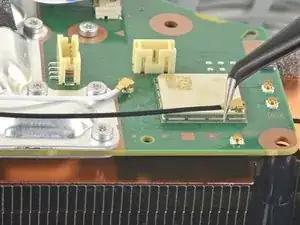
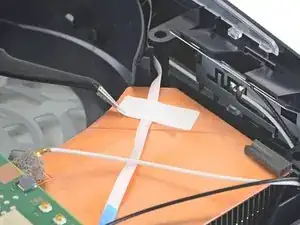
Use a pair of tweezers to peel back the white sticker holding the antenna wires to the top shield plate.
-
Remove the antenna wires from underneath the sticker.
-
Press the white sticker back down onto the top shield plate so it can be reused.
-
-
-
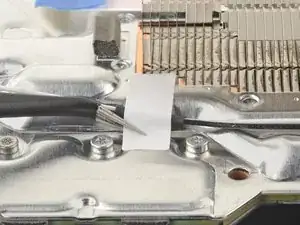
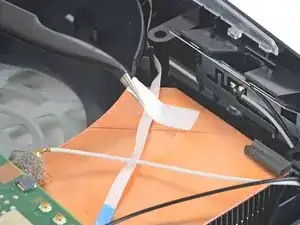
Use a pair of tweezers to peel back the white sticker holding the LED ribbon cable to the heat sink.
-
Remove the LED ribbon cable from underneath the sticker.
-
Press the white sticker back down onto the heat sink so it can be reused.
-
-
-
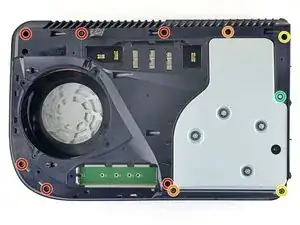
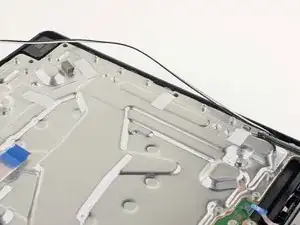
Use a T8 Torx driver to remove the forty-two screws securing the top shield plate:
-
Forty-one 7.3 mm-long screws
-
One 43.2 mm-long screw
-
-
-
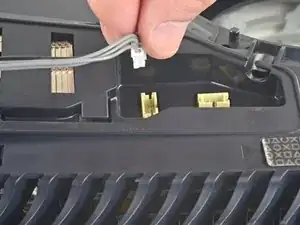
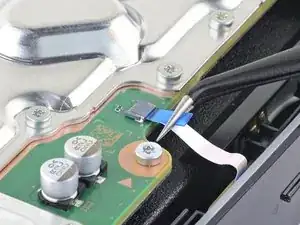
Use your finger to depress the metal locking tab on the USB board cable's board connector.
-
With the metal tab depressed, place the flat end of a spudger against the insulating foam pad on the ribbon cable and pull it directly away from the connector to disconnect it.
-
-
-
While lifting up the corner, slide the faceplate towards the bottom of the device.
-
Remove the left faceplate.
-
-
-
Use a Torx T8 driver to remove the two 29.4 mm-long screws securing the case to the motherboard and heat sink assembly.
-
-
-
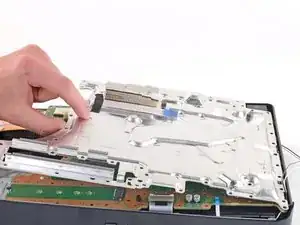
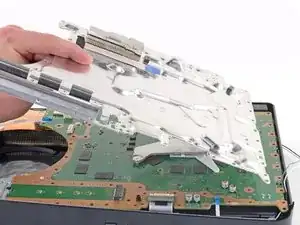
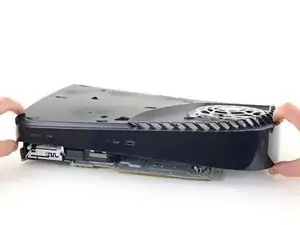
Lift the front edge of the case off of the motherboard and heat sink assembly.
-
With the front edge elevated, push the case back, away from the motherboard and heat sink assembly, to maneuver the charging port out of its slot in the case.
-
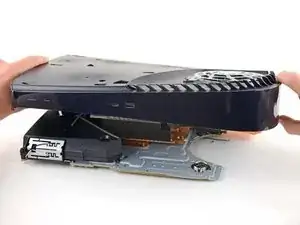
Remove the case.
-
-
-
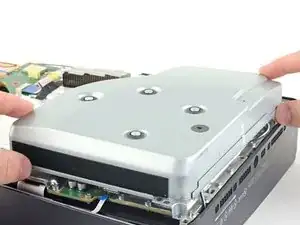
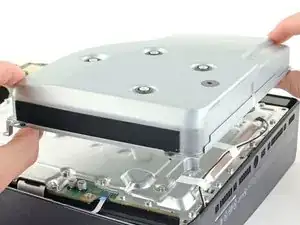
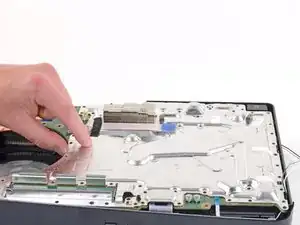
Use a finger to hold the rear shield plate down against the work surface.
-
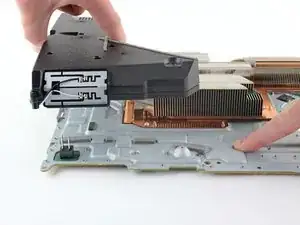
Grip the power supply and lift it straight up to disconnect it from the motherboard.
-


To reassemble your device, follow these instructions in reverse order.
Take your e-waste to an R2 or e-Stewards certified recycler.
Repair didn’t go as planned? Try some basic troubleshooting, or ask our PlayStation 5 Answers community for help.

18 comments
Is there any place to buy a replacement power supply?
anon -
So I started with a dead PS5. I had another power supply laying about but from a different revision. I replaced the power supply with said other power supply that works. When I put it back together still no power. Does each revision used a different power supply or would it be the same?
i’m having the same problem, did you ever get it to work?
abrey -