Introduction
For the updated iFixit guide, click here. This guide has been archived for historical purposes.
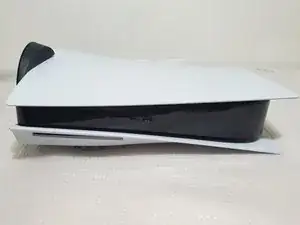
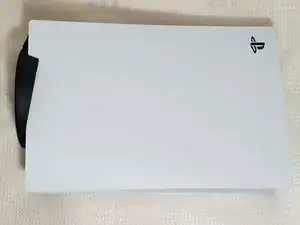
If you are looking to replace or remove your PlayStation 5 console (Blu-Ray Edition) faceplates, then this guide is for you.
A PlayStation 5 is a gaming console with removable or replaceable faceplates, which allows people to customize or upgrade their console. Since the PlayStation 5 console originally comes with faceplates vulnerable to dust and scratches, people can replace them with newer ones with better visuals and features. The newer versions of the PlayStation 5 console side plates can be found over here.
As a result, this guide demonstrates how to remove and replace your PS5 console’s faceplates, which allows people to not only place the new faceplates of their choice but also clean the interior of their console. For information on how to clean the PS5 console’s interior, you can follow the instructions here.
You can also use this guide to replace or remove the faceplates from your PlayStation 5 console (Digital Edition).
Parts
-
-
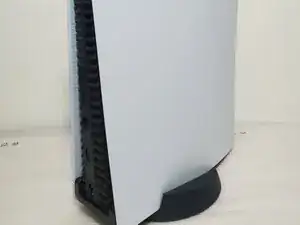
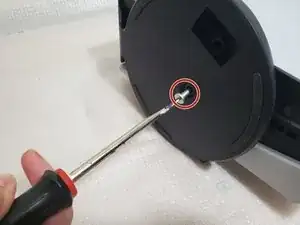
Remove the PS5 stand from the console by unscrewing a slotted flat head screw located at the bottom of the stand with a slotted screwdriver.
-
-
-
After unscrewing, use your hand to lift the PS5 console from one side.
-
Use your other hand to remove the PS5 stand.
-
-
-
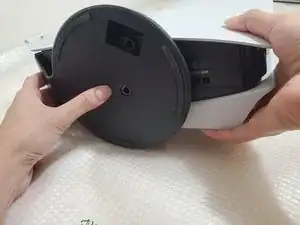
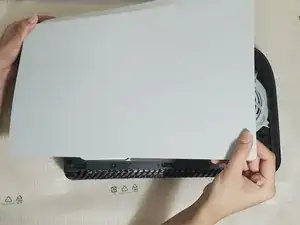
Using your fingers, pull the side plate upwards from the corner of the PlayStation logo.
-
While pulling up the side plate, use your other hand on the opposite corner of the PlayStation logo to push the side plate down until you hear a click sound.
-
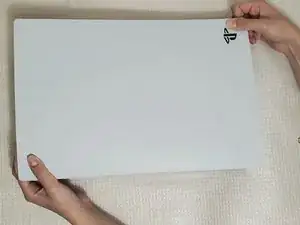
Remove the side plate from the PS5 console.
-
-
-
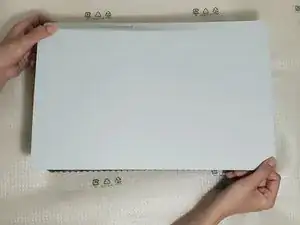
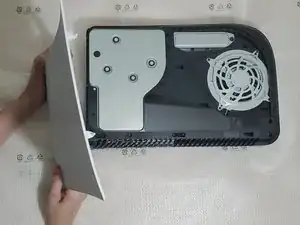
Using your fingers, pull up the faceplate from the bottom right corner while using your other hand at the opposite corner to push the side plate downwards.
-
Attempt this until you hear a click sound.
-
Remove the side plate from the PS5 console.
-
-
-
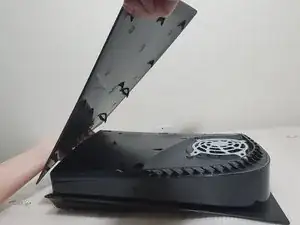
Use your hand to push the plate from the bottom while pulling up one of the corners of the side plate on the opposite side.
-
Repeat the previous step for the other side plate.
-


To reassemble your device, follow these instructions in reverse order.