
Introduction
The official guide has been updated and can be found here. This guide is archived for historical purposes.
If your controllers no longer work from long distances you might have a broken WiFi antenna.
Be aware that any replacement or teardown beyond the hard drive voids the Sony warranty.
*You are using this guide at your own risk. TronicsFix take no responsibility and will not be held liable for any damages that may occur while using this guide.
-
-
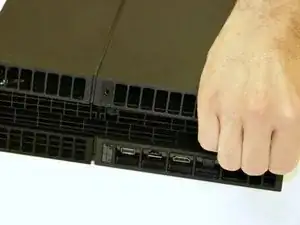
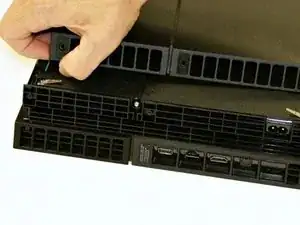
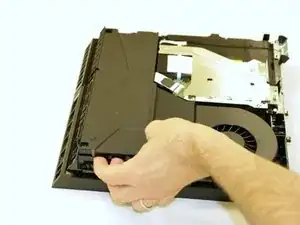
Pull up on one side of the case, then the other then slide the case back. It will then be free from the rest of the console.
-
-
-
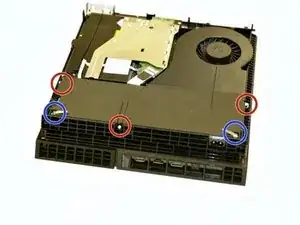
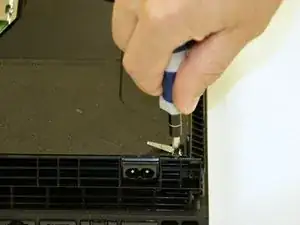
Remove the five screws that secure the power supply. There are two PH1 and three T9 torx security screws.
-
-
-
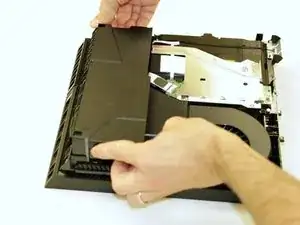
First pull up on one side of the power supply, then pull up on the other side. Gently but firmly wiggle it out.
-
Be careful as you pull up on the power supply as it is still connected with a connector from the motherboard.
-
-
-
The power supply can lifted out and rotated down and set on the workbench.
-
Be very careful not to pull on the power supply as it will still be connected to the motherboard.
-
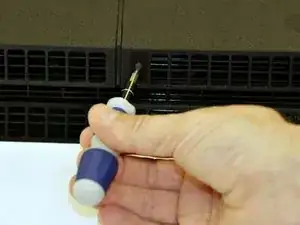
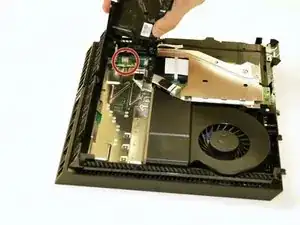
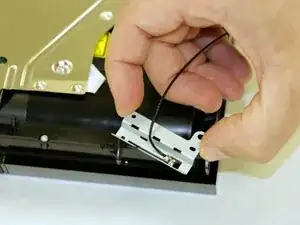
Use ESD-safe tweezers to carefully disconnect the wi-fi antenna by pulling it straight up.
-
Be be careful not to apply too much force on the WiFi connector as it can break off.
-
After the WiFi cable is disconnected, de-route the cable from the two clips and under the optical drive cable.
-
-
-
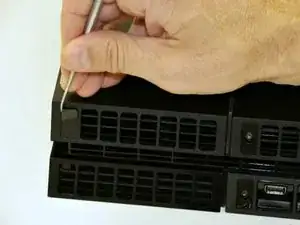
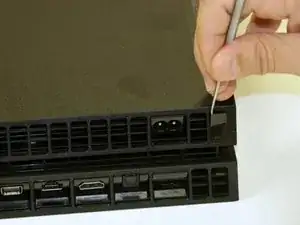
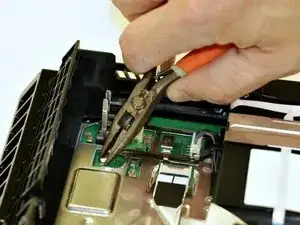
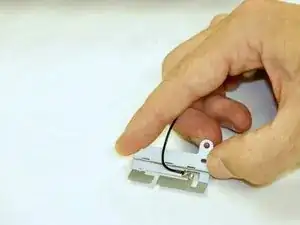
Remove the one torx T9 security screw from the WiFi antenna located at the front of the console.
-
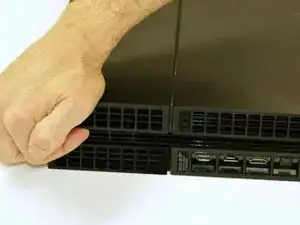
The WiFi Antenna can now be fully removed from the PS4.
-


To reassemble your device, follow these instructions in reverse order.
Be sure to route the WiFi antenna cable the same way as it was routed before disassembly. Then take a break and have some ice cream!
