
Introduction
The official guide has been updated and can be found here. This guide is archived for historical purposes.
This step-by-step procedure will allow the reader to get to and replace the optical drive responsible for reading the disc. Be aware that any replacement or teardown beyond the hard drive voids the Sony warranty.
Parts
-
-
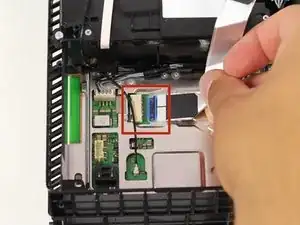
Disconnect the ribbon wire from the optical drive by pressing down on the metal release tab and gently pulling the ribbon wire. This should not require force.
-
-
-
Disconnect the same ribbon wire from the motherboard; making sure you're pressing down on the metal release tab and gently pulling the ribbon wire.
-
-
-
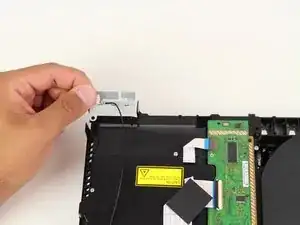
Remove the four 9mm Torx T9 screw attached to the wifi antenna and optical drive.
-
Remove the 5mm Phillips head #1 screw.
-
-
-
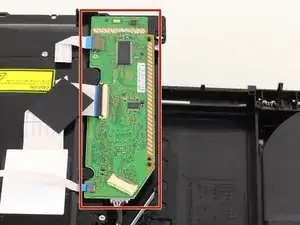
The optical drive assembly can now be lifted straight up and removed from the system. Do not discard the daughter board.
-


To reassemble your device, follow these instructions in reverse order.