
Introduction
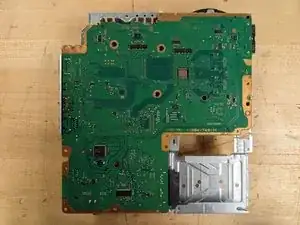
This guide will show you how to access and replace the thermal paste of a Sony PlayStation 3 Slim console (CECH-3001B), also referred to as the PS3. This guide is designed to teach general console maintenance techniques.
Thermal paste helps to eliminate air gaps or spaces from the Central Processing Unit (CPU) and Graphics Processing Unit (GPU) on the console's motherboard to maximize heat transfer and heat dissipation within the console. You may need to replace the thermal paste for a device if it begins to repeatedly overheat during normal operation, so knowing how to access it can help save time and money.
Before following this guide, make sure your PS3 console is powered off and disconnected from any external power source.
Be sure to wash your hands thoroughly right after handling the thermal paste.
-
-
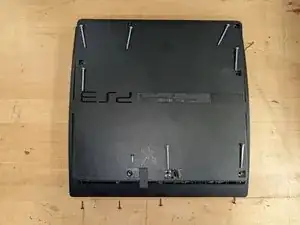
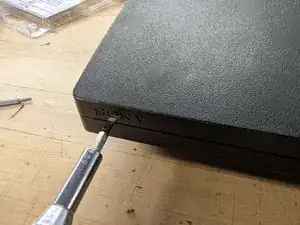
Flip the console over to remove each screw from the console's underside casing.
-
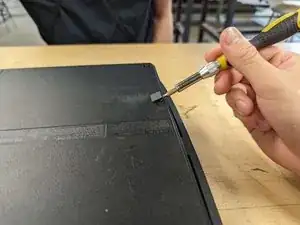
Use a spudger to gently pry open and remove the screw covers. Use a Phillips #0 screwdriver to remove the screws underneath the screw covers.
-
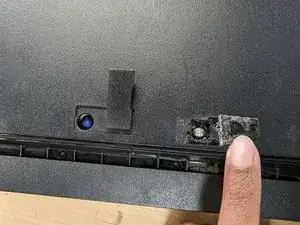
Use a Phillips #0 screwdriver to remove the screw underneath the console's void warranty sticker.
-
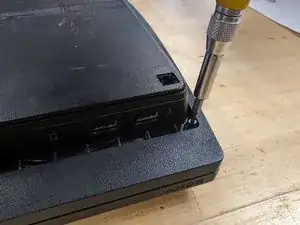
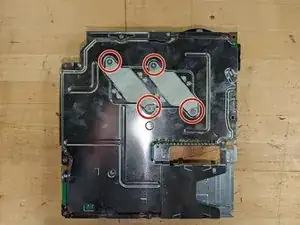
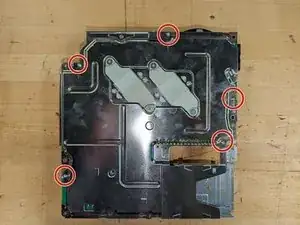
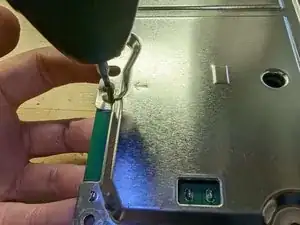
Use a Torx #8 screwdriver to remove the four screws along the edge of the console.
-
-
-
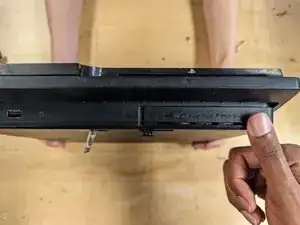
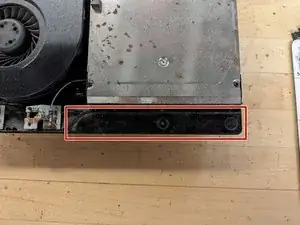
Flip the console over and remove the console's hard drive panel. Press firmly on it with your thumb and slide it to the right to unlatch it.
-
-
-
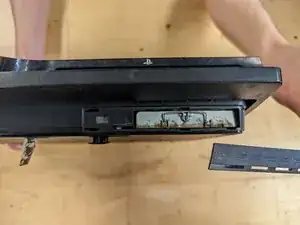
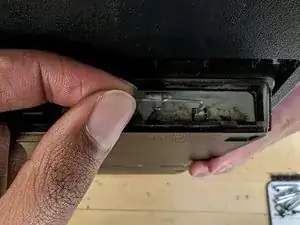
Use your thumb and index finger to angle the latch of the hard drive away from the console.
-
Pull the entire drive out of the slot.
-
-
-
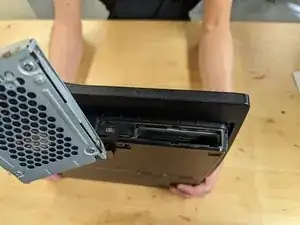
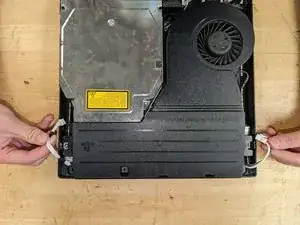
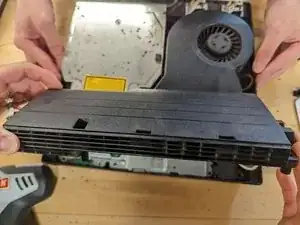
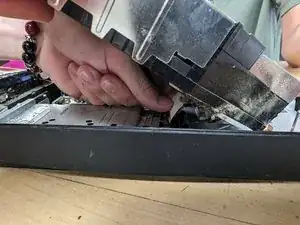
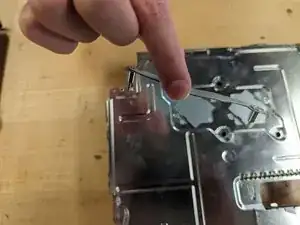
Place the console down. Use a spudger to gently pry open the left side of the console while lifting the right side with your hands.
-
-
-
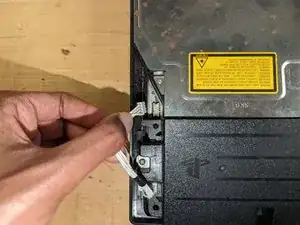
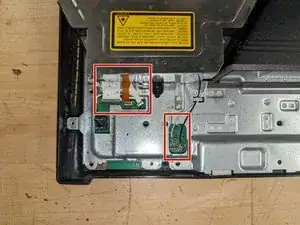
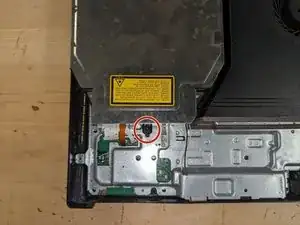
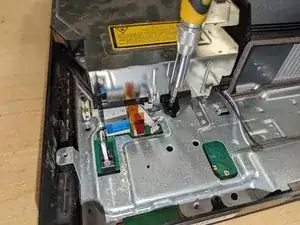
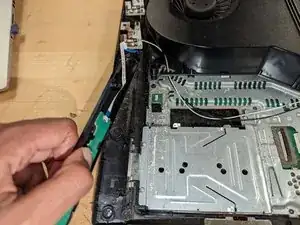
Use a spudger to unsnap the black and white coaxial cables from their sockets on the motherboard. Pry them off by lifting them close to the point they are attached, applying little force.
-
-
-
Rotate the console 180°. Lift the console's button tray by its curved edge and use a spudger under it to pry it out. It will pop off this way.
-
-
-
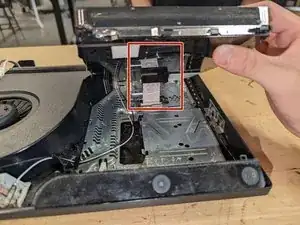
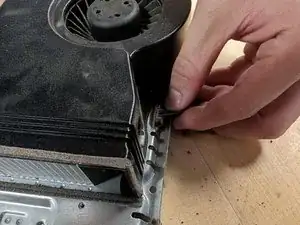
Gently lift the disk reader.
-
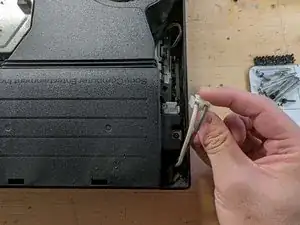
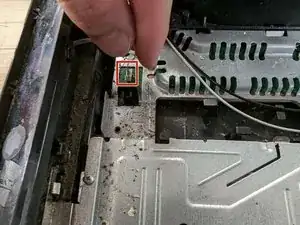
Carefully reach underneath to detach the cable from the motherboard.
-
-
-
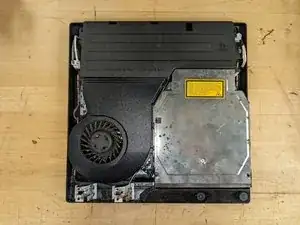
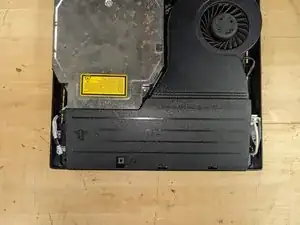
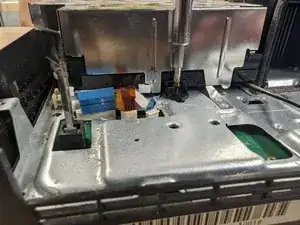
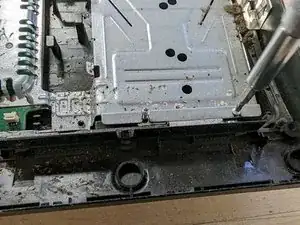
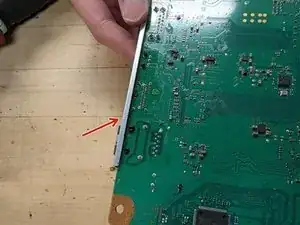
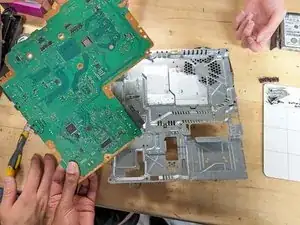
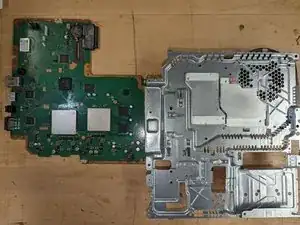
Separate the motherboard from the rear portion of the assembly case.
-
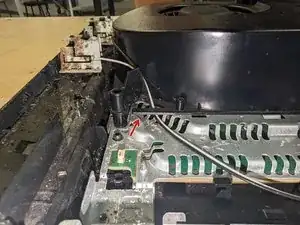
Watch out for the curved portion of the rear assembly indicated. This has slots for various ports on the motherboard. When lifting the motherboard, you may need to move it away from this piece for it to freely come loose.
-
-
-
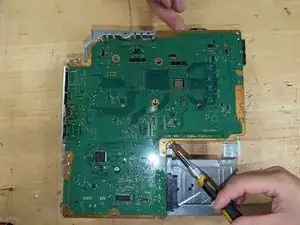
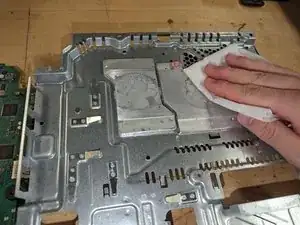
Use Isopropyl Alcohol with napkins or Alcohol wipes to gently clean off the old thermal paste on the heat sinks, Central Processing Unit (CPU), and Graphics Processing Unit (GPU).
-
-
-
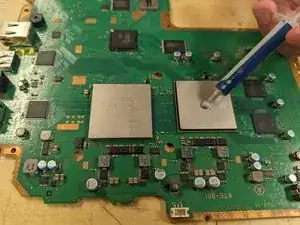
Apply about half a gram of Thermal Paste onto the center of the Central Processing Unit (CPU) and another half a gram on the Graphics Processing Unit (GPU).
-
-
-
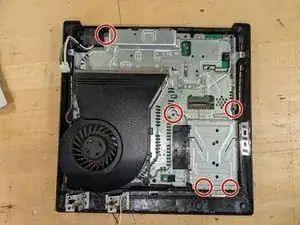
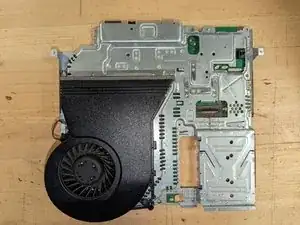
Place the motherboard back into the case. Line up the processing units to the heat sink as shown.
-


To reassemble your device, follow these instructions in reverse order, starting from Step 22.
2 comments
Hola podria aclarar donde van los termal pads!? Exelente información!
Very nice guide but just a small note for the cech 3001a model, most of the screws are Phillips 1 screws, and for the case screws and heat sink bracket screws, they are Phillips 2 screws. Also a trick for getting the disk drive back in, if you open the ribbon cable bracket that's under the drive, you can gravity feed the ribbon cable in until it bottoms out, then using a long thin spudger you can press the bracket down