
Introduction
Use this guide to replace your PlayStation 3 Slim's CR 2032 coin-cell PRAM battery.
-
-
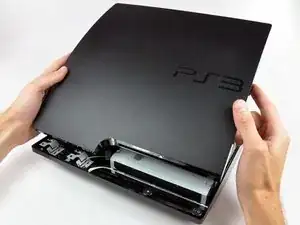
Turn the PS3 over and lay it on its backside.
-
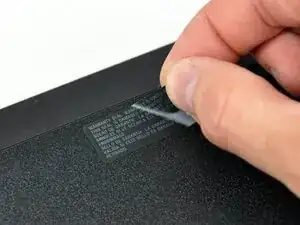
Carefully peel the warranty sticker up off the lower case to reveal a hidden screw cover.
-
-
-
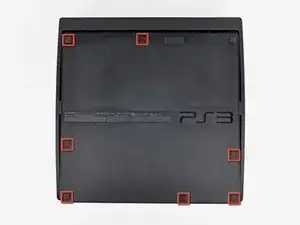
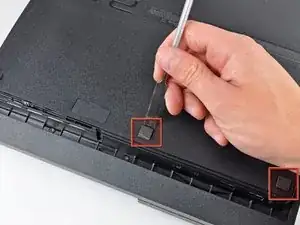
Use the flat end of a metal spudger to pry up the seven screw covers around the edge of the lower case.
-
-
-
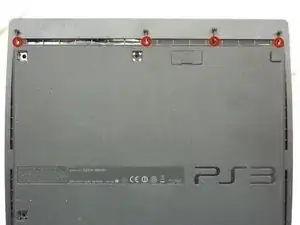
Remove the four 13.3 mm T8 security Torx screws beneath the Blu-ray drive opening. (Some models may only have three screws)
-
-
-
Lift the top cover from its rear edge and rotate it toward the front of the PS3.
-
Lift the top cover off the PS3.
-
-
-
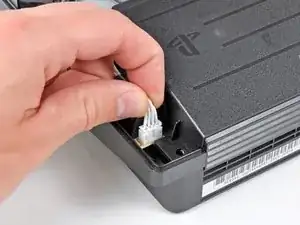
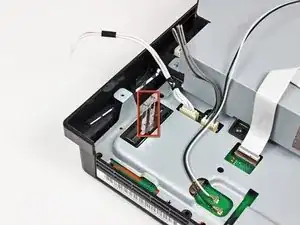
Squeeze the AC inlet connector's locking mechanism and pull straight up to disconnect it from the power supply.
-
-
-
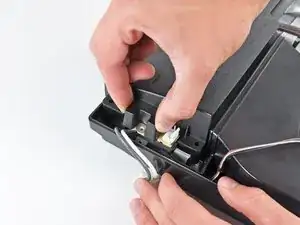
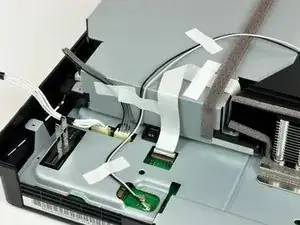
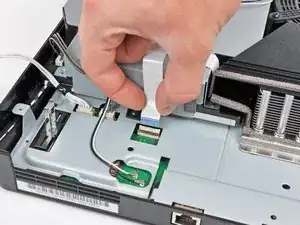
Pull the DC-Out cables straight up to lift their connector up and out of its socket on the power supply.
-
-
-
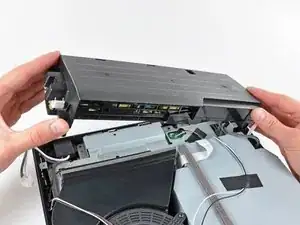
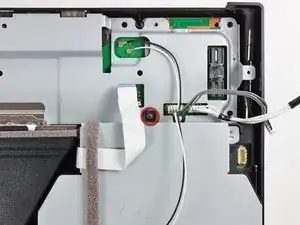
Continue to lift the left edge of the power supply until it lifts off the two metal posts shown in the second picture.
-
Remove the power supply from the PS3, minding any cables that may get caught.
-
-
-
Use the flat end of a spudger or your fingernail to flip up the retaining flap on the Blu-ray ribbon cable socket.
-
-
-
Pull the Blu-ray power cable straight up to lift its connector out of the socket on the Blu-ray drive.
-
-
-
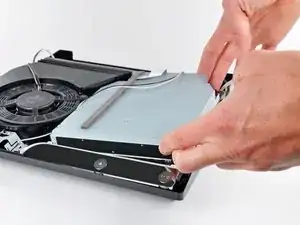
Lift the Blu-ray drive slightly by its right edge to dislodge the control board from its housing.
-
Remove the Blu-ray drive from the PS3.
-
-
-
While holding the plastic retainer down against the board, use the tip of a spudger to pry the PRAM battery out of its housing.
-


To reassemble your device, follow these instructions in reverse order.

9 comments
ATTENTION: This guide is not valid for PS3 slim CECH-3004B!
from the number 11 you notice that your ps3 is different.
The CECH-3004B version does not give direct access to the 2032 battery.
You must also disassemble the motherboard from the grid (and all the pieces that obstruct this operation)
It is possible but it is more difficult
I found this to be the case too. Did you end up replacing the battery? If so, how did you do it?
Same for CECH-2501A, I got the blu-ray drive out and was greeted by a battery covered by the metal shielding. Have to go deeper...
It is kind of hard to tell by the photo alone: The plus (flat) side of the battery must face up when you insert it.
hey i need serious help i opened my super slim to replace the battery and could not figure how to get it out thought off lifting the socket might allow me to replace the battey much to my horror now socket is torn from the motherborad my console is stuck in black screen and a day before i tried to update from safe mode still a black screen now if i turn on the console i know its waiting for to confirm update iniatlization can i update the console without cmos battery or shomhow cancel it and be able to boot into recovery again
Aidan -
Don’t even need to bother with the sticker anymore since SONY does not care what you do with them anymore.
Travis Wheeler -