
Introduction
Use this guide to replace the PlayStation 3 Slim's single cooling fan.
-
-
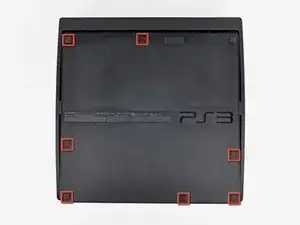
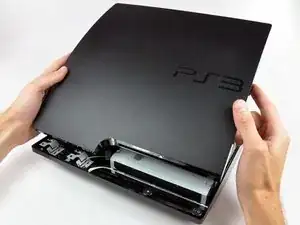
Turn the PS3 over and lay it on its backside.
-
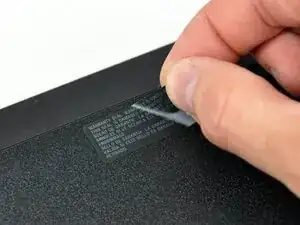
Carefully peel the warranty sticker up off the lower case to reveal a hidden screw cover.
-
-
-
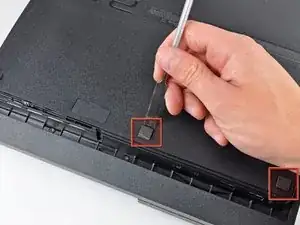
Use the flat end of a metal spudger to pry up the seven screw covers around the edge of the lower case.
-
-
-
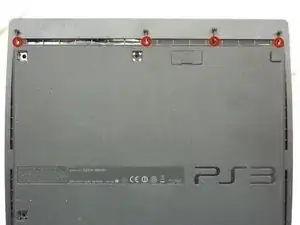
Remove the four 13.3 mm T8 security Torx screws beneath the Blu-ray drive opening. (Some models may only have three screws)
-
-
-
Lift the top cover from its rear edge and rotate it toward the front of the PS3.
-
Lift the top cover off the PS3.
-
-
-
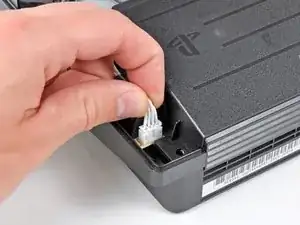
Squeeze the AC inlet connector's locking mechanism and pull straight up to disconnect it from the power supply.
-
-
-
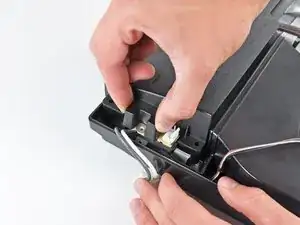
Pull the DC-Out cables straight up to lift their connector up and out of its socket on the power supply.
-
-
-
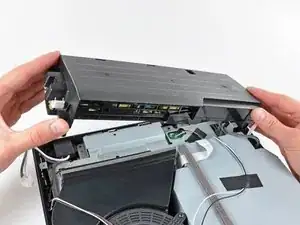
Continue to lift the left edge of the power supply until it lifts off the two metal posts shown in the second picture.
-
Remove the power supply from the PS3, minding any cables that may get caught.
-
-
-
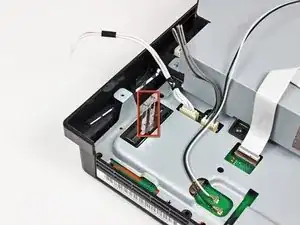
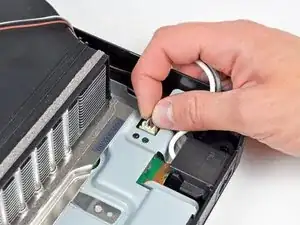
Pull the fan cables upward to lift the fan connector up and out of its socket on the motherboard.
-


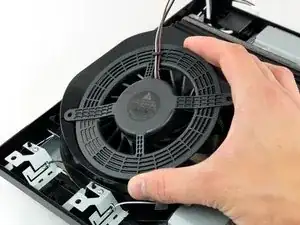
To reassemble your device, follow these instructions in reverse order.

One comment
Andrew, excellent prestation.
Don’t even need to bother with the sticker anymore since SONY does not care what you do with them anymore.
Travis Wheeler -