Introduction
After a few years, the clock battery in your PlayStation 2 gets empty and the console can't save date and time anymore. This guide shows you how to replace the clock battery in your PS2.
Please note: This guide shows the European model (SCPH-90004). Some models with other region codes may not have a clock battery.
-
-
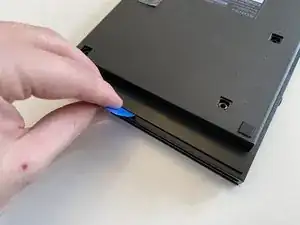
Turn off your PlayStation 2 and remove the disc and Memory Card.
-
Turn over the PlayStation 2 and put it on a soft surface (e.g. a towel).
-
-
-
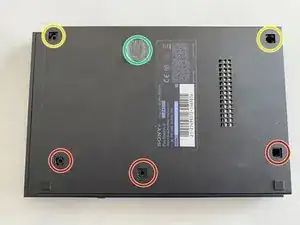
Locate the six covers.
-
Two are located underneath the feet.
-
One cover is located underneath the Void sticker.
-
-
-
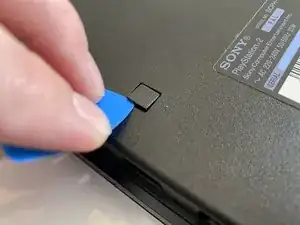
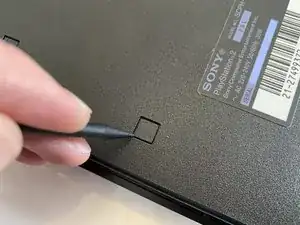
Remove the six Phillips #1 screws with a screwdriver.
-
The screws on the right are a bit deeper inside the shell as like the rest but are the same size.
-
-
-
Separate the clips at the front and the overhanging side from their mounting using a Prying Tool.
-
Separate the two halves.
-
-
-
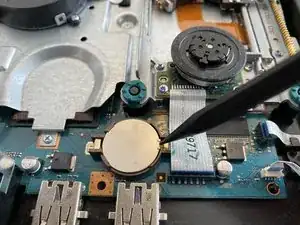
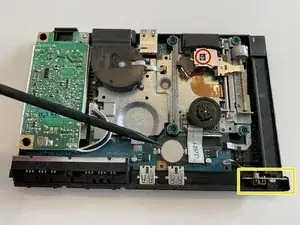
The clock battery is located under the drive.
-
Make sure that the sensor array for the on/off switch sits correctly when reassembling the device.
-
-
-
Pull away the metal mounting on the right to remove the old button cell.
-
Replace the old button cell/clock battery with a new button cell type CR 2032 with 3V of voltage.
-


To reassemble your device, follow the above steps in reverse order.

5 comments
Simple and easy to follow. I really do miss how straightforward it used to be to take apart game consoles.
Melsypoo -
Everything is okay but how I can extract drive?
Memozit -
Hey Memozit,
To remove the optical drive of the PS2 follow this guide: PlayStation 2 Slimline SCPH-900xx Optical Drive Replacement
Greetings
MrJulian
MrJulian -
I opened up my slim silver ps2 scph-90001, can't find the cmos battery anywhere. It's not under the fan, it's not under the motherboard. This is the American silver version. I have the replacement battery I just don't know where to put it.
Cory -
Hey Cory,
The PS2 shown in the guide is a European model (SCPH-90004) which has a CMOS battery. The guide mentions that other region models may not have a clock battery which could be the case on 01 models (Northern America).
Greetings
MrJulian
MrJulian -