Introduction

The power button is a switch used to turn the device on and off. The mode button changes how the toothbrush will vibrate. If you are having problems with either of these functions these buttons are likely the cause. There are small components in this guide so a steady hand is suggested to not damage other parts. Exercise caution when using the soldering iron as it is very hot.

  1. qHkJ4aTEWSqpkTG1
    qHkJ4aTEWSqpkTG1
    tYniFBs3Z3MZxeot
    oh1jx5RogS15XssJ
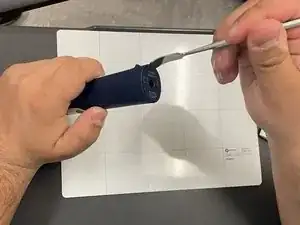
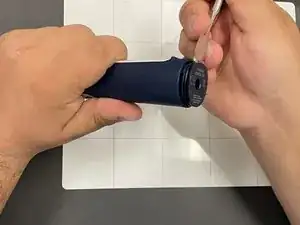
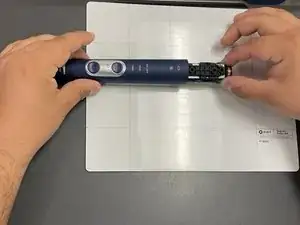
    • Pry the bottom cap away from the toothbrush body.

    • Pry the bottom cap away from the toothbrush body until it releases.

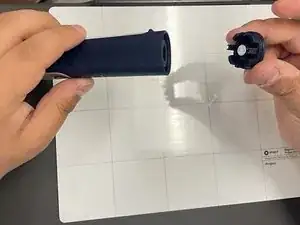
    • Remove the bottom cap by hand.

  2. sldqoYVPsHXVWGgU
    sldqoYVPsHXVWGgU
    tfHcdb5uyLghvqqP
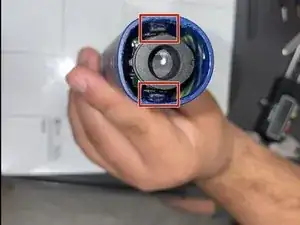
    • Use a metal spudger to release the two retaining clips inside the device.

    • The clips release when pried inward.

  3. AJ1qtmdDYDcNnDCv
    AJ1qtmdDYDcNnDCv
    VQL3PiAP1UQPSWdv
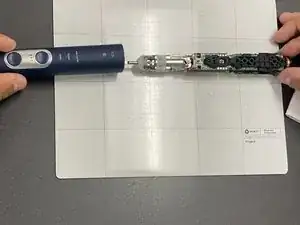
    • Slide the internal assembly out of the chassis.

  4. GxdBSUElVFONWPBN
    GxdBSUElVFONWPBN
    rL3TaM5VHSt51Jpw
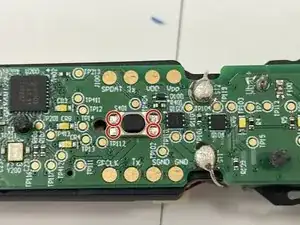
    • Locate the power button (solder locations circled in orange).

    • Locate the mode button (solder locations circled in red).

    • Both buttons are attached by four soldered pins each.

  5. 1KTiqcLRBXcQ64Rf
    1KTiqcLRBXcQ64Rf
    GQGKjLLC5cZOGRqH
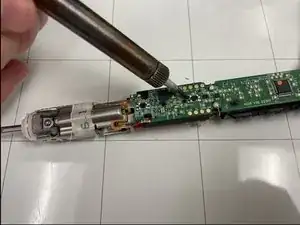
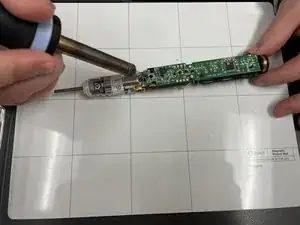
    • Heat the soldering iron.

    • Soldering can cause burns and fires. Always solder in a well-ventilated area.

    • To test if the soldering iron is ready, place on the solder and if the solder melts easily and quickly, your soldering iron is ready.

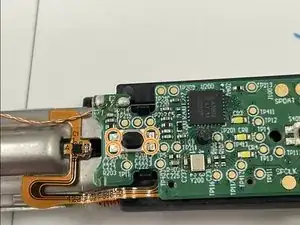
    • Use the soldering iron to desolder all of the connections.

  6. qWLfenDlR3u5ZZsG
    qWLfenDlR3u5ZZsG
    SHgiTiBDuLCHCMCO
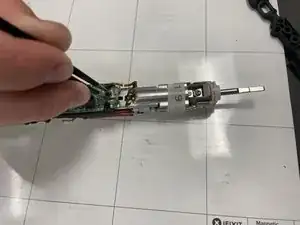
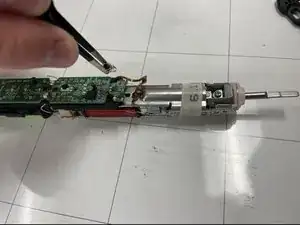
    • Use tweezers to remove the buttons from the board.

    • Place new button onto board and repeat previous steps in reverse to reassemble.

Conclusion

To reassemble your device, follow these instructions in reverse order.

Liam Casto

Member since: 01/04/24

354 Reputation

0 comments