Introduction

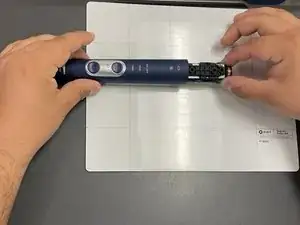
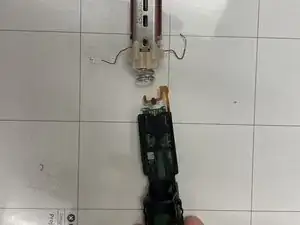
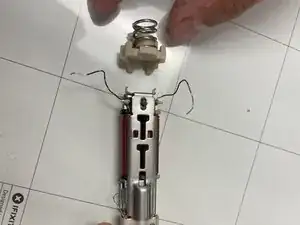
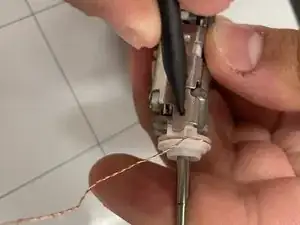
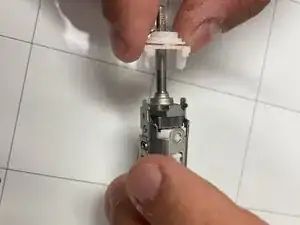
If your Philips Sonicare ProtectiveClean 6500 is showing signs of power (lights turning on) but the toothbrush does not begin to vibrate when the buttons are pressed, you may need to replace the motor. Replacement motors can be found online. This guide will walk you through the steps required to disassemble the toothbrush, remove the motor from the motherboard, and remove any necessary components to replace the motor.

  1. qHkJ4aTEWSqpkTG1
    qHkJ4aTEWSqpkTG1
    tYniFBs3Z3MZxeot
    oh1jx5RogS15XssJ
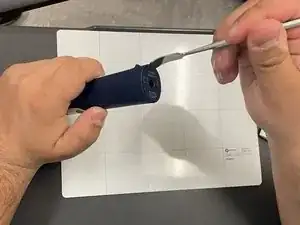
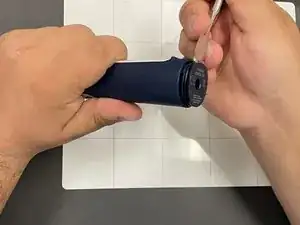
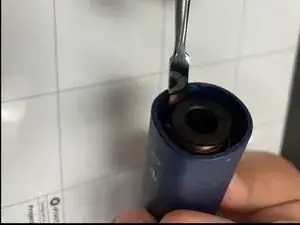
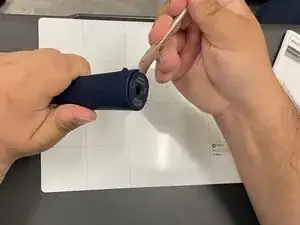
    • Pry the bottom cap away from the toothbrush body.

    • Pry the bottom cap away from the toothbrush body until it releases.

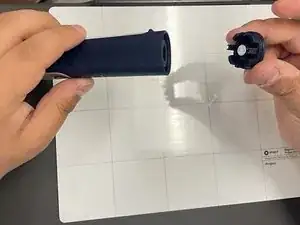
    • Remove the bottom cap by hand.

  2. sldqoYVPsHXVWGgU
    sldqoYVPsHXVWGgU
    tfHcdb5uyLghvqqP
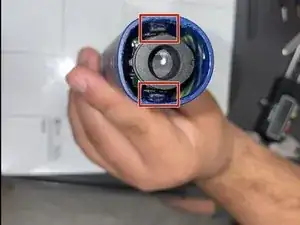
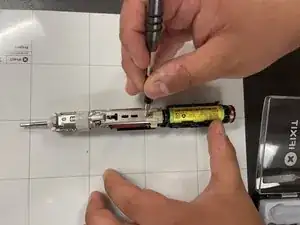
    • Use a metal spudger to release the two retaining clips inside the device.

    • The clips release when pried inward.

  3. AJ1qtmdDYDcNnDCv
    AJ1qtmdDYDcNnDCv
    VQL3PiAP1UQPSWdv
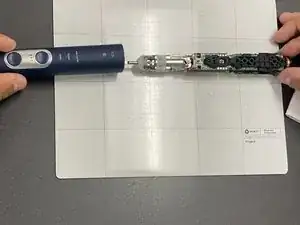
    • Slide the internal assembly out of the chassis.

  4. pxFGodYpFZumedGc
    pxFGodYpFZumedGc
    N1yv5FcYs56nAMJd
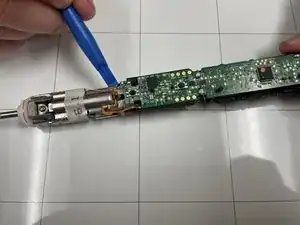
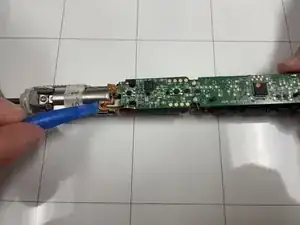
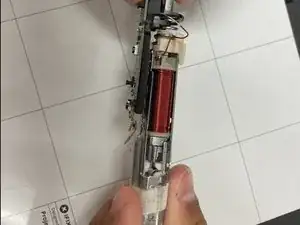
    • Use an opening tool to gently pry the ribbon cable away from metal motor chassis.

  5. l6fbHmRQ6aBfn2QP
    l6fbHmRQ6aBfn2QP
    4JqwZULPaKA2LOYi
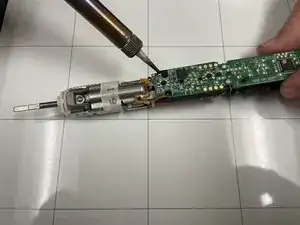
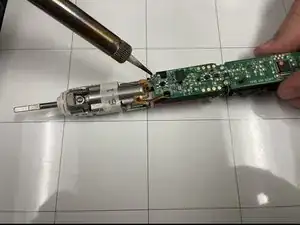
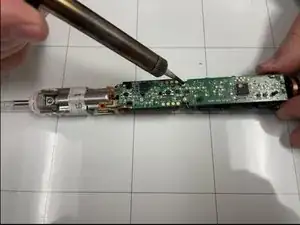
    • Locate the twisted copper wires feeding from the top of the motor to the upper corner of motherboard.

    • Desolder the contact points.

    • Soldering can cause burns and fires. Always solder in a well-ventilated workspace.

  6. L1PUNTkXri5JDvVK
    L1PUNTkXri5JDvVK
    KWLMKuAVDuaIhUA2
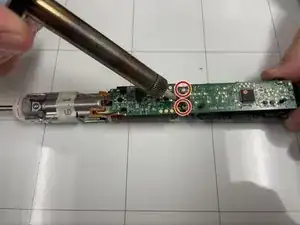
    • Desolder the two connections.

  7. Lf33HKK6vypuDtiE
    Lf33HKK6vypuDtiE
    Y2iRMYrOrELfKHkL
    • Turn the assembly over and remove the Phillips screw.

  8. d3qnJi5yXbMMb6JO
    d3qnJi5yXbMMb6JO
    rfDQ6QhLYSGCxTYj
    2ATWlkwHLObpNhgR
    • Pull the motherboard and motor gently away from the motor chassis.

  9. UrNoI6qWaXiavuJS
    UrNoI6qWaXiavuJS
    CB1uFTrmeMhVxIG5
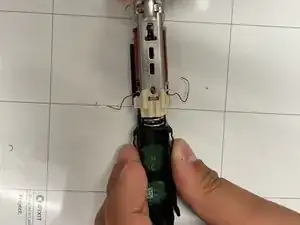
    • Use a pointed tool to push in the tabs on either side of the white assembly .

    • Pull the wire carrier off of motor chassis.

    • Swap it to the new motor chassis.

Conclusion

To reassemble your device, follow these instructions in reverse order.
Liam Casto

Member since: 01/04/24

354 Reputation

0 comments