Introduction
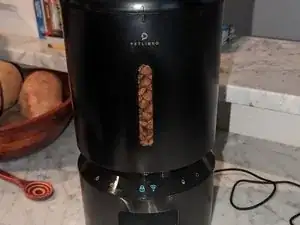
If you are being faced with the outlet blocked warning, which renders the device useless, even when the outlet is not blocked, this quick trick will bypass the infrared sensor entirely.
Support was helpful in warranty, and apparently they now have a firmware update they can push, which bypasses the sensor with software. If you're out of warranty this may be of assistance.
-
-
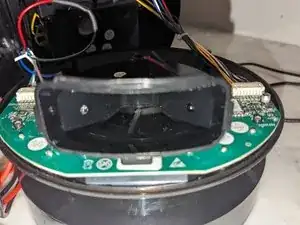
Take machine apart and remove all visible screws. You need a skinny, long screwdriver for this.
-
-
-
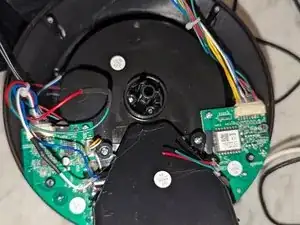
The infrared sensor has an emitting diode and a receiver. note the receiver on the right side. These are the wires we will clip and attach to each other.
-
-
-
Clip both wires leading to the receiver (green/red) and splice these together. This will bypass the infrared sensor.
-
-
-
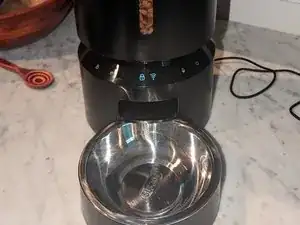
Validate that warning light is gone and device is functional before screwing everything together. We are done.
-
To reassemble your device, follow these instructions in reverse order.

One comment
Very helpful fix(the notation about screws’ location was key); worked perfectly. Expensive feeder is no longer a brick!
Talby -
It's worth pointing out that there are some screws under the rubber feet on the base, and these are the ones that need a long, skinny screwdriver.
Ewan Davies -