Introduction
-
-
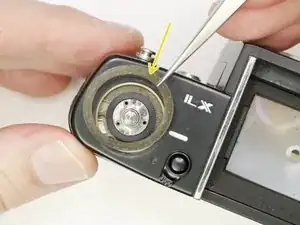
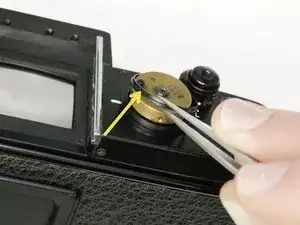
Place a thin tool in the rewind fork and unscrew the topside knob.
-
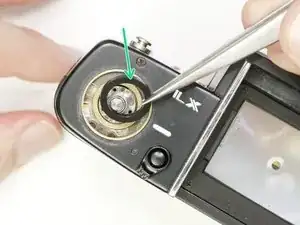
Remove the washer under the rewind knob.
-
-
-
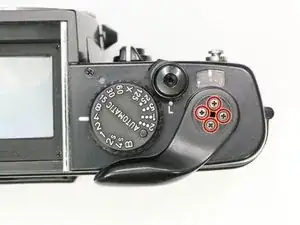
Remove three #000 5.5 mm screws.
-
Remove exposure compensation dial assembly.
-
Remove washer.
-
Remove rubber seal.
-
-
-
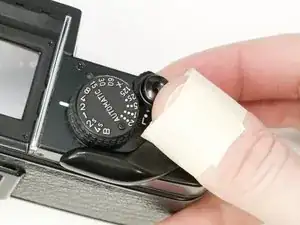
Use a piece of tape wrapped sticky side out to grip the winding lever cover. Turn clockwise to loosen and remove
-
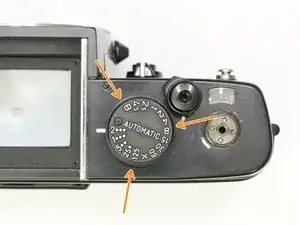
Remove four #000 2.5 mm screws.
-
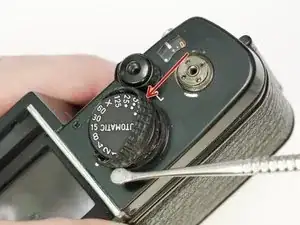
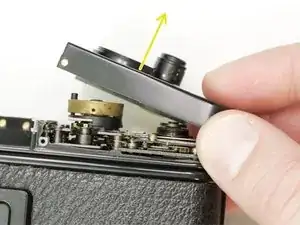
Use spanners to remove top cover retaining nut.
-
-
-
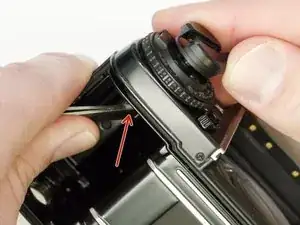
Gently remove the rubber covering around the shutter speed dial.
-
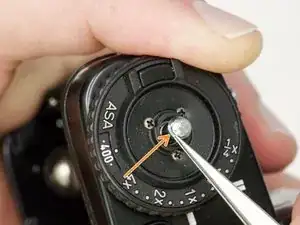
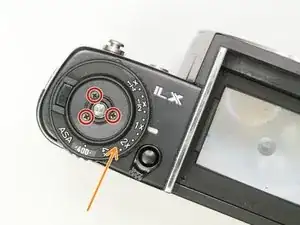
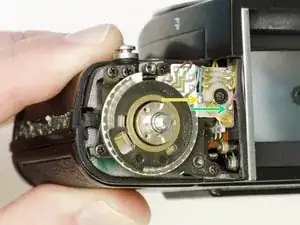
Remove three #000 1.6 mm screws.
-
Remove cover ring.
-
-
-
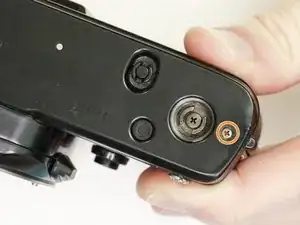
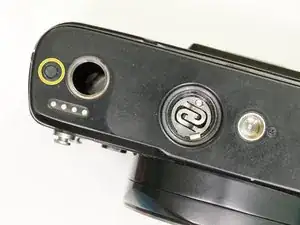
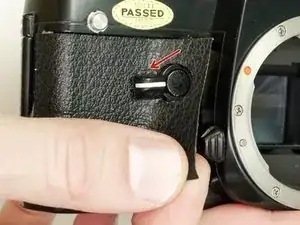
Remove the rubber bumper covering the screw.
-
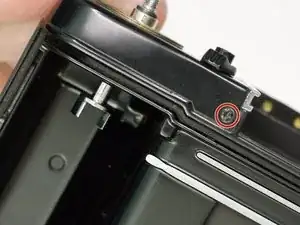
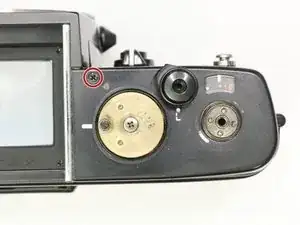
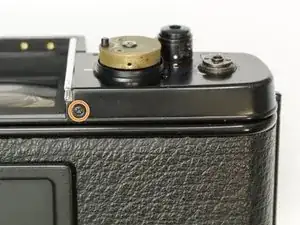
Remove one #00 1.8 mm screw.
-
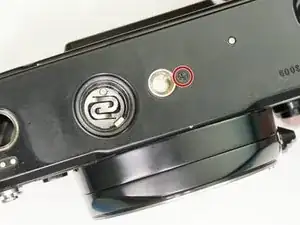
Repeat on the other side of the bottom plate (#00 3.0 mm screw).
-
-
-
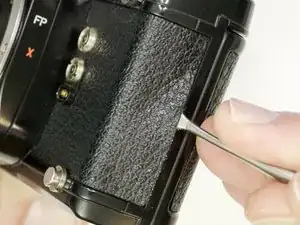
Use isopropyl alcohol to soften the adhesive along the edge of the leatherette.
-
Use a dull spudger or scraper to peel off the covering.
-
Turn the self timer lever to the 9 o'clock position.
-
Loosen the entire right side leatherette in the same manner, then work it over and around the self timer lever to remove.
-
-
-
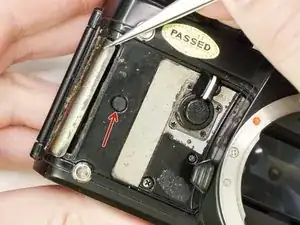
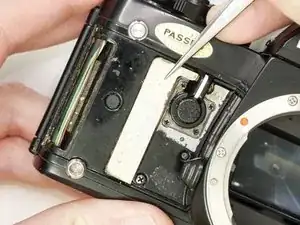
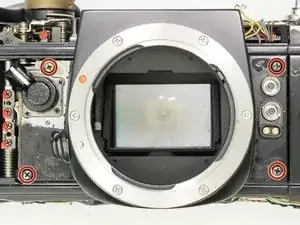
Remove the two cover plates under the leatherette.
-
They may stick to the covering adhesive and come off on their own.
-
This small plug may also be loose.
-
-
-
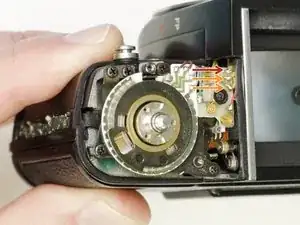
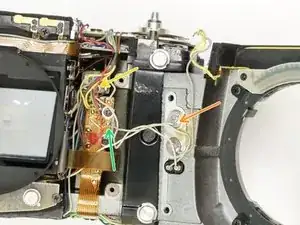
Unsolder one gray wire.
-
Unsolder two yellow wires.
-
Unsolder one blue wire.
-
Unsolder one red wire.
-
-
-
Unscrew four #00 X mm screws.
-
Unsolder one white wire.
-
Unsolder one pink wire.
-
Unsolder one light green wire.
-
Check the mounting points for shim washers. If they are loose, note the position and remove.
-


To reassemble your device, follow these instructions in reverse order.