Introduction
Use this guide to replace the joystick covers on your controller.
-
-
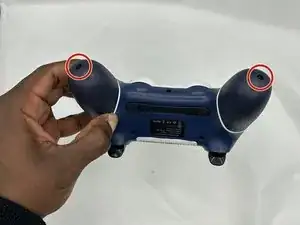
Remove the two 10 mm Phillips #1 screws that secure each of the handle grips.
-
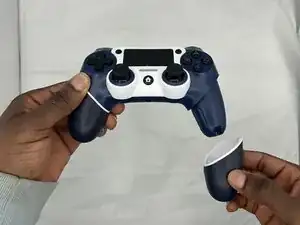
Pull off the handle grips.
-
-
-
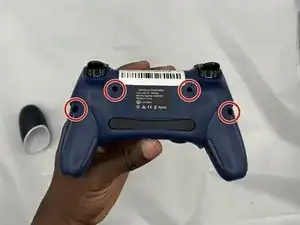
Remove the four 9 mm Phillips #1 screws that secure the rear case.
-
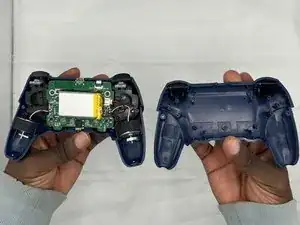
Lift off the rear case from the controller.
-
-
-
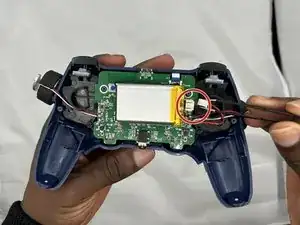
Use blunt tweezers to pull the white battery motherboard connector directly out of its port.
-
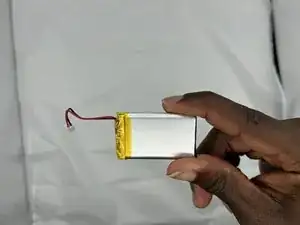
Gently peel the battery off of the motherboard.
-
-
-
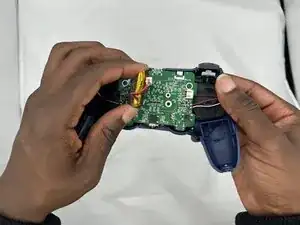
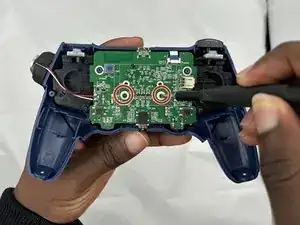
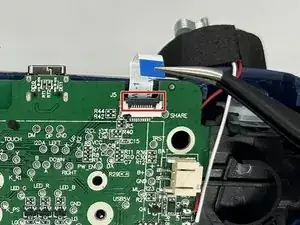
Flip up the black ZIF locking flap that secures the touchpad ribbon cable on the top-right edge of the motherboard.
-
Use tweezers or your fingers to gently disconnect the touchpad ribbon cable.
-
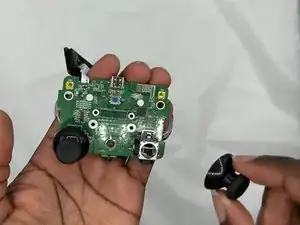
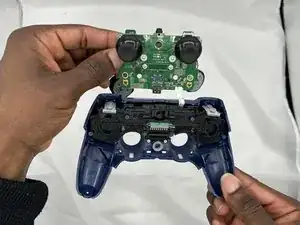
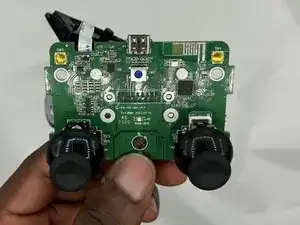
Lift the motherboard up and out.
-


Conclusion
To reassemble your device, follow these instructions in reverse order.
