Introduction
Have you ever noticed if your buttons are sticky/ get stuck within the controller or are either taking forever to or not responding at all? Don't fret, we've got just the right guide for you to able to figure what's wrong and how to restore it to working order!
-
-
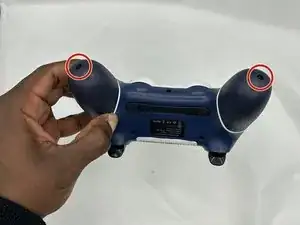
Remove the two 10 mm Phillips #1 screws that secure each of the handle grips.
-
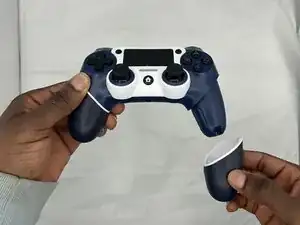
Pull off the handle grips.
-
-
-
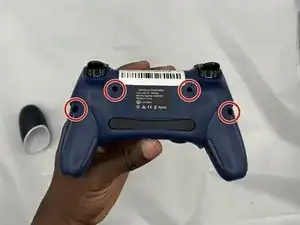
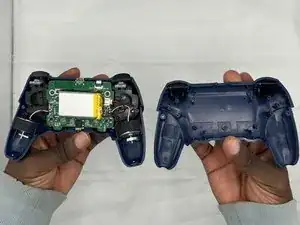
Remove the four 9 mm Phillips #1 screws that secure the rear case.
-
Lift off the rear case from the controller.
-
-
-
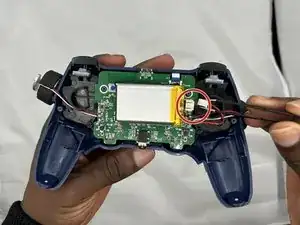
Use blunt tweezers to pull the white battery motherboard connector directly out of its port.
-
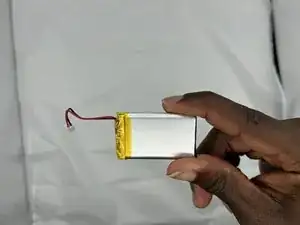
Gently peel the battery off of the motherboard.
-
-
-
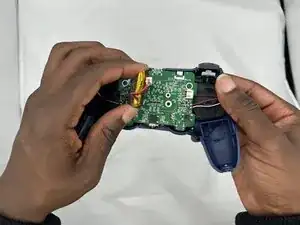
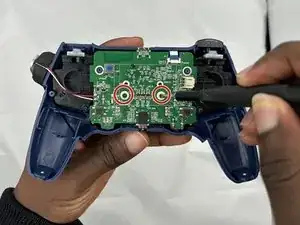
Using tweezers, flip up the small black tab holding down the ribbon cable on the top right of the board and unplug the ribbon.
-
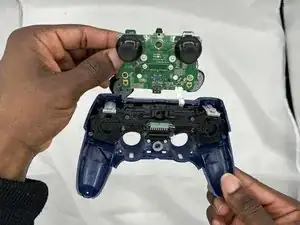
While pulling towards you, remove the motherboard.
-
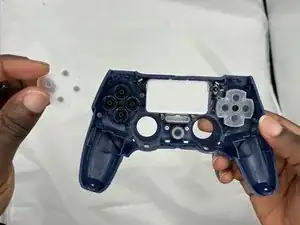
Remove the black plate in front of the buttons.
-


To reassemble your device, simply follow these instructions in reverse order.
