Introduction
This is a prerequisite-only guide! This guide is part of another procedure and is not meant to be used alone.
Tools
-
-
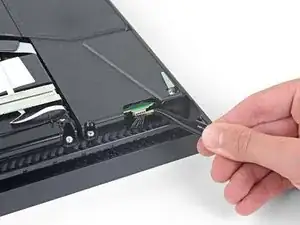
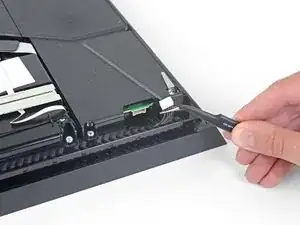
Use tweezers to carefully remove the plastic screw covers in each corner, exposing two more case screws.
-
-
-
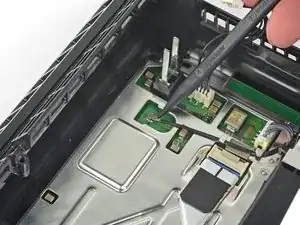
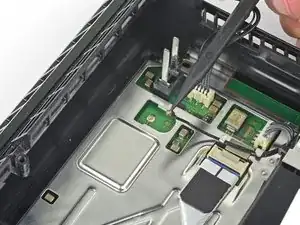
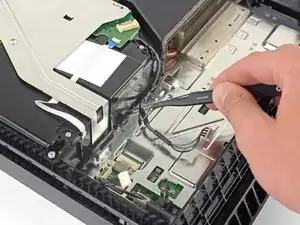
Use a pair of tweezers to pull the power supply cable straight out and disconnect the power supply unit from the motherboard.
-
-
-
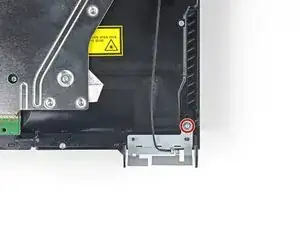
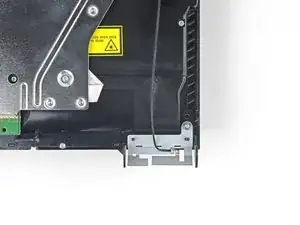
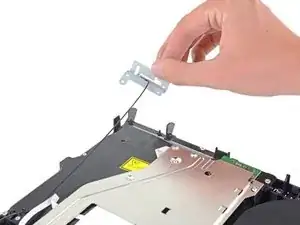
Use a pair of tweezers or your fingers to thread the antenna cable out from underneath the optical drive cable.
-
-
-
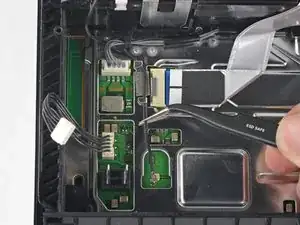
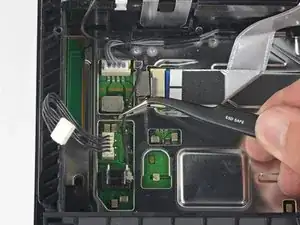
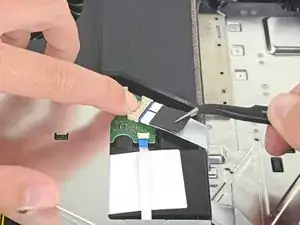
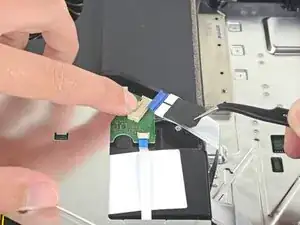
Use your fingernail to press down the metal release lever for the ribbon cable connected to the motherboard.
-
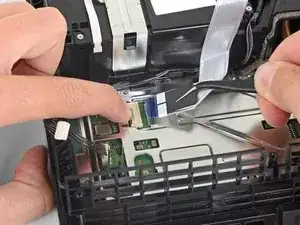
Use your fingers or a pair of tweezers to disconnect the ribbon cable by pulling on the black tab.
-
Set the ribbon cable aside for reassembly.
-
-
-
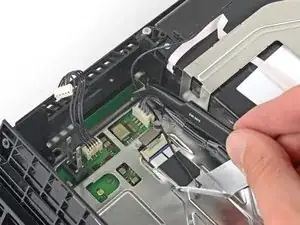
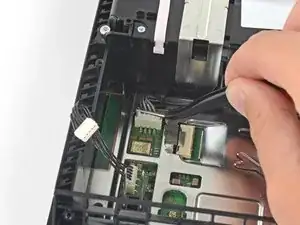
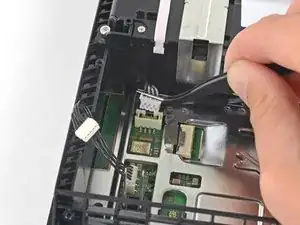
Use your fingers or a pair of tweezers to disconnect the optical drive cable from the motherboard.
-
-
-
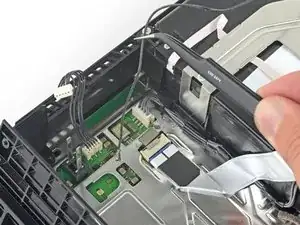
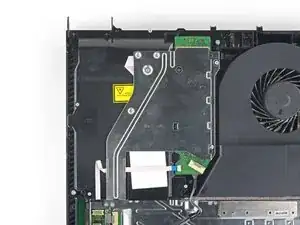
Use your fingers or a pair of tweezers to remove the optical drive cable from the cable guides that hold it in place.
-
-
-
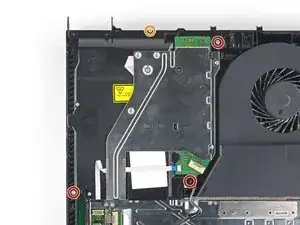
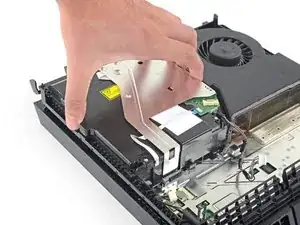
Remove the four screws securing the optical drive.
-
Three 9.7 mm Torx screws
-
One 6.2 mm Phillips screw
-
To reassemble your device, follow the above steps in reverse order.
Take your e-waste to an R2 or e-Stewards certified recycler.
Repair didn’t go as planned? Check out our Answers community for troubleshooting help.
Compare your new replacement part to the original part—you may need to transfer remaining components or remove adhesive backings from the new part before installing.


