
Introduction
This guide's goal is to help the user to replace the battery of a PS Vita Slim if the battery is faulty or has some other kind of problem.
-
-
All 6.35mm screws were removed using a J00 bit from the iFixit pro toolkit.
-
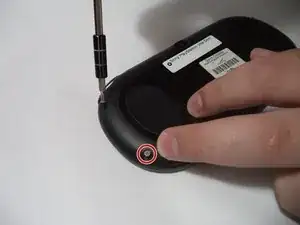
There are four screws on the back of the device, remove them as shown.
-
-
-
There are two screws on the bottom, near the charging port, remove them using the J00 screwdriver on the 6.35mm screws from the iFixit pro toolkit.
-
Finally, remove the top screw under the dust cover using the J00 screwdriver on the 6.35mm screws from the iFixit pro toolkit.
-
-
-
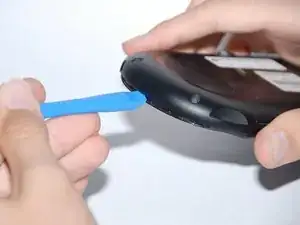
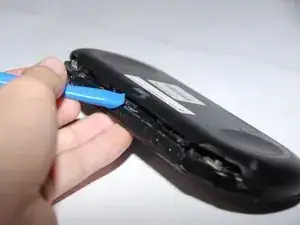
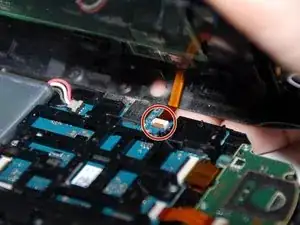
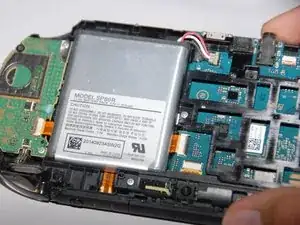
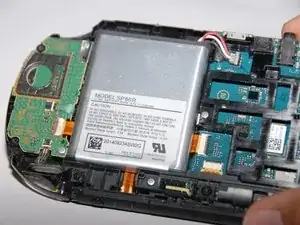
Upon removing the back panel you will need to slowly and carefully remove the ribbons connecting the hardware to access the needed parts to be repaired.
-
-
-
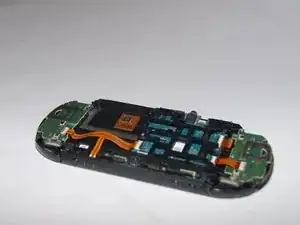
Once the ribbons have been removed, then the back is fully removed and you can access the hardware within.
-


To reassemble your device, follow these instructions in reverse order.
One comment
Whilst tearing down my PCH-2016 model PS Vita Slim I have noticed that there is also a screw in the cartridge area that needs to be removed to remove the back panel.
I actually broke a 32GB storage card because I didn’t remove it first before I open the chasis. Beware of this!!! REMOVE YOUR CARD FIRST!!!
Daniel Wang -