Introduction
These instructions may also help with other Philips models and with coffee makers from Saeco and Gaggia—they are all made by the same manufacturer and have a very similar design.
This PHILIPS HD8829 coffee machine leaked internally when used, and no coffee came out at all. To test it, the internals were dried well, and the machine was switched on for a short period of time to see where the leakage was.
Boilerplate data of the machine:
PHILIPS NL9206AD-4 Drachten, TYPE: HD8829 50 Hz 230 V ~ 1850 W CEA HD8829/01 882882901010
MADE IN ROMANIA 421947 421941
Tools
-
-
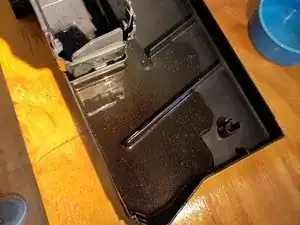
After a short run in a dry machine, water was leaking to the side of the machine, and inside a trail of droplets is seen along the brewing unit inside. At the top of the second photo, you can see a large droplet in the side panel.
-
-
-
Note that you have to switch the machine off properly, otherwise the brewing unit can't be removed, it is stuck somewhere at the back. If the machine shuts down normally, the brewing unit gets reset to a state where it can can be unmounted.
-
Remove the leak tray
-
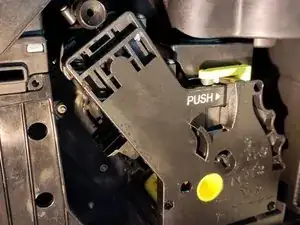
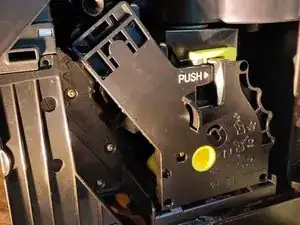
Open the side door
-
place 4 fingers in the grip, and push the lever with the thumb, it should come out easily [Video](https://www.youtube.com/watch?v=VcYhWeYP...)
-
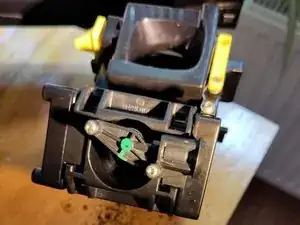
This particular one had a strange issue: the feeding funnel connection to the exit tube faced the wrong direction, which meant rotating the top part of the brewing mechanism 180°. Perhaps it was from another machine, perhaps someone else reassembled it incorrectly.
-
-
-
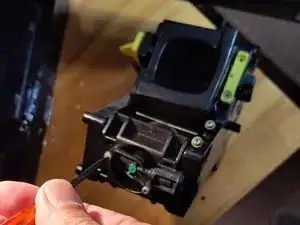
First remove the the feeding funnel by unscrewing the two torx screws.
-
Removing 3 sunken torx screws on the side of the brewing mechanism removes the side plate, so then it can be opened by tilting it a bit around the top part.
-
Assembling it in the right position, taking care that all moving parts sit right fixed the issue.
-
Om het apparaat weer te monteren, volg je deze instructies in omgekeerde volgorde.