Introduction

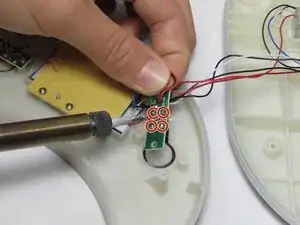
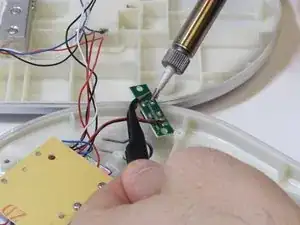
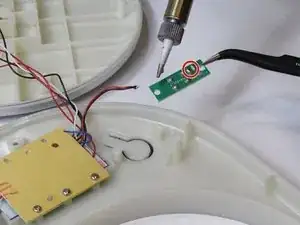
This guide explains how to expose each of the two buttons of the Ozeri Pronto ZK14-S in the same steps. Each button is attached to a different motherboard. A soldering iron will be necessary to remove the buttons from the motherboard. Please view the following link for detailed instructions on how to operate a soldering iron: How To Solder and Desolder Connections

  1. NHwGiQ6VWoQhGLPP
    NHwGiQ6VWoQhGLPP
    FbjbGiMufAjTpV1w
    • Twist the plastic plate slowly to the left to pull it away.

  2. NnAGNxd2duOAIhDP
    • Lift up the sticker at the bottom where the “Ozeri” logo is to reveal a screw.

    • The sticker does not need to be completely removed.

  3. AYWhQbKMKMuTrnWR
    • Using a 2.0 Flathead screwdriver, remove the 9.50 mm Phillips head screw under the sticker.

  4. jKoIIXUIQxSVDsS3
    jKoIIXUIQxSVDsS3
    QbOepq3VXPcHlQhq
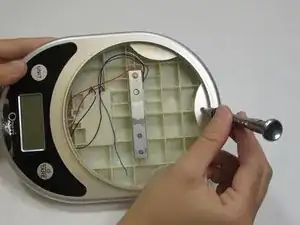
    • Using a 2.0 Flathead screwdriver, remove the two 18.76 mm Phillips head screws in the plate stand.

  5. yQSrOIodePrlZZGM
    yQSrOIodePrlZZGM
    XuftkNTGvyEqAo5V
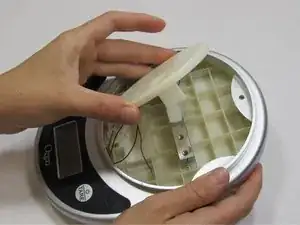
    • Using a 2.0 Flathead screwdriver, remove the 9.44 mm Phillips head screw on the edge opposite to the LCD screen.

  6. BwDBPWDUhWDtEtTc
    • Turn the device over so the back panel is facing up.

  7. keeHONZ6fAXUfrRd
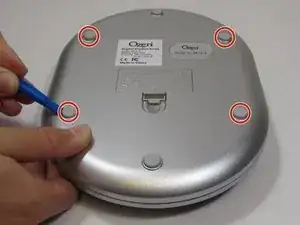
    • Using the iFixit opening tool, pry off the two rubber stubs on the right side and the two rubber stubs on the left side of the bottom of the device.

  8. id5PMtItNucxwJbm
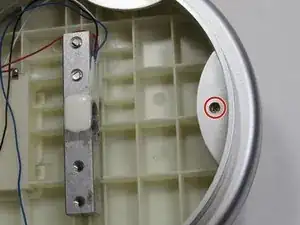
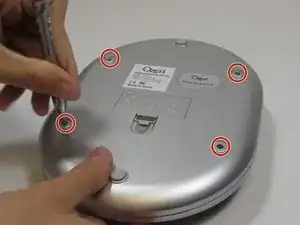
    • Using a 2.0 Flathead screwdriver, remove the four 9.46 mm Phillips head screws that were under the rubber stubs.

  9. g3LqiJCitnFwnMZA
    g3LqiJCitnFwnMZA
    mFRTKsimJBVO2uQX
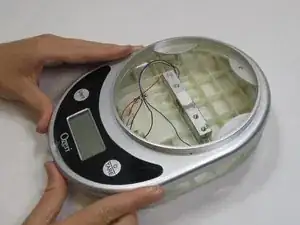
    • Pry apart the two panels to separate them from each other.

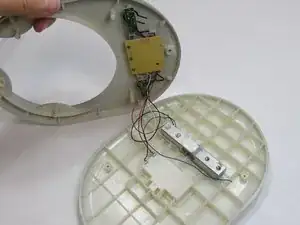
    • Flip the device over so the LCD is facing up. Flip the front panel over on its side.

    • Be careful when separating the panels to avoid damaging the wires they are connected by.

  10. I143ZFfNpyKSDIsi
    I143ZFfNpyKSDIsi
    2oSsHwdUo1jxPjsH
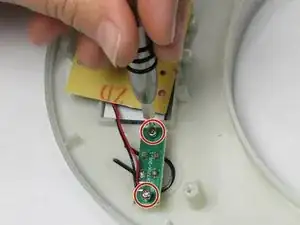
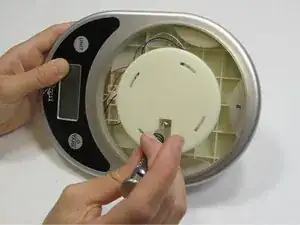
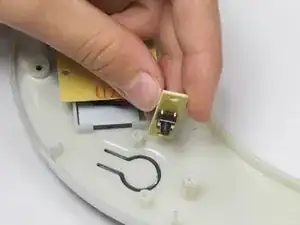
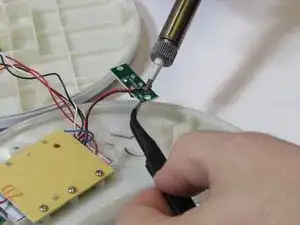
    • Using a 2.0 Flathead screwdriver, remove the two 7.34 mm screws on the smaller motherboards.

  11. SSAesrFwaqtZ2Skd
    SSAesrFwaqtZ2Skd
    2YpbDfMITdDaNTwb
    • Desolder the four posts in the center of the motherboard.

    • Caution: The tip of the soldering iron will be very hot

  12. s4fhDDenlG6KPqAK
    s4fhDDenlG6KPqAK
    NFhHJDipeqRmtnTG
    • Desolder the two clips in the center of the motherboard.

    • Repeat steps 13 and 14 to remove the other button from its motherboard.

Conclusion

To reassemble your device, follow these instructions in reverse order. Take your e-waste to an R2 or e-Stewards certified recycler.

Oneika White

Member since: 01/10/15

709 Reputation

0 comments