Introduction

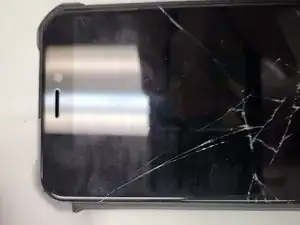
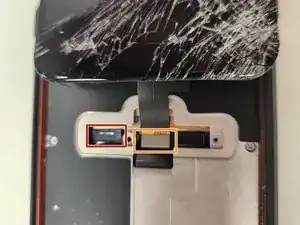
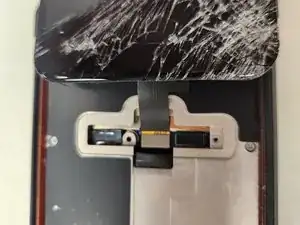
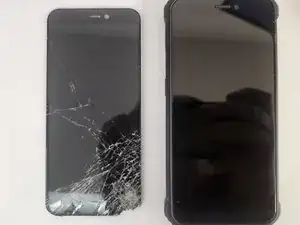
This guide will walk you through the screen replacement steps for the Oukitel WP5 Pro. As both the WP5 and the WP5 Pro use the same replacement screen model (see also iPhone 12/iPhone 12 Pro), the repair procedure is likely similar on the WP5, but take extra precautions if repairing that device as it may have repair needs that this one does not have.

  1. vX6jYln12Uc2jU1v
    vX6jYln12Uc2jU1v
    x2iwP21qpyHAjeUD
    6BAsJgMK1SnJEJHp
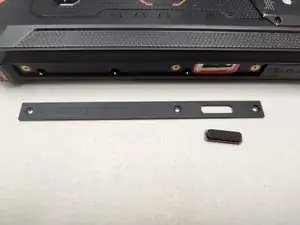
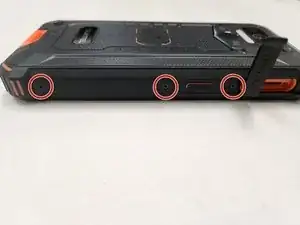
    • Using your Torx T5 Screwdriver, unscrew the three screws in the left side support panel.

    • Remove the left side support panel.

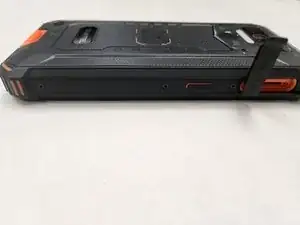
    • The side button is now only held in by a small amount of friction and will likely fall out. To avoid losing it, remove it as well.

  2. S1tMmtn5f4pcBURn
    S1tMmtn5f4pcBURn
    AsUrE1nYSqYrLfyc
    TQEcUnwcJTvgPp1K
    • Using your Torx T5 Screwdriver, unscrew the three screws in the right side support panel.

    • Remove the right side support panel.

    • The power and volume buttons are now only held in by a small amount of friction and will likely fall out. To avoid losing them, remove them as well.

  3. LdeUoY1rlwlVRDiF
    LdeUoY1rlwlVRDiF
    mc6yGUgunVC4QD1v
    tLc3ON3kRHFuBAGV
    • With the side support panels removed, you should have enough flexibility in the rubberized sides of the built-in case to safely pry the screen out.

    • Begin prying at either side, and when you have a gap big enough, slide in a plastic card and remove your pry tool.

    • Avoid inserting your plastic card more than 1/2", in order to not damage the delicate ribbon cable holding the screen on.

  4. PNpvxlDP4ShjTZaX
    PNpvxlDP4ShjTZaX
    BQEgHkW5itIaqyCV
    puHb3Y5GHJF2BR1w
    • From the side you inserted it, work your plastic card around the top.

    • Continue along the other side towards the bottom.

    • Stop before reaching the bottom. The ribbon cable attaches to the screen here and it can be damaged with the plastic card on the very bottom.

  5. YgcnQcLEl5fWsq6v
    YgcnQcLEl5fWsq6v
    4tGyIHG5VAYlugBZ
    • When the screen comes loose, gently lift it up.

    • Fold it over onto itself to access the connection point.

    • If the screen is not loose enough to lift yet, work your plastic card back over the top and to the other side again as necessary. Remember to keep the plastic card minimally inserted and avoid the bottom of the screen.

  6. ZohNTDJVkUbSi6jL
    ZohNTDJVkUbSi6jL
    aEIBMbScZHtR46BI
    BZMiBVnmfQFwtFZB
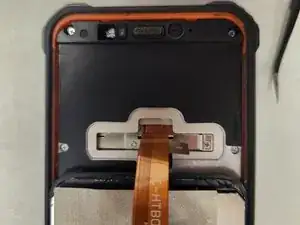
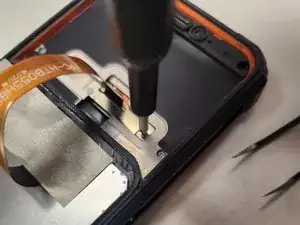
    • Using your PH0 Screwdriver, remove the long screw from the bracket securing the LCD cable in place.

    • Using your PH0 Screwriver, remove the short screw from the bracket securing the LCD cable in place.

    • It is important that these screws be kept separate, as inserting the long screw into the shorter hole could cause internal damages.

    • It has been reported that some builds of this same phone model have an additional metal clip over the bracket secured down by glue. That will also need to be removed if you find this on yours.

    On my WP5 Pro there's an additional metal piece covering the space where the bracket is. It can be pried out, the glue layer that fixes it needs to be replaced.

    Timofey Balashov -

    Thank you for bringing this to my attention. Nothing of the sort was there when I did this repair. If you don't mind me asking, what region was your phone manufactured for? The phone I took pictures of for this guide was US/NA region.

    If you can provide a photo I will be happy to add it to the guide. As it stands now, I've added a note to this step.

    Justin Castle -

  7. lsXKtVcsEOiP2Qay
    lsXKtVcsEOiP2Qay
    yW2YZUwyLl3MsYZS
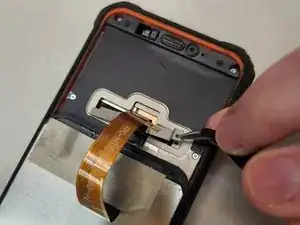
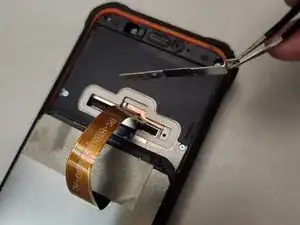
    • Using your tweezers, gently remove the bracket securing the LCD ribbon cable in place.

  8. awvLUEDN2WbVmXnc
    awvLUEDN2WbVmXnc
    vH5WEsMtMBamVOme
    px4rbbwlIKxXGwbp
    • Gently flip the screen over the other direction to get better access to the ribbon cable connectors.

    • Using your opening pick, gently disconnect the battery connector.

    • Using your opening pick, gently disconnect the LCD connector.

  9. KQl5EKMTb1SFJbdh
    • Take special care that any glass shards are removed from the edges of the screen fitting. The WP5 Pro fits it's screen with pressure, not adhesive, so a small shard of glass could damage the new screen if it is in the groove the new screen must go into.

    • Take extra care when installing the new screen to flex the rubber side panels out to give the screen room to slip into it's spot.

    • Even with both sides, top, and bottom properly seated, the corners may be hard to get right. Take it very slow and gently, going back and forth over the problem corner(s), with slightly increasing amounts of pressure, to ensure the new screen is not cracked on any corner.

Conclusion

To reassemble your device, follow these instructions in reverse order. When pushing the new screen into place, take it slow and pay attention to the corners, as a bit too much pressure can destroy the new screen.
Justin Castle

Member since: 06/11/20

4348 Reputation

0 comments