
Introduction
-
-
With the glass blender container removed and the blender unplugged, flip the base so that the black plastic cover faces you.
-
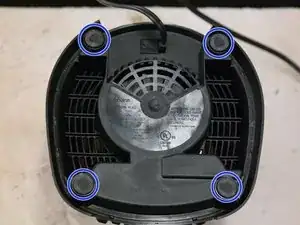
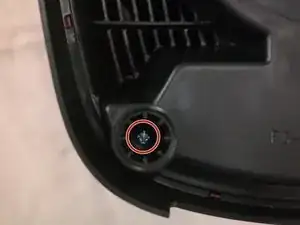
Start by using the screwdriver to remove the rubber feet located at the corners of the base.
-
Under these feet will be a Philips head screw. Remove all four screws.
-
-
-
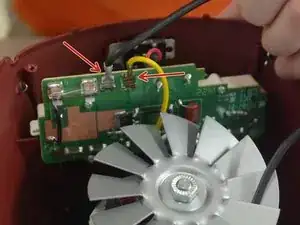
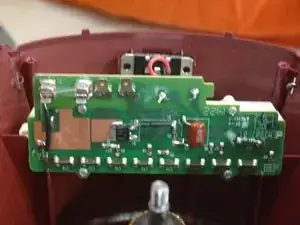
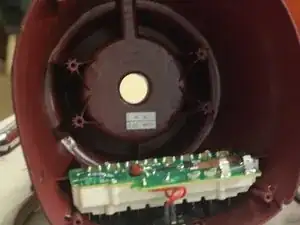
Once you remove the base, you will see a green circuit board for the control panel. A yellow and black wire will attach to the board. These wires need to be removed in order to take out the motor.
-
Firmly pull on the metal lead attached to the circuit board for each wire. The wires will detach from the circuit board.
-
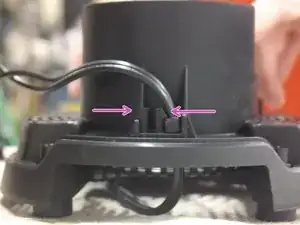
The power cord will run into a clip that holds it in place on the base. Squeeze this clip and push towards the bottom to remove the power cord.
-
-
-
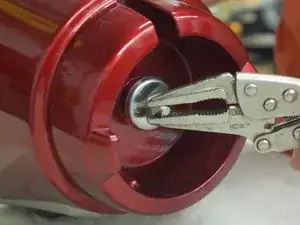
Squeeze and lock the vice grips on the spindle located at the top of the blender.
-
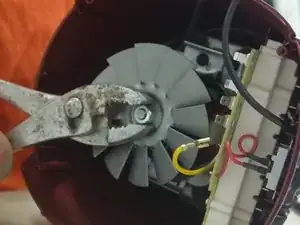
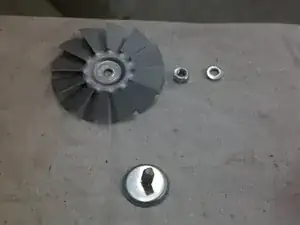
Using the other pair of pliers turn the bolt that secures the fan blade while holding the vice grips. Unscrew this bolt and remove the fan blade, washer, and spindle.
-
-
-
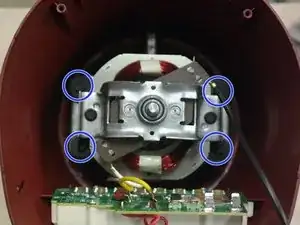
Remove the four bolts with the nut driver. Now you can remove the motor unit.
-
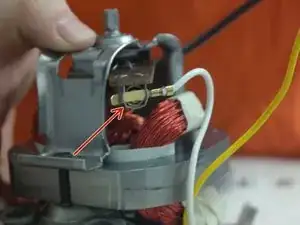
Carefully remove the flat leads of the wires from the sides of the motor.
-

To reassemble your device, follow these instructions in reverse order.