Introduction

For most repairs, you have to open the device. This isn’t a big problem with the EP models.

The instructions can also help with Saeco- models and with other fully automatic coffee machines from Philips und Gaggia - the devices all come from the same manufacturer and are very similarly built.

  1. LQhtu2PhbWc6BqZF
    LQhtu2PhbWc6BqZF
    QU6YWb1F2LhhE5mk
    • Never forget: Unplug the power cord!

    • Remove all attachments, like the water reservoir, the brewing chamber, the bean compartment lid, and the drip tray. Remove all of the coffee beans.

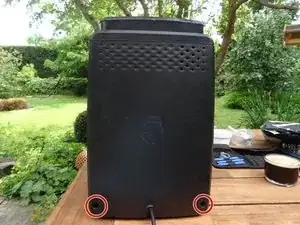
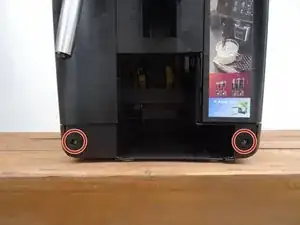
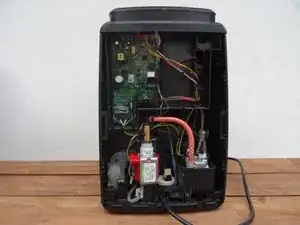
    • Turn the machine around so the back is facing you. Remove the two T10 Torx screws at the bottom edge. Pull out the back at the bottom edge and lift it down.

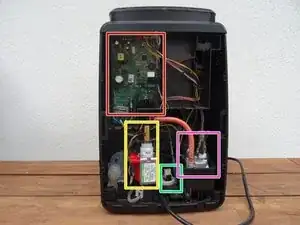
    • It's important that the parts are readily visible:

    • The motherboard

    • The pump

    • The flow meter

    • The heating element

  2. OyPdcPsaKCWVufJo
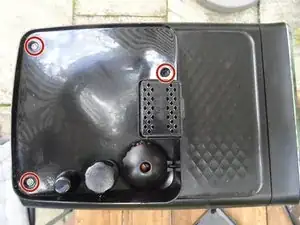
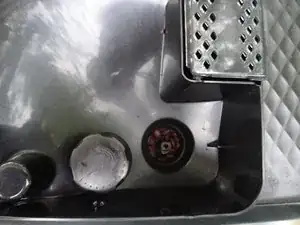
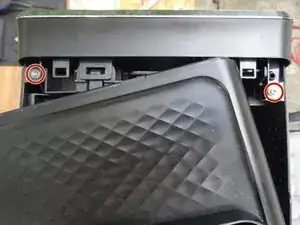
    • Unscrew the three T10 Torx screws in the coffee bean compartment.

  3. kpWcQWcW4dMExBHC
    kpWcQWcW4dMExBHC
    IjHejEMucFUZXeSA
    ItZfEKcQAcokDcHK
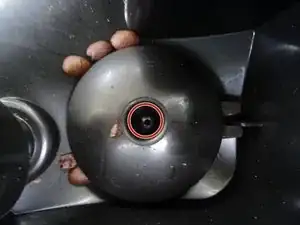
    • Remove all the beans from the opening on the finger guard of the grinder. A T10 Torx screw will become visible.

    • Unscrew the T10 Torx screw from the finger guard.

    • Lift the finger guard up.

  4. awdQV1LMNXFCT5uX
    awdQV1LMNXFCT5uX
    ammVgGP3saUkRnUB
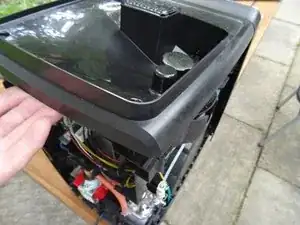
    • Slightly lift the top cover up at the back edge.

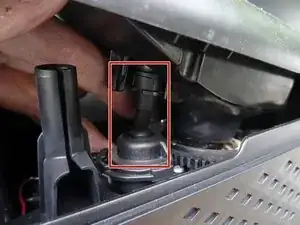
    • When putting it back together, make sure the grinder control is sitting right.

  5. sJXMqvJsNmVL6rNu
    sJXMqvJsNmVL6rNu
    NCRdCytBkQk1x2Xp
    • Pull the upper cover out from under the front cover and lay it slightly offset.

    • Remove both of the T10 Torx screws attached to the side covers.

    • You can remove the top cover completely, especially if you must work on the grinder. But, if you want to see the machine functioning later, then lay it back in its original place.

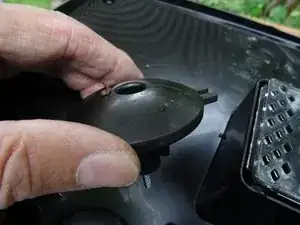
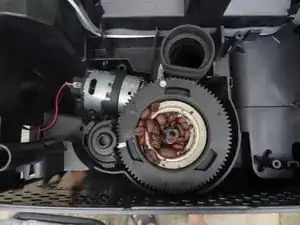
    • Picture 2 shows the grinder, which can now be easily taken off.

  6. XOBCqiyIF6WBGVW1
    XOBCqiyIF6WBGVW1
    L5wdNnfXeMKR3f3y
    2tv1PIDrFUXqVgTM
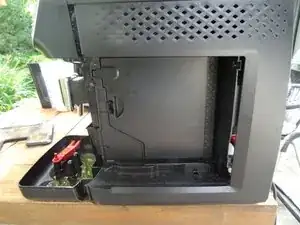
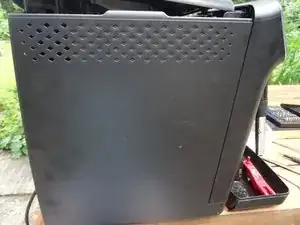
    • Both side panels are still screwed to the lower edge of the front. Unscrew both of the T10 Torx screws out from here.

    • Slide both side panels back a bit, and take them out from the bottom edge.

    Hätten Sie einen Tipp, wie sich das Display/Frontpanel am besten lösen lässt? Da die Aufdrucke der weißen Bedienelemente bei uns zum Teil ausgeblichen sind (rein optischer Mangel), würden wir dieses gerne erneuern und austauschen.

    Lisa -

    @lisa65650 Habe ich bisher noch nicht machen müssen. Irgendwo sind Schrauben und Clips, man muss auf die Flachbandkabel achten. Allzu schwer kann das nicht sein. Vielleicht hilft dieses superlange Video. Gibt es das überhaupt als Ersatz?

    VauWeh -

    Um das Front Pendel demontieren zu können müssen zuerst der Deckel und beide Seitenwände demontiert werden. Anschließend muss der Verbindungschlauch zwischen Ausgabestelle und Brüheinheit getrennt werden. Es befinden sich oben am Panel 2 Torx10 Schrauben die dann heraus gedreht werden müssen. Anschließend müssen auf der rechten und linken Seite insgesamt 4 Kunststoffclips gelöst werde. Nun kann das Panel nach oben geschoben und etwas von der Maschine abgezogen werden. Große Vorsicht beim Lösen des Flachbandkabels - dies kann leicht beschädigt werden! Übrigens ist der Stecker nicht verriegelt sondern nur gesteckt. Wenn alle diese Schritte erfolgt sind muss die Ausgabestelle bei leicht abgezogenen Panel soweit nach unten geschoben werden, dass sie sich aus der Führungsschiene der Kaffeemaschine entnehmen lässt. Auf der Rückseite des nun demontiert Panels befindet sich eine rechteckige weiße Blende mit vier Clips. Hinter dieser Blende verbirgt sich die Platine.

    Sascha Selzer -

Conclusion

Complete the steps in reverse order to reassemble your device.
VauWeh

Member since: 19/10/15

234462 Reputation

0 comments