Introduction
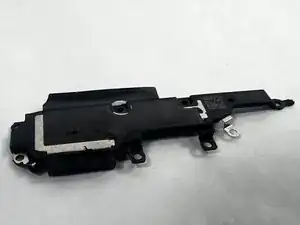
Is the speaker on your OnePlus Nord N200 not performing as expected, perhaps producing distorted sound or no sound at all? If this is the case, you may need to replace the faulty loudspeaker. This guide will show how to replace the speaker module in the OnePlus Nord N200, model number DE2118. This guide is designed to provide you with a detailed walkthrough for replacing the speaker module, helping you restore optimal sound quality and functionality to your device.
You will need a set of precision tools and a replacement loudspeaker that is compatible with the OnePlus Nord N200. Follow this guide closely to ensure a safe and successful replacement
Symptoms Indicating Speaker Module Replacement: Distorted or crackling sound, lower than usual volume, no sound output, despite volume settings
For a more detailed diagnostic approach, you might find our troubleshooting page.
Important Tips and Warnings:
Ensure your device is powered off before beginning the repair to prevent any electrical shorts or personal injury.
It is advisable to back up your data before starting the repair as a precaution, even though data loss is not typical in a speaker replacement.
Tools
-
-
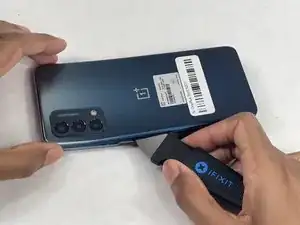
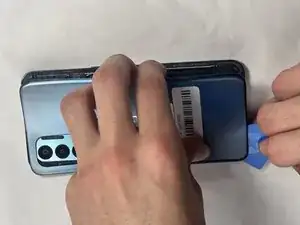
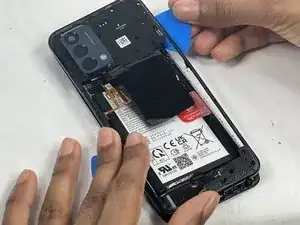
Insert the Jimmy into the seam between the rear glass and the midframe at the bottom edge of the phone to create a gap.
-
-
-
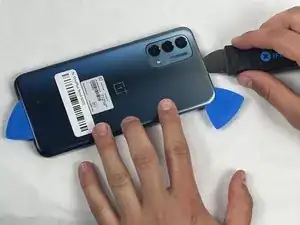
Insert an iFixit opening pick into the gap you created with the Jimmy.
-
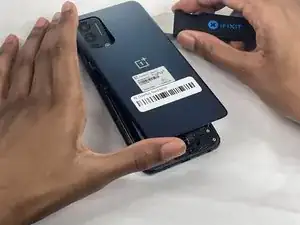
Slide the Jimmy around the phone to slice the adhesive.
-
Insert a second iFixit opening pick at the spot you have sliced open to keep it open.
-
-
-
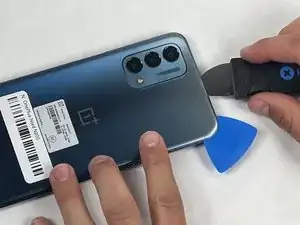
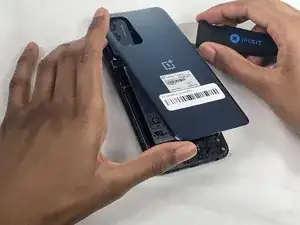
Slide the iFixit opening pick along the top edge to slice the adhesive.
-
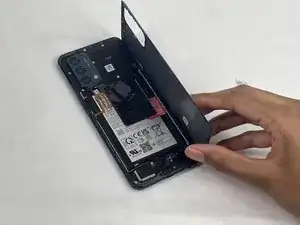
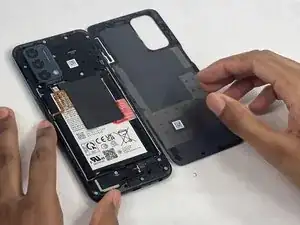
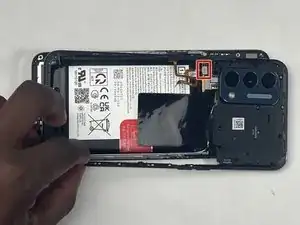
Start prying the back plate off the phone.
-
-
-
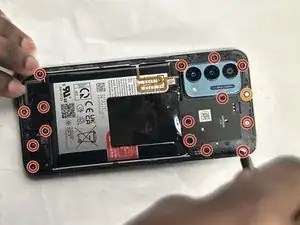
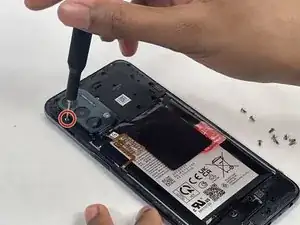
Use a Phillips #00 screwdriver to remove the sixteen 3.6 mm-long screws securing the midframe.
-
-
-
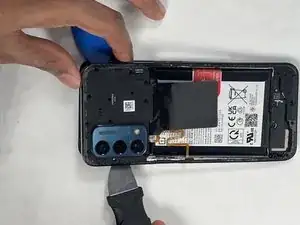
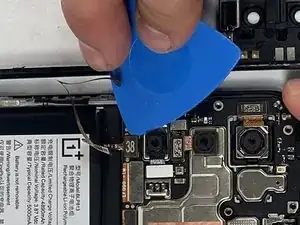
Gently insert the Jimmy to create a gap between the midframe and the top of components in the bottom case.
-
Slide an opening pick around the edge of the midframe to slice the adhesive.
-
Use the Jimmy to pry off the midframe of the phone.
-
-
-
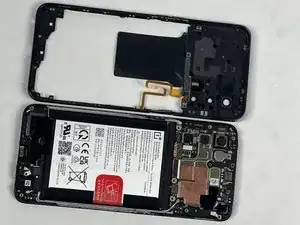
Use your hands to finish prying open the midframe off the phone.
-
Pull the midframe off of the phone and lay it to the side of the phone.
-
-
-
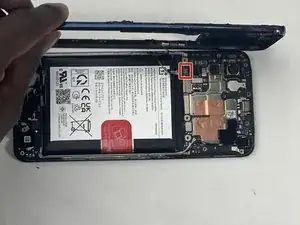
Place a spudger or an opening tool under the connector's edge and pry straight up to disconnect the fingerprint cable connector.
-
Move the fingerprint reader cable to the side along with the midframe.
-
-
-
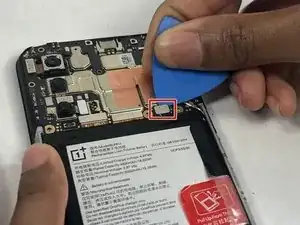
Place a spudger or an opening pick under the connector's edge and pry straight up to disconnect the battery.
-
-
-
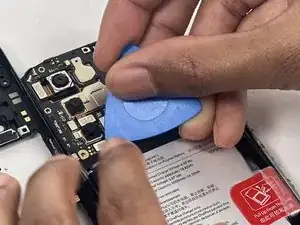
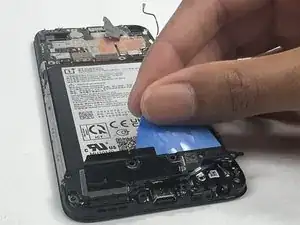
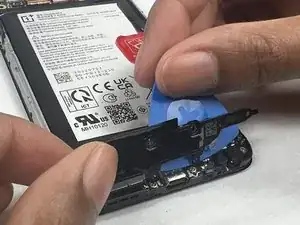
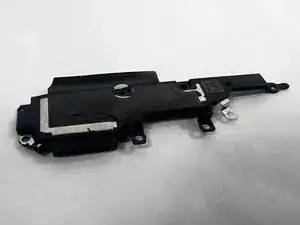
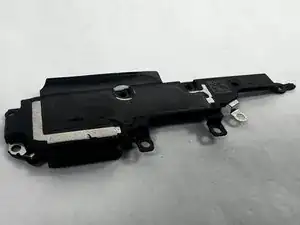
Insert iFixit opening pick under speaker assembly.
-
Lift up the iFixit opening pick to pull out the speaker assembly out of its tray.
-
To reassemble your device, follow these instructions in reverse order.
