Introduction

Has the performance of your NOOK Simple Touch with GlowLight declined drastically? Or will the device not turn on or charge and other troubleshooting measures have been unsuccessful? You may need to replace the motherboard.

Before using this guide make sure you check out our trouble shooting page to rule out other issues such as the charging port or battery.

Never work on a device that is plugged into a power outlet. Before starting this guide, ensure that the Nook is powered off and the power adapter is disconnected.

  1. BMRxPCPXHkLkVnTb
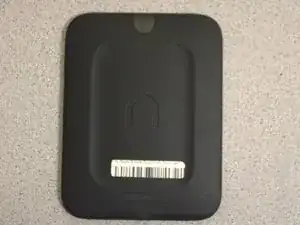
    • Place the Nook with the screen facing down.

  2. 4WCBITDGYGXvTvXT
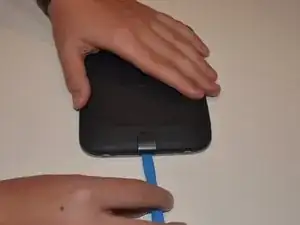
    • Wedge the opening tool between the power button and the upper edge of the device.

    • Push the opening tool down to pry the power button up.

    The crack between the power button and the frame was very tight, so I had to use my fingernails to create the gap by wedging out the frame from the power button, instead of vice-versa.

    Ian Van Giesen -

  3. DNDQOPGenTFPyLrb
    • Using your fingers, gently remove the power button.

    Little more nuanced than this. You have to push/pull the case towards the charging port, enough so that half of the brass receiver for the screw that was just removed is visible. It takes a little more force than you would think. Once you've pushed it down that far, it should open easily like a book.

    Ian Van Giesen -

  4. RnATBEqvLGGlZkOy
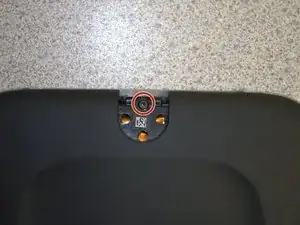
    • Remove the single screw using a T4 Torx screwdriver.

  5. bmvSu6O4gHxinUtW
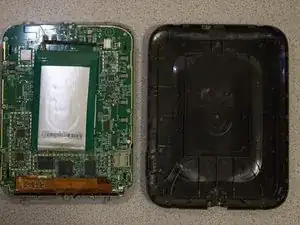
    • Slide the back cover down towards you in the direction of the charging port.

  6. 2oZnEZ5otAZMYDGR
    2oZnEZ5otAZMYDGR
    xEO11AlYl1HeOCCV
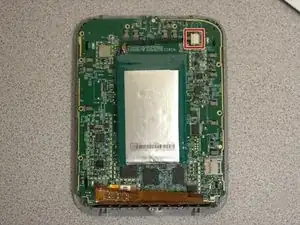
    • Detach the white cable connector from the motherboard.

    • Remove the battery from the device.

  7. 4NPFaaMIYrhYUNWl
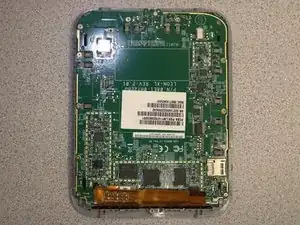
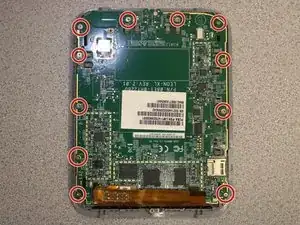
    • Remove eleven screws from the motherboard using the T4 screwdriver.

  8. GUmXCsAISHclBQbK
    GUmXCsAISHclBQbK
    pF2m5k5mJQsCFi2I
    yMuXqPSoCFsqPpIx
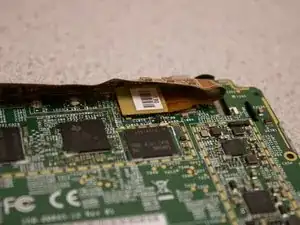
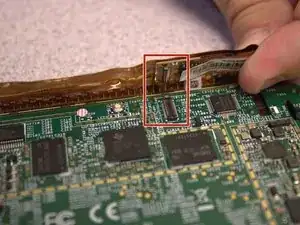
    • Disconnect the orange ribbon cable from the motherboard.

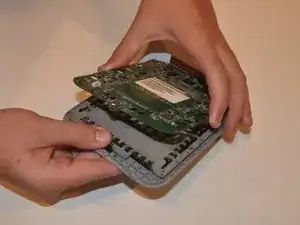
    • Using your fingers, gently lift the motherboard from the display.

Conclusion

To reassemble your device, follow these instructions in reverse order.
Sydney Segear

Member since: 01/03/23

401 Reputation

0 comments