Introduction

The speaker is an important component of the Nokia Lumia 900. Because it is a small component that is housed beneath many different parts, this guide will show how to remove it carefully and properly.

  1. qRpPfhTK6WnwgPSJ
    qRpPfhTK6WnwgPSJ
    kigTaSpUKXQI6rSo
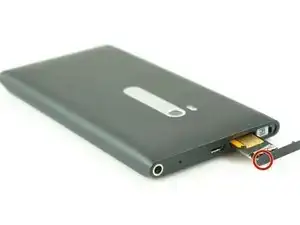
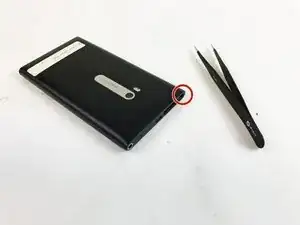
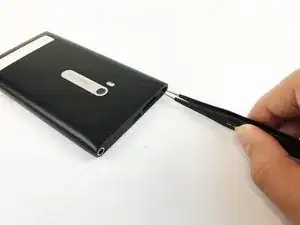
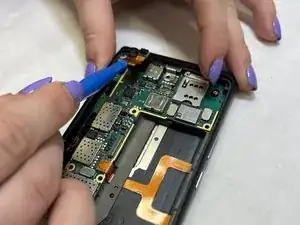
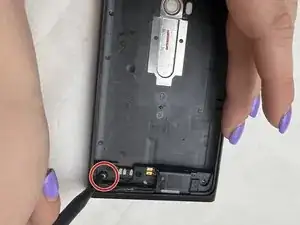
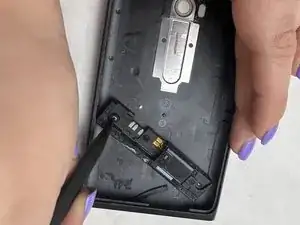
    • Insert the pointed end of the spudger into the sim card port indicated by the picture. Then proceed to remove the sim card port entirely.

  2. wbG5Tt2aWMZHIXBj
    wbG5Tt2aWMZHIXBj
    bNNxUdedkF115kJN
    • Use tweezers to remove the small rod in the port indicated in the picture.

  3. Y1uGKbYsqDYkPqyZ
    Y1uGKbYsqDYkPqyZ
    uLQhPmFePjDpFTvn
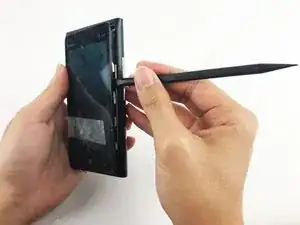
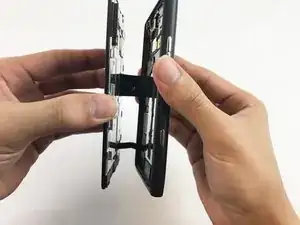
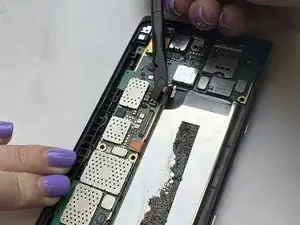
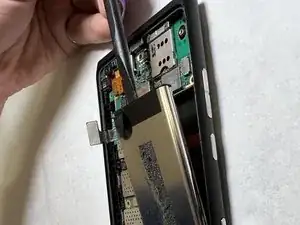
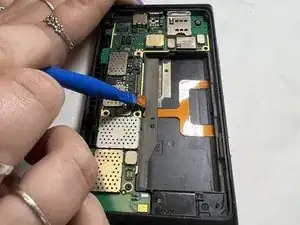
    • Separate the screen from the motherboard by prying it open with the spudger along with pulling upwards with the suction cup.

  4. 4jXvglqE1imRZQRD
    4jXvglqE1imRZQRD
    IUe5OR1qlHOga5Zx
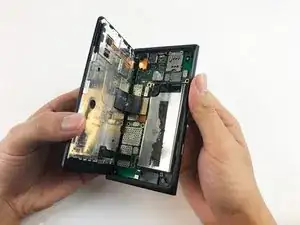
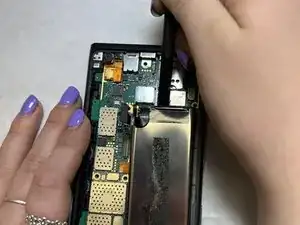
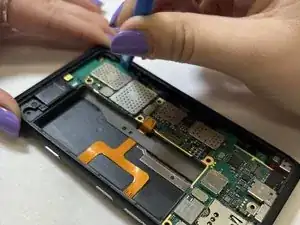
    • Gently pull apart the screen from the motherboard, with only the ribbons connected from the motherboard to the screen.

  5. 1HxNDToEn1n3xNKq
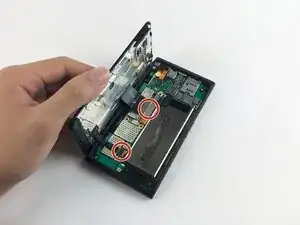
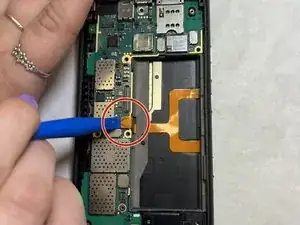
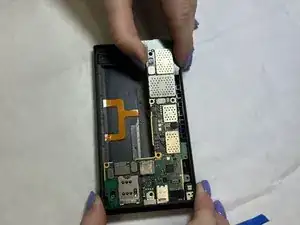
    • Disconnect the No-fuss cables from the motherboard by gently prying them up using the flat end of the black stick spudger. Make sure not to bend or crease the cable.

    • Remove the screen.

    Nokia n 900 key battery chawa

    Qwe Zxc -

  6. 26QV5pvJgHYqSPHT
    26QV5pvJgHYqSPHT
    kl6lLFrpPKIlyrsL
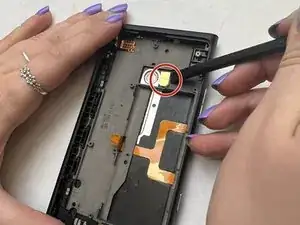
    • Use the iFixit iOpener or another heat source to gently heat the top left corner until the adhesive under the camera softens.

    • Use the plastic opening tools to carefully lift the front camera from the motherboard.

  7. QaK1quDxPLDS5sTL
    QaK1quDxPLDS5sTL
    LWeTiN3yOAAdUEFW
    • Use the flat end of a spudger to carefully disconnect the ribbon cable.

    • Make sure not to bend or crease the cable.

  8. EaBaZkqNhNMwJSsg
    EaBaZkqNhNMwJSsg
    LeX4EaJsUZyuT5cf
    • Use the flat end of a spudger to remove the battery.

    • The battery may be glued down. This will be evident if the battery is difficult to lift. Use the iFixit iOpener to heat the back of the phone allowing the glue to heat and become more pliable before trying to lift the battery again. This may take several minutes.

  9. ovS6TWJSZSAriRWr
    ovS6TWJSZSAriRWr
    sZMojS1fTNjeKAkc
    • Use the plastic opening tool to lift the orange ribbon cable from the motherboard.

  10. ZwAyubMBFXatOvX6
    ZwAyubMBFXatOvX6
    wLGUZJlAOPbICUD1
    • Use the plastic opening tool to lift the motherboard out of the casing.

    • It is recommended that you wedge the opening tool in the crevice between the motherboard and casing in the top righthand corner of the device.

  11. kBeu2lSAdWuCUmNT
    • Use the flat end of a spudger to lift the LED out of the casing.

  12. wUXBiYlBtVfPgucO
    wUXBiYlBtVfPgucO
    FxIAtqfrI2cHVltb
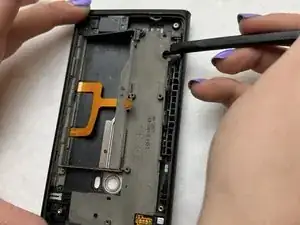
    • Use the flat end of a spudger to lift the metal backplate from the casing.

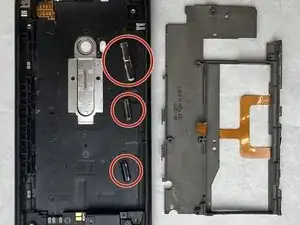
    • Be sure not to lose the buttons.

  13. jgQFnrqpWliXJF5M
    jgQFnrqpWliXJF5M
    xEsRoxStXZL4quls
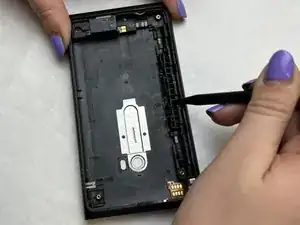
    • Wedge the pointed end of the spudger into the gaps in the antenna housing and pull the antenna housing away from the casing walls.

  14. ZLNuEplUWEEnDMmB
    ZLNuEplUWEEnDMmB
    4MCBkyTQVCYsJaZY
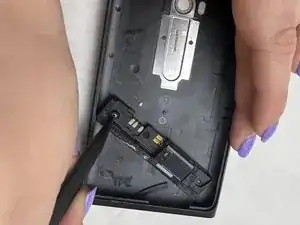
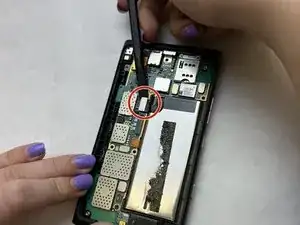
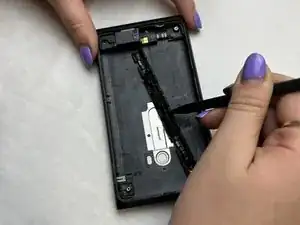
    • Insert the pointed end of the spudger into the hole and slide the speaker housing out from the casing.

Conclusion

To reassemble your device, follow these instructions in reverse order.

Kourtney Collier

Member since: 31/03/22

289 Reputation

0 comments