Introduction

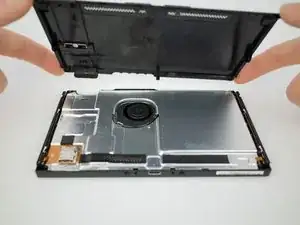
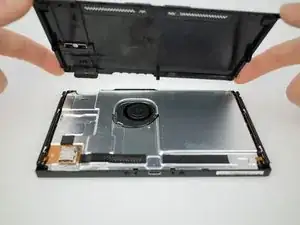
Follow this guide to remove the rear panel from a Nintendo Switch.

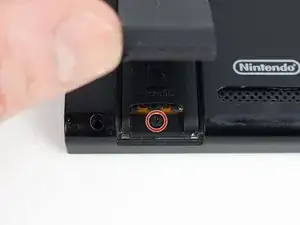
A single screw is hidden underneath the kickstand.

  1. RAfCn4KAldxDJath
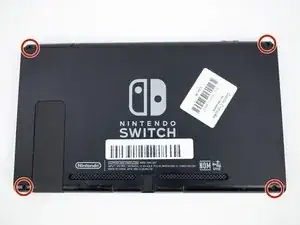
    • Remove the four 6.3 mm Tri-point Y00 screws from the rear panel.

  2. aNqALF4yBKvLPlhm
    • Remove the single 6.1 mm Phillips #000 screw from underneath the kickstand.

  3. UNRddBfvOF5YlAaA
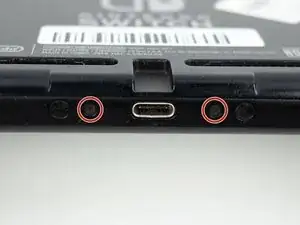
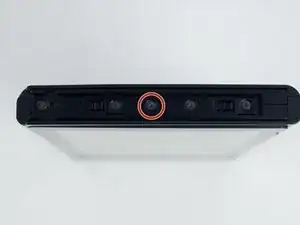
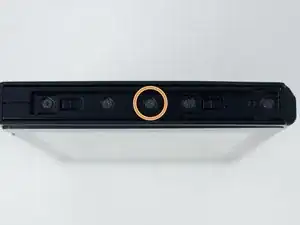
    • Remove the two 2.7 mm Phillips #000 screws from the bottom of the device.

  4. 1ThXVK6RIRWNQZ3H
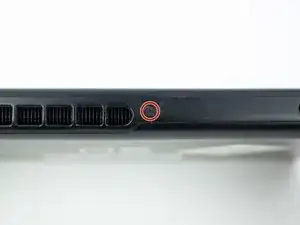
    • Remove the single 2.7 mm Phillips #000 screw from the top of the device.

  5. vAZTYlV2c3a1NCSN
    vAZTYlV2c3a1NCSN
    56aTDCsk2JfQcFPG
    • Remove the single 3.8 mm Phillips #000 screw from the right Joy-Con rail.

    • Remove the single 3.8 mm Phillips #000 screw from the left Joy-Con rail.

  6. cQrcNtkCMjuDeZUJ
    cQrcNtkCMjuDeZUJ
    RBEhm4VNFjQycqfn
    yE1qWgxtnfVVCglT
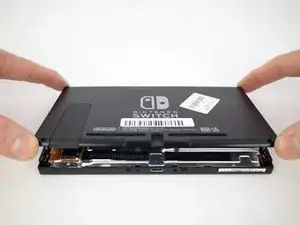
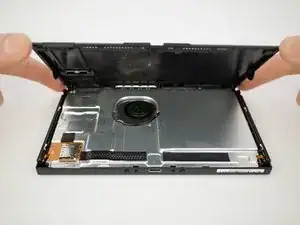
    • Pull the rear panel up and off of the device.

Conclusion

To reassemble your device, follow these instructions in reverse order.
Blake Klein

Member since: 30/01/17

71611 Reputation

0 comments