Introduction

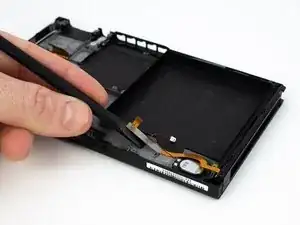
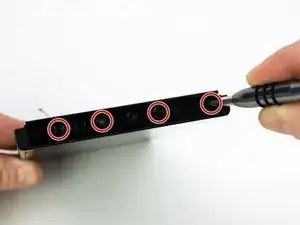
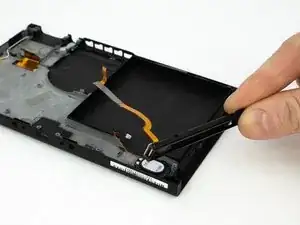
Follow this replacement guide to replace the left Joy-Con rail on a Nintendo Switch gaming console.

  1. S4nPdIUBhMLEDlKJ
    • Use the flat end of a spudger to pry up the ribbon cable.

  2. gbrBoTmQqJaVSUAJ
    • Remove the four 3.8mm JIS #0 screws from the left Joy-Con rail.

  3. N5bOsadHVKpulGFA
    • Remove the left Joy-Con rail.

Conclusion

To reassemble your device, follow these instructions in reverse order.

Blake Klein

Member since: 30/01/17

71611 Reputation

0 comments