Introduction
For the official, updated iFixit guide, click here. This guide is archived for historical purposes.
If your Joy-Cons detach too easily from your Nintendo Switch, there's a cheap and easy fix: replace the stock plastic buckle locks with third-party metal ones.
-
-
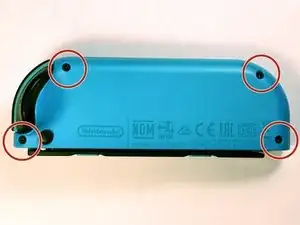
Remove the 4 screws on the back of the Joy-Con using a Tri-Point Y00 Screwdriver.
-
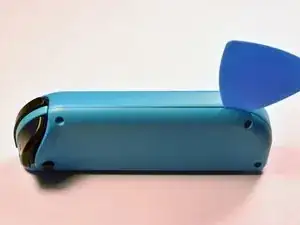
Carefully separate the two halves of the Joy-Con. Be gentle—there are ribbon cables connecting them inside.
-
Remove the single #00 Phillips screw holding the black plastic shell in place.
-
-
-
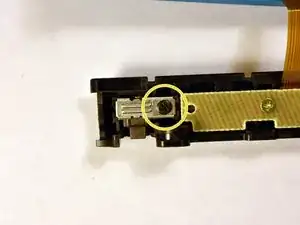
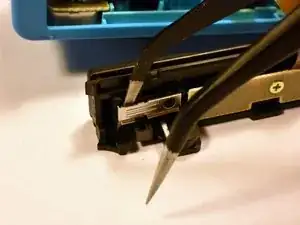
Remove the Phillips screw and gently pry the metal plate from the Joy-Con (a pair of tweezers might help). Be sure to hold the buckle lock in place so the spring does not fly out.
-
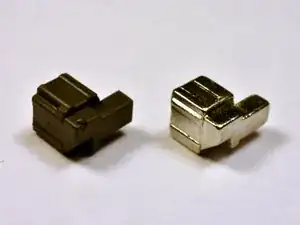
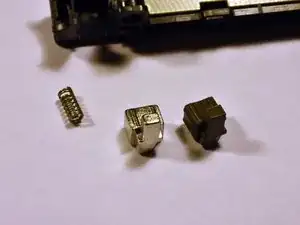
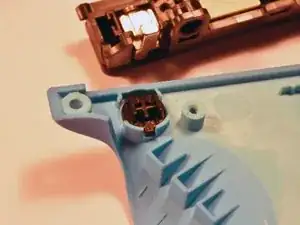
The buckle lock is different for the left and right Joy-Cons. Before you remove the buckle lock, identify the part that you will be replacing it with and make sure it matches the orientation of the original. Pay particular attention to which side is tapered and which side is straight.
-
Remove the buckle lock, being careful to keep the spring inside from flying out.
-
-
-
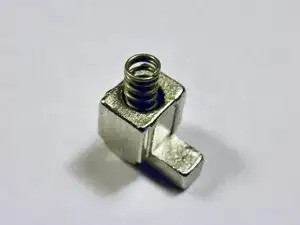
Place the spring into the replacement buckle lock. While compressing the spring, slide the buckle lock into the Joy-Con.
-
Keep the spring compressed using the tweezers. Then use the spudger to push the buckle into the joy con opening. Do not release the tweezers yet.
-
Use the spudger to hold the buckle and spring in place while you remove the tweezers. Once the tweezers are removed, you may go ahead and release the spudger from the buckle.
-
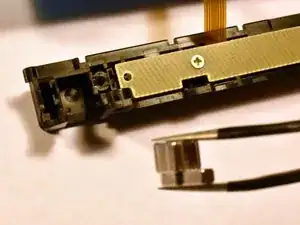
Replace the metal cover, making sure not to overtighten the screw.
-
Check that the black plastic latch button is still in place. Reassemble the Joy-Con.
-

To reassemble your device, follow these instructions in reverse order.