Introduction
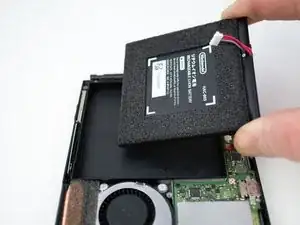
Follow this guide to replace the battery in a Nintendo Switch gaming console.
The battery is heavily glued in and will require adhesive remover to make replacement possible.
Before disassembling your device, discharge the battery below 25%. The battery can catch fire and/or explode if accidentally punctured, but the chances of that happening are much lower if discharged.
If your battery is swollen, do not heat your Switch. Use a dropper, or syringe, to inject isopropyl alcohol (90+%) underneath the battery to weaken the adhesive. Swollen batteries can be dangerous, so wear eye protection and exercise due caution if attempting removal yourself. Take it to a professional if you’re not sure how to proceed.
-
-
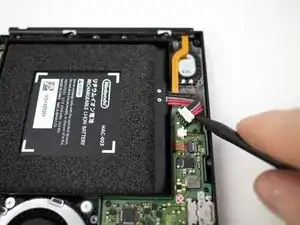
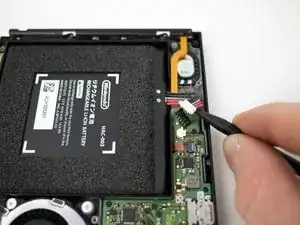
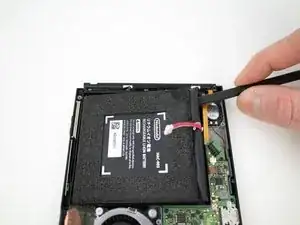
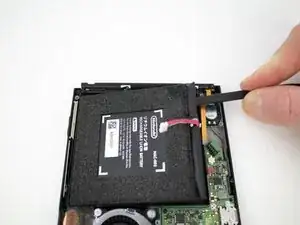
Insert the pointed end of a spudger underneath the white connector and pry upwards to disconnect the battery from the motherboard.
-
-
-
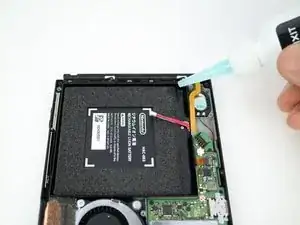
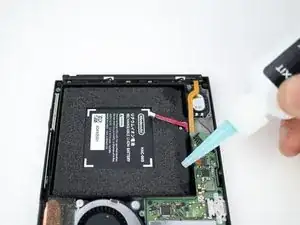
Apply a small amount of adhesive remover or isopropyl alcohol (approximately 1 ml) evenly along one edge of the battery cell.
-
Tilt the switch so the liquid solvent spreads underneath the battery.
-
Wait 2-3 minutes for the solvent to break down the adhesive underneath the battery before you proceed to the next step.
-

To reassemble your device, follow these instructions in reverse order.