Introduction

Is your Super Famicon experiencing start up issues? The substances in the cartridge may have been consumed over a period of time to contribute to the poor performance of your system. With this guide, we will give you the steps needed to replacing the cartridge and cleaning the cartridge port. You will need a 4.5mm Gamebit screwdriver, a J1 Phillips head, rubbing alcohol, Q-tips, and a replacement cartridge port. As you know, this Super Famicon is Japan's fourth generation of the device, therefore region restrictions may be applicable. This will likely result in needing to purchase your replacement port directly from Japan. Happy fixing!

  1. iDb6y2ugnKNFsSKE
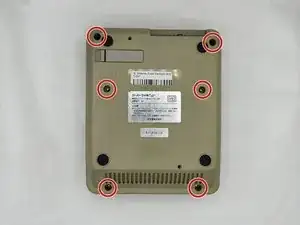
    • Remove the six 13.5 mm screws on the lower case with a 4.5 mm Gamebit screwdriver.

  2. 3NTu5KSCIknkXhpS
    3NTu5KSCIknkXhpS
    bMjwwuohBlHwQPXB
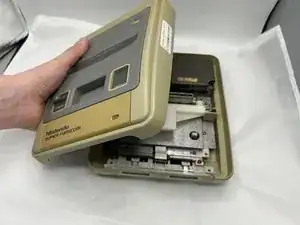
    • Flip the Famicom over and set it down.

    • Lift off the upper case.

  3. 1Du6QrQGHhdLkBbD
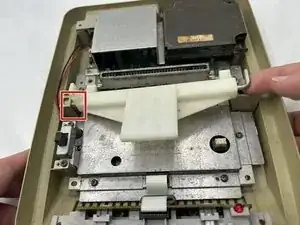
    • Remove the mechanism by lifting the axle slightly to the right and drawing it out.

    • A tiny spring holds the mechanism back in place. It's not too tense, but take care not to lose it. Also, take note of how it is arranged for future reassembly.

  4. Tv2YS333grxqWgBj
    Tv2YS333grxqWgBj
    V2yfVGZ4hJSVW6qF
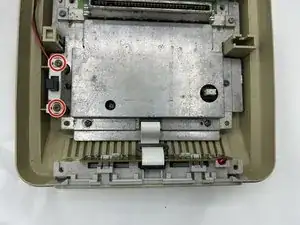
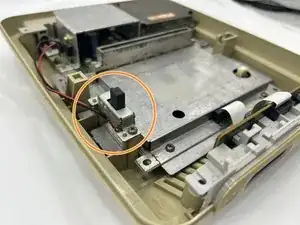
    • Use a Phillips screwdriver to remove the two screws that secure the power switch.

    • The power switch is connected to the main board via a little plastic connection; grip the motherboard connector and pull it straight out of its port.

    • Do not pull on the wires to avoid harming them. Instead, pull on the plastic connector.

  5. 6RCCOEfcQ6qWZLSG
    6RCCOEfcQ6qWZLSG
    XTfOiKAP5UWc4J3Q
    BPv6sBZfTkFZaWjH
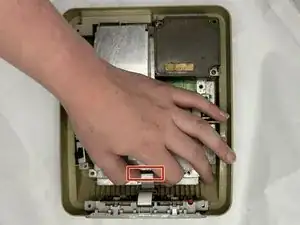
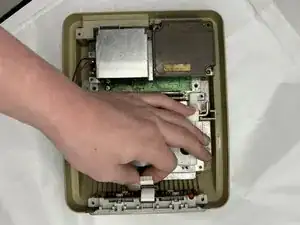
    • Carefully pull the ribbon cable that is attached to the controller board and the main board.

    • Remove the controller port.

  6. rXpMObZkThnIsIdF
    rXpMObZkThnIsIdF
    R4AohNnZF2scBM3h
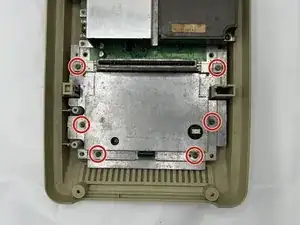
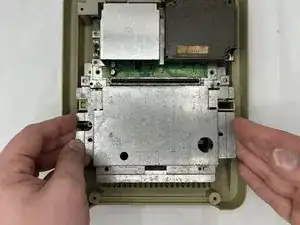
    • Use a Phillips screwdriver to remove the six 15.6 mm screws that secure the silver protective shield.

    • Remove the silver shield.

  7. ZWnWnEX4O31OtAV2
    ZWnWnEX4O31OtAV2
    fkXRxJELANth5nsY
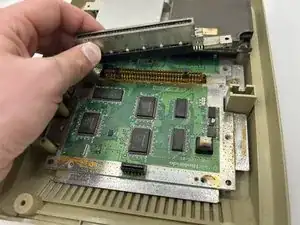
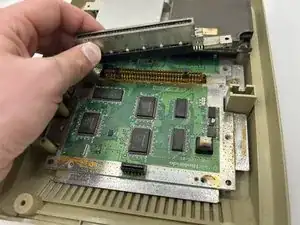
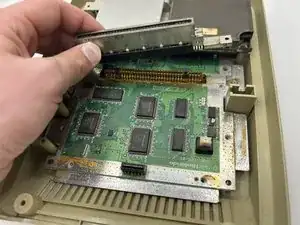
    • Lift the cartridge slot up and out of the device.

  8. 5AGh5FAdpxZoSFsS
    5AGh5FAdpxZoSFsS
    ChxEYwk6SJouCkTM
    • If the contacts are rusted or corroded, use a cotton swab damp with high-concentration isopropyl alcohol to remove the rust.

  9. pf1FHxvXUfCnaacW
    • Replace the cartridge slot.

Conclusion

To reassemble your device, follow these instructions in reverse order.
Carter Eason

Member since: 05/02/24

454 Reputation

0 comments