Introduction
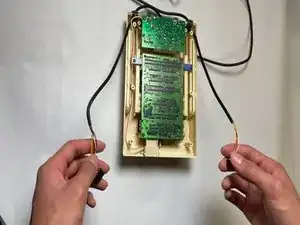
The motherboard of a Nintendo Family Computer (Famicom) is a fundamental component that serves as the central hub for processing and coordinating all system functions. This critical circuit board houses the CPU (Central Processing Unit), memory modules, and various other essential chips that collectively enable the Famicom to function seamlessly. Over time, due to factors such as age, environmental conditions, or unforeseen damage, the Famicom's motherboard may require replacement to restore optimal performance and functionality.
Tools
-
-
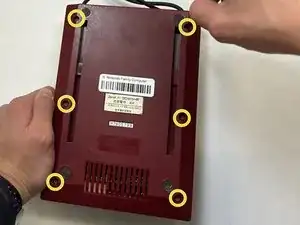
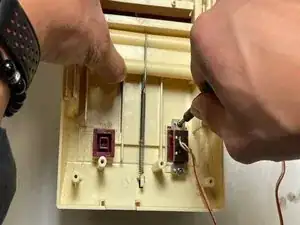
Use a Phillips screwdriver to remove the six 13.5 mm screws that secure the lower case.
-
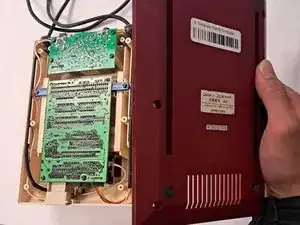
Remove the lower case.
-
-
-
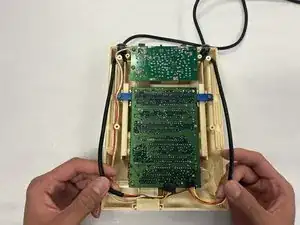
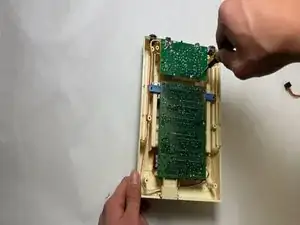
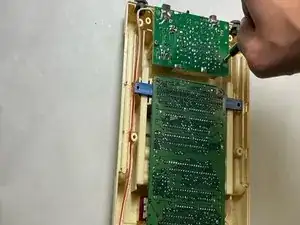
Remove the eight 13.5 mm Phillips screws that secure the motherboard.
-
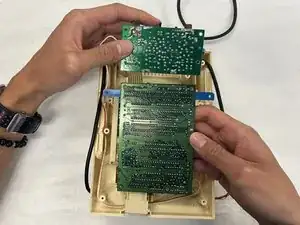
Lift the motherboard up and out of the chassis.
-
To reassemble your device, follow these instructions in reverse order.
