Introduction
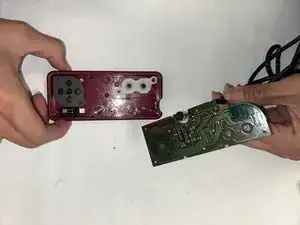
The controller motherboard is a critical component responsible for translating button presses into readable inputs for the game system. All controller components, including the motherboard, are subject to accidents, gunk buildup, and wear and tear. The controller motherboard, often built durably and protected within a case, will typically outlive the buttons and wire connections. Nonetheless, controller motherboards do need replacement from time to time.
Tools
-
-
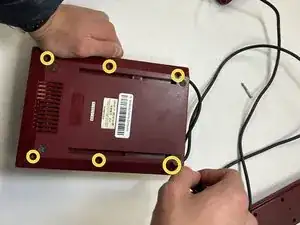
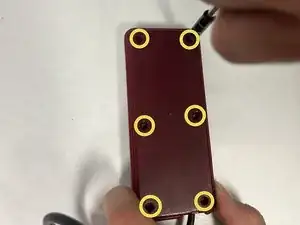
Use a Phillips screwdriver to remove the six 13.5 mm screws that secure the lower case.
-
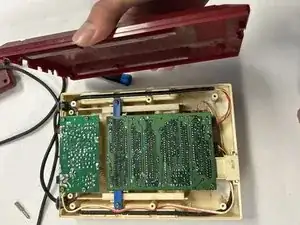
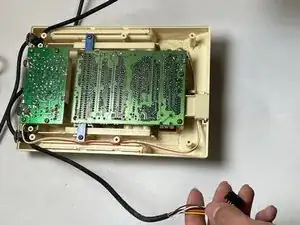
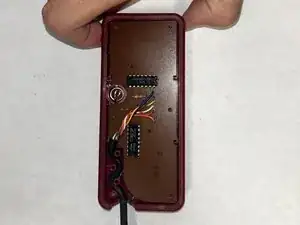
Remove the lower case.
-
-
-
Use a Phillips screwdriver to remove the six 9.3 mm screws from the back side of the controller.
-
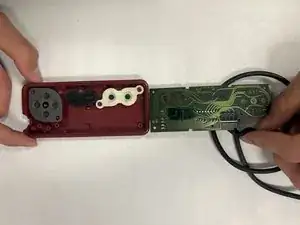
Remove the back cover of the controller.
-
To reassemble your device, follow these instructions in reverse order.
