
Introduction
If you are having issues with ejecting your game cartridge, you will need to open you NES and remove the game cartridge tray. Follow our guide for more information.
-
-
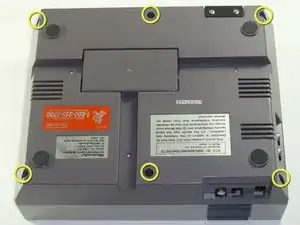
Remove the six 13.25mm Phillips screws on the bottom of the game console with a #2.5 flathead screwdriver.
-
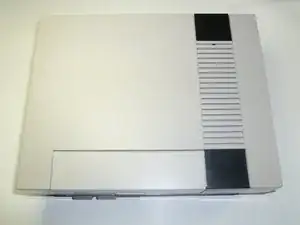
Flip the game console right side up and take off the top by pulling it up and away from the rest of the device with your hands.
-
-
-
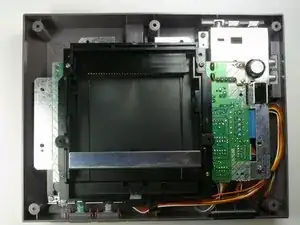
Remove the seven 13.25mm Phillips screws from the metal cover with a Phillips head #2 screwdriver.
-
Remove the metal cover by pulling it up and away from the rest of the console with your hands.
-
-
-
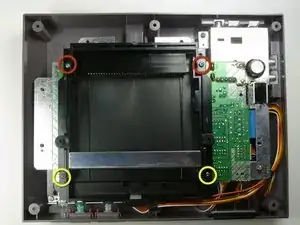
Remove the two silver 17.45mm Phillips screws from the cartridge tray using a Phillips head #2 screwdriver.
-
Remove the two bronze 13.25mm Phillips screws from the cartridge tray using a Phillips head #2 screwdriver.
-
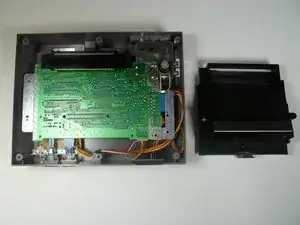
Slide the cartridge tray toward you, away from the 72-PIN connector, and off the motherboard assembly.
-
-
-
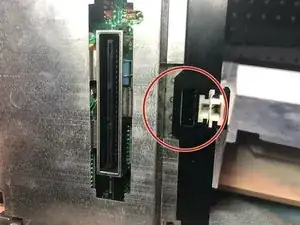
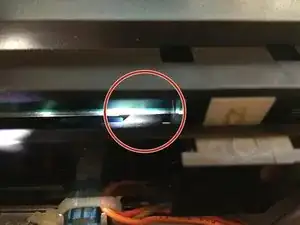
Note: Underneath the cartridge tray is a black trapezoid-shaped tab/lip (see marker). When properly assembled this tab/lip goes below the motherboard and shielding as seen here.
-


To reassemble your device, follow these instructions in reverse order.
One comment
I’m looking for a part that latches the tray into place it’s light blue in colour with a groove in it
Tony -
the outside screws are a little deep, plan ahead :)
Joseph McCord -
Why use a slotted driver? The screws are phillips. Both #1 and #2 work for me.
kmcrawford111 -