
Introduction
This is a guide on how to replace the hinge/midframe of the Nintendo 3DS XL. A broken hinge on the 3DS XL can lead to more damage to the midframe if left broken. This leads to the device not closing properly or feeling uncomfortable to use. Thus, it is necessary to replace the midframe when it becomes too damaged. The process of replacing this part is a bit difficult and has a lot of small steps, so a guide is needed to lead people through the process. This guide will show you every step in the process of disassembling a 3DS XL properly, since a few of the parts are a bit delicate. The replacement does not need any prior knowledge on technology to do. The process does require patience and carefulness.
-
-
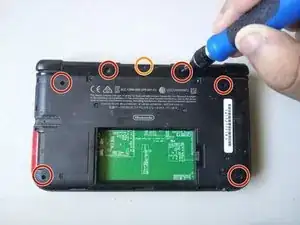
Remove the six 6.2 mm screws from the back cover using a Phillips #00 screwdriver.
-
Remove the single 2.3 mm screw from the back cover using a Phillips #00 screwdriver.
-
-
-
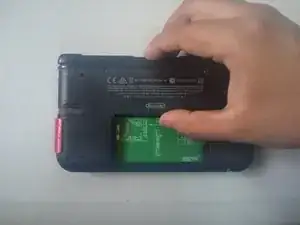
Use your hands to carefully remove the back cover at an angle, while keeping it connected to the top edge with caution regarding the ribbons.
-
-
-
Remove the two 7.5 mm screws from the white plate.
-
Use your fingers to lift it off the space carefully.
-
-
-
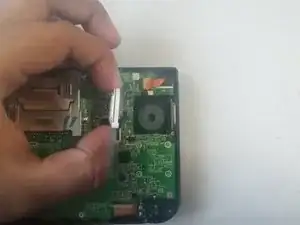
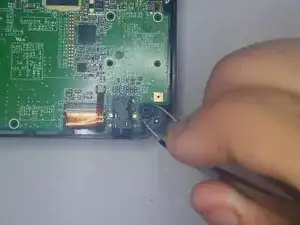
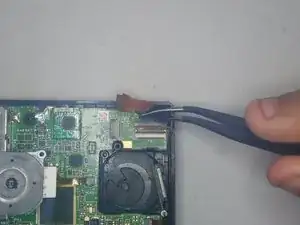
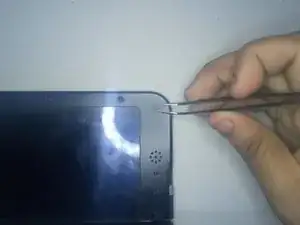
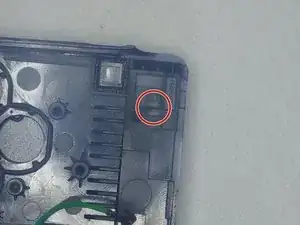
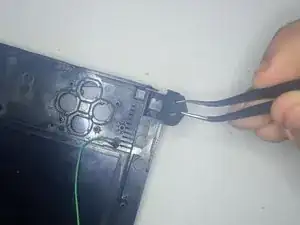
With caution yet with slight force, use a pair of tweezers to pull and disconnect the ribbon cable from the latch on the top right corner.
-
-
-
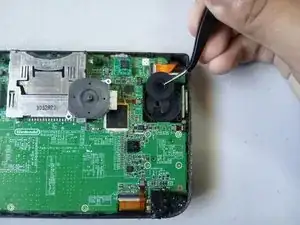
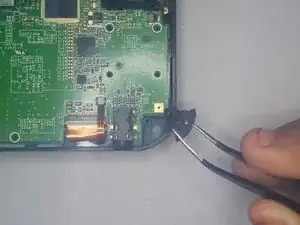
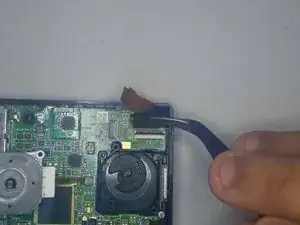
With caution yet with slight force, use a pair of tweezers to pull and disconnect the second ribbon cable from the latch on the top right corner.
-
-
-
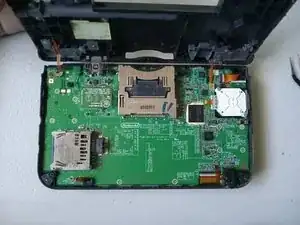
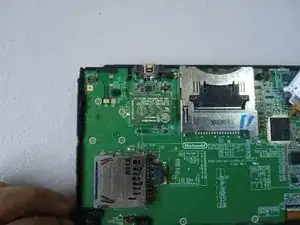
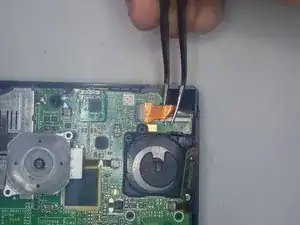
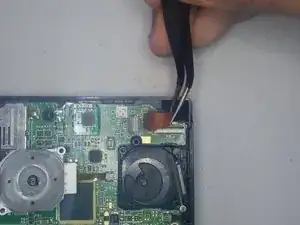
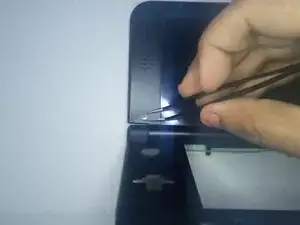
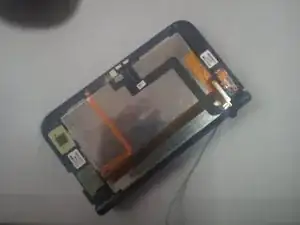
With caution yet with slight force, use your hands to lift the screen and the green motherboard from the frame.
-
-
-
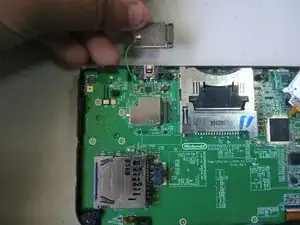
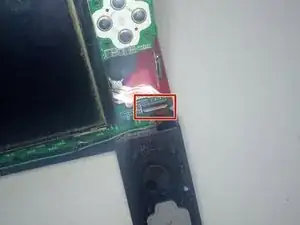
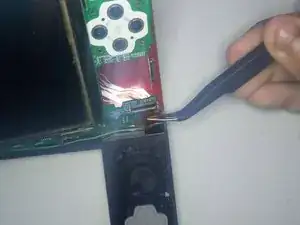
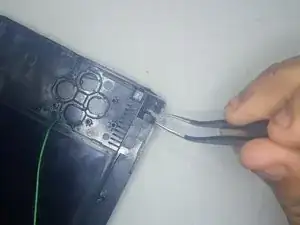
With caution yet with slight force, use a pair of tweezers to pull and disconnect the ribbon cable at the hinge from the latch.
-
-
-
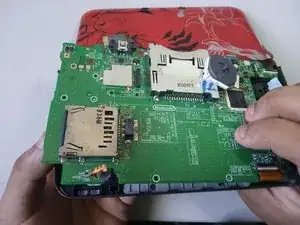
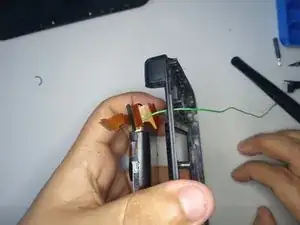
Use your fingers to disconnect the green rectangle (network board) from the small green cable.
-
-
-
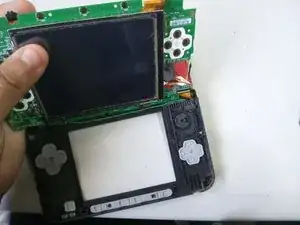
Use a pair of tweezers to remove the small rubber squares from each corner of the front screen.
-
-
-
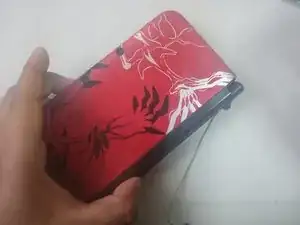
Use your hands to remove the top cover by pushing the cover horizontally away from the hinges, as to not break any plastic hooks.
-
-
-
Flip the 3DS XL upside down and find the top left hinge.
-
In the small opening, use a small opening tool to push the small white plastic piece down towards the other hinge.
-
-
-
Use a pair of tweezers to remove the small clear plastic piece from the hinge.
-
At this point you can remove the bottom frame from the left hinge using your hands.
-
-
-
At the top right hinge, use your hands to carefully slide the ribbon cables through a small gap next to the hinge to remove them from the bottom frame.
-
-
-
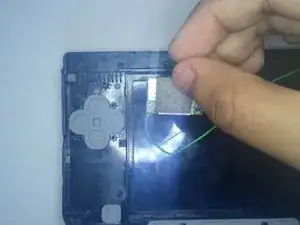
Use your fingers to remove all buttons and rubber covers from the old frame and place them into the new frame.
-


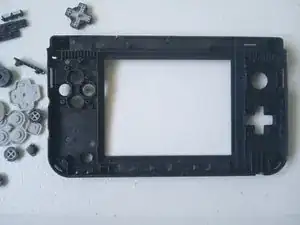
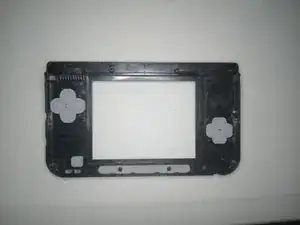
To reassemble your device, follow these instructions in reverse order.

One comment
the photos leave a lot to be desired as I can't even see the small part that you take off to access the hinge itself unfortunately and now I am stuck with a completely taken apart 3ds lx that does not work without taking off the hinge.