Introduction
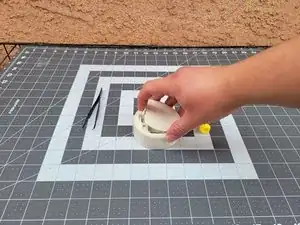
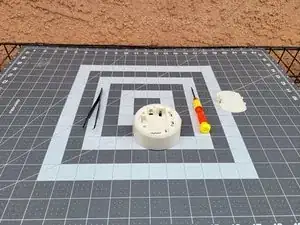
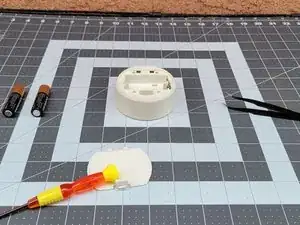
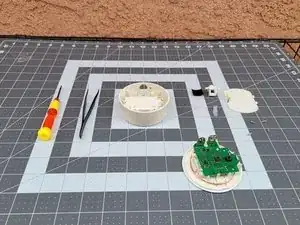
The 3DS NFC Adapter is an external device that gives older 3DS family models the ability to use Amiibos. This guide goes over the dismantling of a Nintendo 3DS NFC Adapter. Model number: CTRAFGWA.
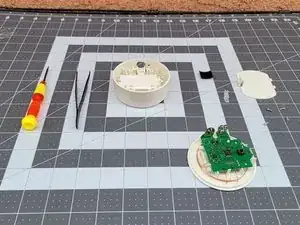
The NFC Adapter is a very simple device to take apart. The adapter contains a button, infrared slide, light-up plastic piece, and motherboard.
Steps 8 involve removing the motherboard, so take caution to prevent damage.
-
-
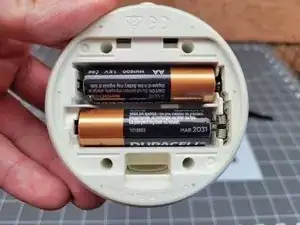
Flip the adapter so the bottom side faces up.
-
Remove the cover by pressing the plastic flap and lifting it up with one finger.
-
-
-
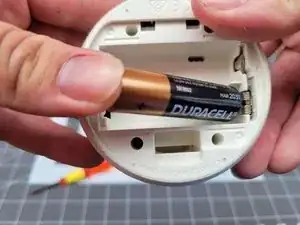
Remove the batteries by pressing the positive side towards the negative side and lifting with one finger.
-
-
-
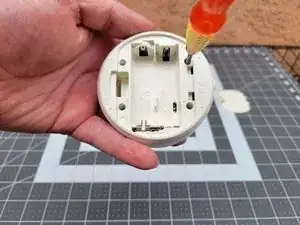
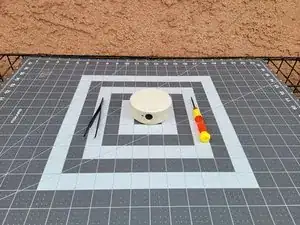
Grab your tri-point screwdriver.
-
Locate the four holes containing the tri-point screws at each corner of the adapter.
-
Using the screwdriver, unscrew all four screws.
-
Put the screws out of the way.
-
-
-
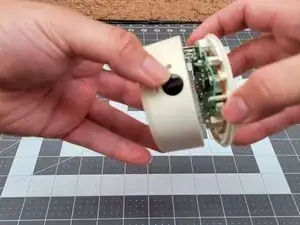
After removing the screws, flip the adapter where the top side faces up.
-
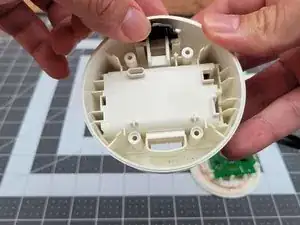
Using your fingers, pull the top off of the adapter.
-
Place the top out of the way.
-
-
-
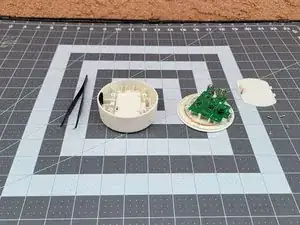
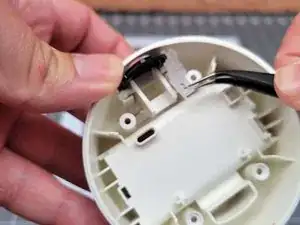
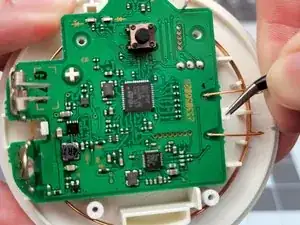
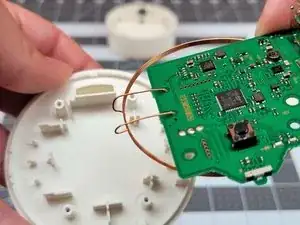
Using your tweezers, carefully loosen the copper wire from its plastic holder.
-
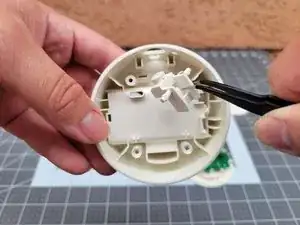
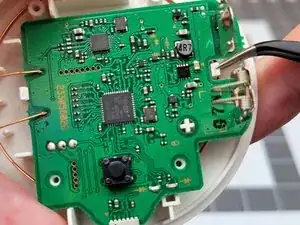
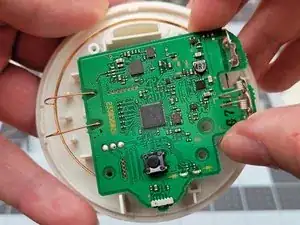
Then with the tweezers, remove the plastic holding the motherboard in place.
-