Introduction
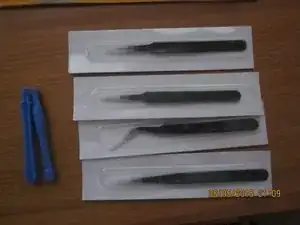
Tools
-
-
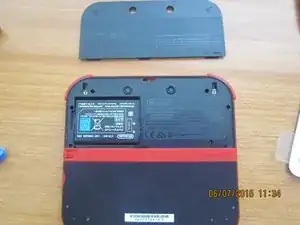
Flip the device to show the back.
-
Unscrew the two screws on the top half of the device.
-
Lift off the panel using the small pull area at the very top. (Marked in yellow).
-
-
-
Remove battery.
-
Unscrew the 10 screws holding in the back panel.
-
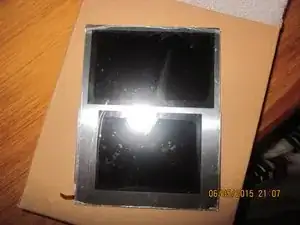
Carefully lift up the panel from the bottom and unhook the ribbon.
-
-
-
Gently lift off the coloured frames on the sides.
-
Remove L&R triggers
-
I recommend using tweezers to push back the spring so allow easy lift and placement.
-
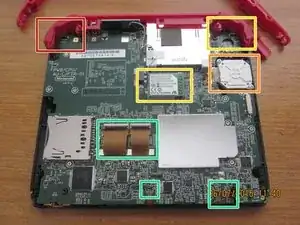
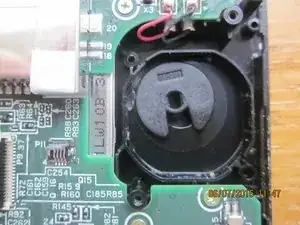
Remove circle pad module.
-
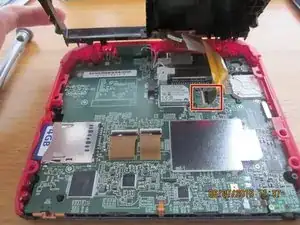
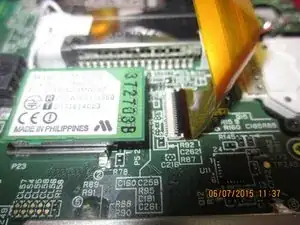
Remove wifi module
-
Unseat the ribbon cables.
-
2 big ones mid board, 1 center bottom edge, 2 Bottom right corner.
-
-
-
Unscrew 11 Motherboard screws.
-
Lift off motherboard and top colored piece.
-
Lift off screen carefully. It had adhesive so don't be surprised.
-


To reassemble your device, follow these instructions in reverse order.