Introduction

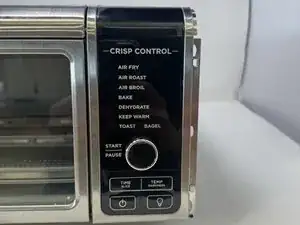
The control panel on your Ninja Foodi SP101 is the only way to interact with the oven. It is responsible for controlling the temperature, the mode, and the remaining time to cook. A non-functioning control panel prevents the user from interacting with the device.

  1. UxblIxJeMQe3ypv1
    UxblIxJeMQe3ypv1
    Zf3TFjTmJtK3lLDy
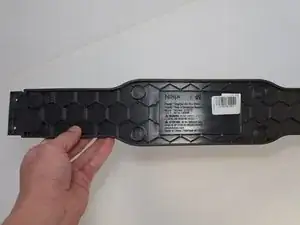
    • Use a TR10 screwdriver to remove the four 11mm screws holding the black lever bar in place.

  2. IwYS5sBJgP3SMLR1
    • Remove the black lever bar.

  3. ofy1pbhhVRNHqS6i
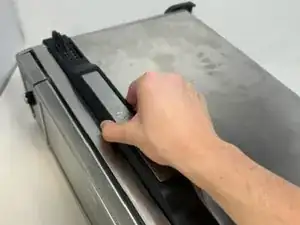
    • Use a Phillips #1 screwdriver to remove the three 8mm screws on each side of the back panel.

  4. 6wNQesiRa2kTQ3J4
    6wNQesiRa2kTQ3J4
    r3CJCX1yDa13W6dD
    • Flip the device upside down and open the bottom panel.

    • Remove the five 8 mm screws on each side of the interior using a Phillips #1 screwdriver.

  5. frPxJEWA6pBYuSXG
    frPxJEWA6pBYuSXG
    1gEXfH3lct1wOcWL
    iUR2DB4ecmbJXiVj
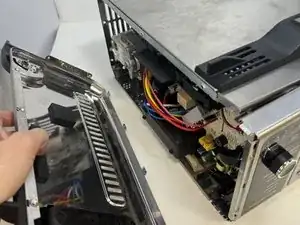
    • Remove the control side panel.

    • Lift the siding outward to remove the metal tab connection on the bottom.

  6. PwWbluNUFQLQLdOK
    PwWbluNUFQLQLdOK
    spOUbMnrwmmQPoph
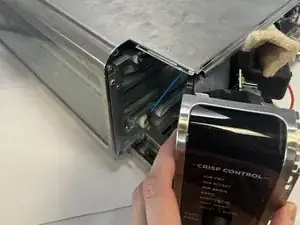
    • Lift the handle and pull the side panel out.

    • Remove the handle side panel.

  7. KaTBSUy2KqRvhmAY
    • Remove the 10mm screw using the Phillips #1 screwdriver.

    • This screw connects the motherboard to the motor.

  8. pjaTHOWVk2taJBgE
    pjaTHOWVk2taJBgE
    QPAsMLSdmdLDIKmP
    MUAY1t5KJOH6IWuC
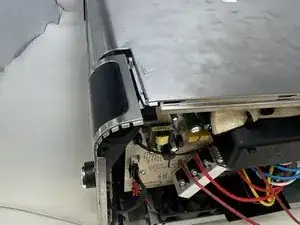
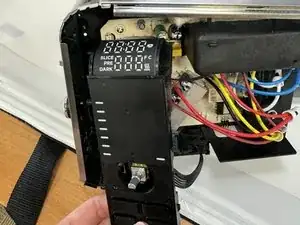
    • Locate the control panel.

    • Slide the top panel outwards and to the right.

  9. 5iL3qlZQUce6rqOU
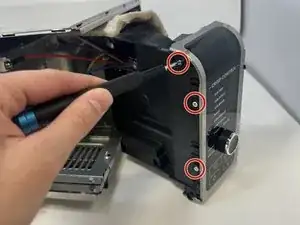
    • Remove the three 8 mm screws with the Phillips #1 screwdriver.

    • These are located on the control panel side that was facing inward.

  10. GSPjiuw6KmF1XORq
    GSPjiuw6KmF1XORq
    gPtSOuxhGwu6SUf4
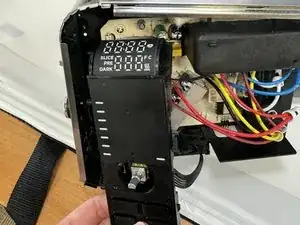
    • Unclip the wires from the motherboard.

  11. MEffn5yqO2kjvTDG
    • Remove the control panel.

Conclusion

To reassemble your device, follow these instructions in reverse order.
Griffin Peterson

Member since: 30/01/24

568 Reputation

0 comments