Introduction

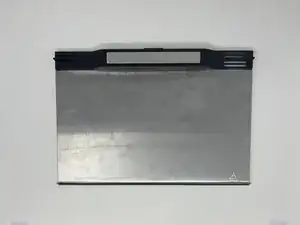
On your Ninja Foodi SP101, the bottom panel allows you greater access to the interior of the device. This bottom panel also functions as a net to capture crumbs, grease, and other food particles. If the bottom panel needs to be removed for replacement/cleaning, follow this guide.

  1. UxblIxJeMQe3ypv1
    UxblIxJeMQe3ypv1
    Zf3TFjTmJtK3lLDy
    • Use a TR10 screwdriver to remove the four 11mm screws holding the black lever bar in place.

  2. IwYS5sBJgP3SMLR1
    • Remove the black lever bar.

  3. ofy1pbhhVRNHqS6i
    • Use a Phillips #1 screwdriver to remove the three 8mm screws on each side of the back panel.

  4. 6wNQesiRa2kTQ3J4
    6wNQesiRa2kTQ3J4
    r3CJCX1yDa13W6dD
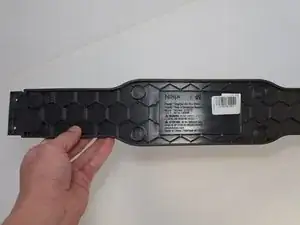
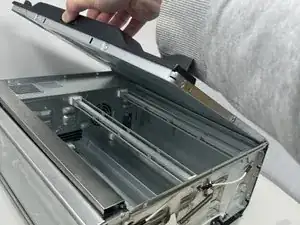
    • Flip the device upside down and open the bottom panel.

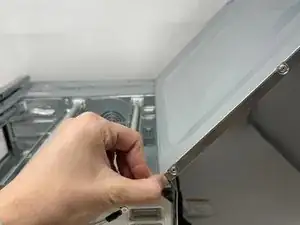
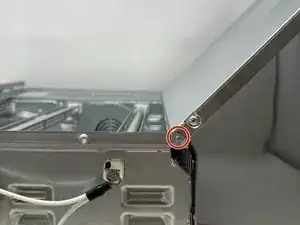
    • Remove the five 8 mm screws on each side of the interior using a Phillips #1 screwdriver.

  5. frPxJEWA6pBYuSXG
    frPxJEWA6pBYuSXG
    1gEXfH3lct1wOcWL
    iUR2DB4ecmbJXiVj
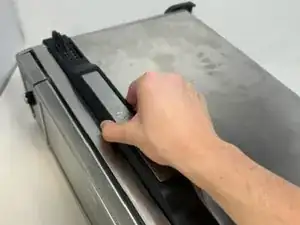
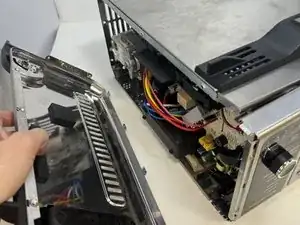
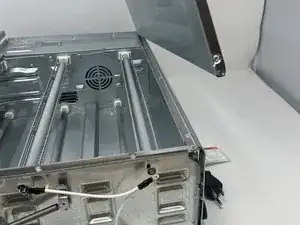
    • Remove the control side panel.

    • Lift the siding outward to remove the metal tab connection on the bottom.

  6. PwWbluNUFQLQLdOK
    PwWbluNUFQLQLdOK
    spOUbMnrwmmQPoph
    • Lift the handle and pull the side panel out.

    • Remove the handle side panel.

  7. EJcBL1tsIIVPMSkq
    EJcBL1tsIIVPMSkq
    e45MBNMNQRRmWXWY
    itVTVhLDiTKKFJRO
    • Open the bottom panel, and face the handle side of the oven.

  8. BWoXtYbCfoaddKhv
    BWoXtYbCfoaddKhv
    KRvXWgrBKXlLIMaR
    • Press the pin holding in the door inwards, allowing the door to come free.

  9. QR3WUf4bVX25WNfO
    QR3WUf4bVX25WNfO
    G5duojlPZ3NrXHiJ
    • Remove the door completely by lifting the pin out of the other side.

Conclusion

To reassemble your device, follow these instructions in reverse order.

ben

Member since: 30/01/24

419 Reputation

0 comments