Introduction
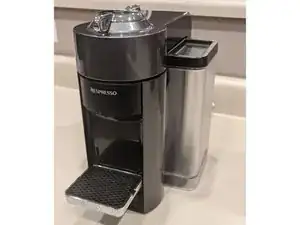
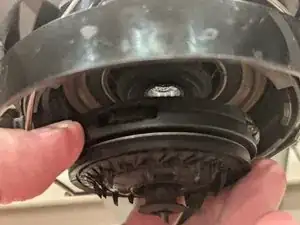
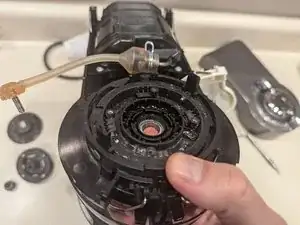
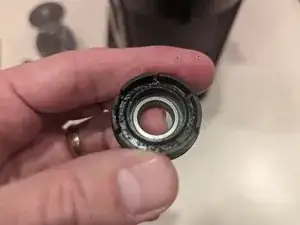
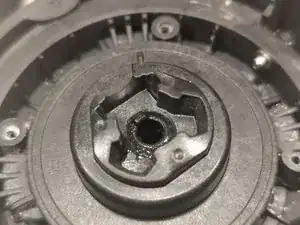
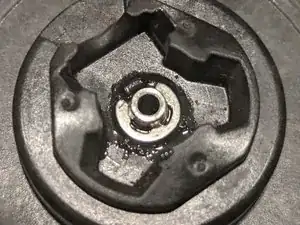
Numerous online sources [1, 2, 3, 4, 5, and many more] describe an age-related issue with Nespresso Vertuo coffee makers: they can get loud as they age. This can in some cases be due to build-up of deposits in the system, but it can also be due to degradation (rust) of the bearing for spinning the Vertuo capsule.
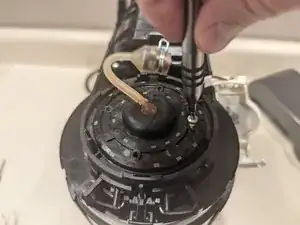
Although replacing this bearing is not intended to be a user-performed task, it turns out not to be too challenging, and can significantly extend the life of this coffee maker.
Tools
Parts
-
-
Remove the water tank, capsule storage bin, and drip tray to make handling the machine easier.
-
-
-
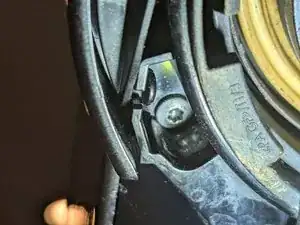
The plastic cover on the upper hinged lid will need to be removed. Remove two Torx T10 screws that secure it in place, one from each side.
-
A small flashlight may help to locate the two screws since they are recessed ~1.5cm under the upper plastic cover.
-
-
-
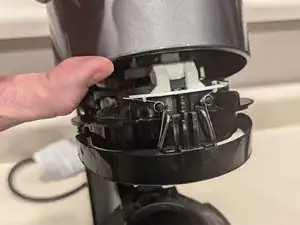
The upper plastic cover is also secured by several plastic catches. Beginning on one side near where the circular head portion of the lid meets the longer arm portion, GENTLY spread the bottom edge of the plastic cover out, so that the plastic catches at that point disengage.
-
Once one side has been freed, perform the same GENTLE speading on the other side. When all the plastic catches on the circular head portion have been disengaged, the upper plastic cover can be lifted and rotated free of the remaining catches on the longer arm portion.
-
-
-
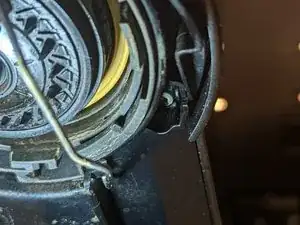
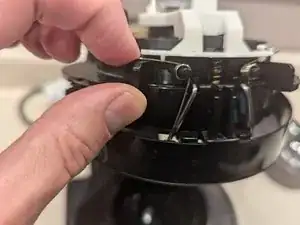
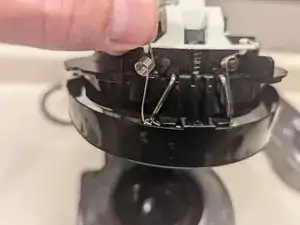
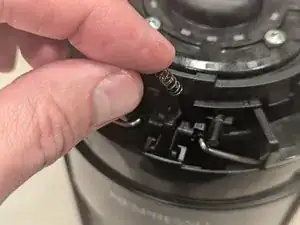
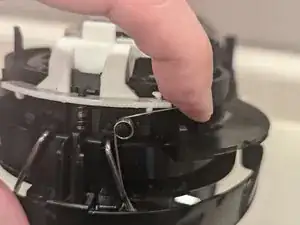
Disengage the two spring tensioners on the capsule catch bars, one from each side: Gently bend the upper part of the spring down and rotate it out from under the plastic lip holding it in place.
-
Remove the spring from each arm of the capsule catch mechanism and set them aside. Remember which spring corresponds to which side of the mechanism.
-
-
-
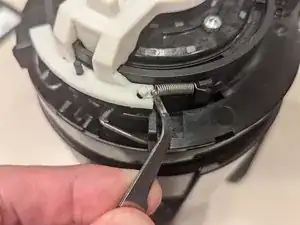
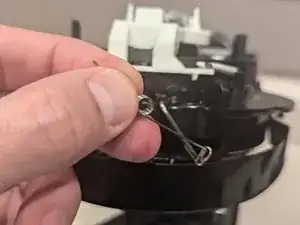
Remove the silver lid-release spring: remove one end from the white button bracket, and then remove the other end from the black lid-release mechanism. Tweezers or a toothpick may be helpful here.
-
-
-
This step and the following steps are easiest if the machine lid is closed.
-
Don't worry about closing the lid: You can re-open the machine lid when needed using the two black lid-release mechanism pins that are located 180 degrees apart at the top of the machine head, at roughly the 5 o'clock and 11 o'clock positions. Push them slightly counter-clockwise to open the machine lid.
-
-
-
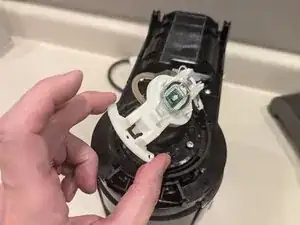
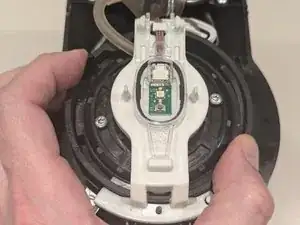
Remove the white button bracket from the top of the machine head: using a small flat-bladed screwdriver to gently press in each of the two plastic clips holding it in place can help to safely loosen and lift it.
-
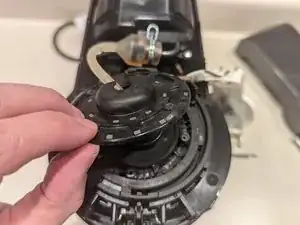
The white button bracket will remain attached to the machine by a small brown wire. Carefully rotate the white button bracket around and to the right so that you have clearance to continue disassembling the machine head.
-
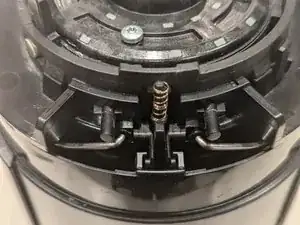
Carefully lift off and set aside the small brass-colored spring that is now exposed on the front edge of the machine head.
-
-
-
Carefully lift off the black steamer cover from the head of the machine, and slide it gently down the silicone tube.
-
Remove the end of the silicone tube from the top of the machine head. Do not lose the metal tube at the top of the silicone tube.
-
If the metal tube falls out, it can be pushed back into place in the silicone tube; the orientation of this tube will be important when re-assembling the machine.
-
-
-
Remove the upper steamer lid by pressing it down and rotating counter-clockwise about 30 degrees.
-
Set the lid aside, and then remove and set aside the tension spring.
-
-
-
Re-open the lid by rotating the two lid-release pins (at 5 o'clock and 11 o'clock on the machine head) counter-clockwise.
-
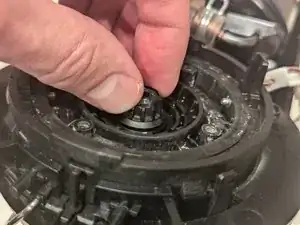
With one hand under the machine head, carefully hold the piercer and keep it from rotating, while with the other hand unscrewing the plastic retaining nut from the top.
-
Gently push the threaded shaft down to remove the piercer assembly from the machine head.
-
-
-
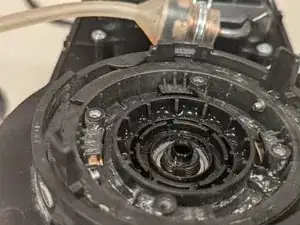
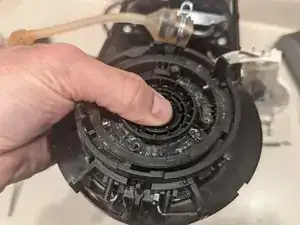
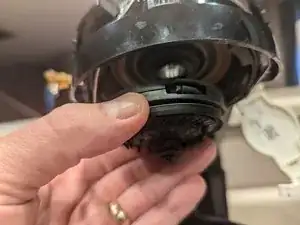
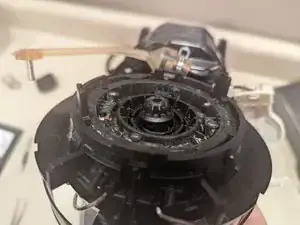
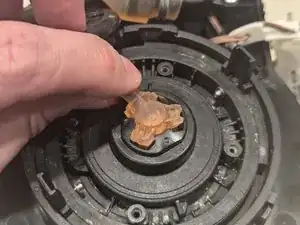
Gently push up from below the machine head to remove the bearing and the plastic bracket that holds it in place.
-
-
-
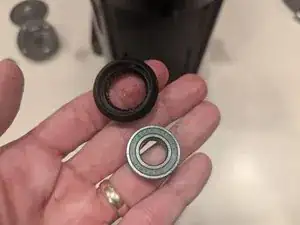
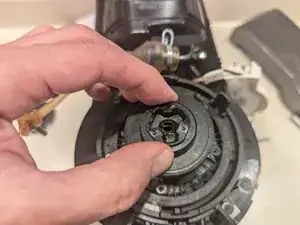
Gently push the bearing out of the plastic bracket.
-
Clean and wipe the plastic bracket, then insert the new bearing into the bracket.
-
-
-
Clean the surface at the top of the machine head where the bearing will sit.
-
Gently press the bearing and plastic bracket back into place from the top of the machine head.
-
Clean any debris from the piercer head and the piercer head threaded shaft.
-
Carefully reinsert the piercer head threaded shaft through the hole in the bearing, and screw the plastic retaining nut back onto the piercer shaft.
-
-
-
Close the machine lid.
-
Clean the tension spring and carefully place it on the top of the machine head.
-
Align the steamer lid on top of the spring so that the notch for the silicone tube to exit is pointing to the upper left (roughly 10 o'clock position; see photo 2).
-
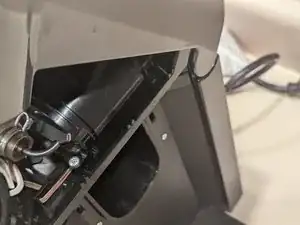
Alignment of the metal tube in the end of the silicone tube is critical. If the metal tube has fallen out of the silicone tube, or if it has rotated within the silicone tube, it will be easiest to achieve proper alignment by removing the metal tube from the silicone tube and inserting it into the steamer lid.
-
Note the E-clip on the end of the metal tube. The gap in the E-clip must line up with a small post on the steamer lid. (see photo 3)
-
If you've re-assembled your machine but discover that you have weak or watery coffee, come back to this step and reconfirm that the metal tube is properly aligned. See this Reddit post for details.
-
-
-
Ensure that the steamer cover is still properly oriented, with the silicone tube passing through it. (photo 1)
-
Press the silicone tube over the steamer lid and metal tube (photo 2), and align the steamer cover with the four screw holes in the steamer lid.
-
Reinsert and fasten the four T10 Torx screws to secure the steamer cover to the steamer lid.
-
-
-
Replace the small brass-colored spring on the black pin at the front edge of the machine head.
-
Rotate and align the white button bracket over the top of the machine head, and gently press to refasten.
-
Note that the black pin on which the brass-colored spring is sitting must align with a hole in the white button bracket in order for the bracket to seat properly.
-
-
-
Carefully re-attach the silver lid release spring.
-
It may be easiest to first attach one end of the spring to the black lid release post, then use tweezers or a toothpick to stretch the other end of the spring over the post on the white button bracket.
-
-
-
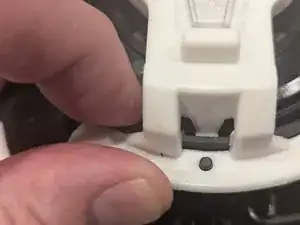
Attach the lower end of each capsule catch bar spring to the catch bar, gently pressing it into place on the bar. (photo 1)
-
Slide the spring onto the round spring mount. (photo 2)
-
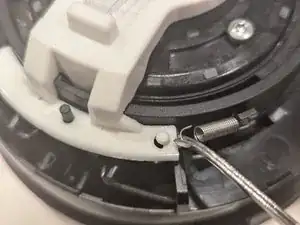
Gently bend the upper spring arm under the white button bracket, making sure the spring arm rests behind the plastic ridge to hold it in place. (photo 3)
-
-
-
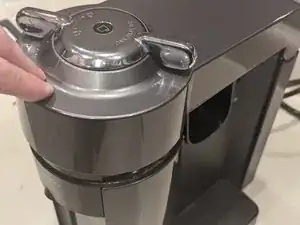
The two posts on the steamer cover (ie, on the machine head) must align with two holes in the upper plastic cover so that the release handles on the top of the upper cover properly rotate and lock the steamer, when the upper cover is attached.
-
This alignment is easiest when the machine head is in the closed and locked position:
-
Close the machine head and rotate the steamer clockwise to the locked position. The posts will be at roughly 10 and 4 o'clock.
-
On the upper side of the upper cover, rotate the release handles until the "locked" indicator lines line up.
-
-
-
Latch the back end of the upper plastic cover over the plastic tabs at the back of the machine. (photo 1)
-
Gently rotate the front of the lid down and press it into place, making sure that the posts on the upper steamer lid align with the holes on the lid. (photo 2)
-
You should be able to slightly rotate the upper locking handles and feel resistance as they engage the steamer head below them.
-
After pressing all the locking plastic tabs into place around the top of the machine lid, you should be able to open and close the machine lid using the locking handles.
-
-
-
Open the upper lid, and secure the upper lid in place by re-fastening the two T10 Torx screws.
-
A small flashlight may help to get the screws aligned and seated in the recessed openings.
-
These instructions include both disassembly and re-assembly.
You may want to take the opportunity to carefully clean your coffee maker's internals as you reassemble it.
One comment
I did this and the unit is still noisy. Sounds like the drive mechanism for the spinning parts. Once the drive stops, the spinning parts coast quietly down to zero revolutions. Cannot find any relevant info on further parts availability for VertuoLine Vertuo Flat Head machines let alone a parts breakdown.
Krull -
