Introduction

The chosen product here is the Nespresso Pixie. This repair guide will give you all of the necessary tools in order to replace the internal diffuser plate. The guide will take approximately 45 minutes to an hour depending on past experience. At this end of this guide, you will be able to completely take apart this machine in order to cleanse or replace the internal diffuser plate. The most challenging issue you have will be pulling with enough force to pull it apart without breaking it.

  1. gLDLDUCgAuBBSmed
    • Unplug the machine from any outlets.

    • Remove the water tank by pressing the top button and pulling outwards.

    • Make sure there is no fluid left in any part of the machine.

  2. LgFGvbXQfh4WoWxo
    LgFGvbXQfh4WoWxo
    nnkeVlsFNkpuUMPt
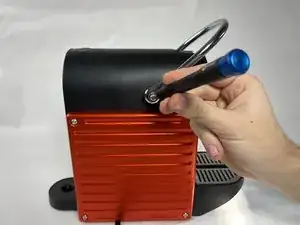
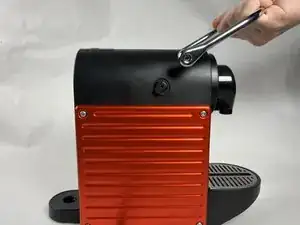
    • Use a Torx T5 screwdriver to detach the lever of the machine on both sides.

  3. OBEEmtM2Wkos4ZUc
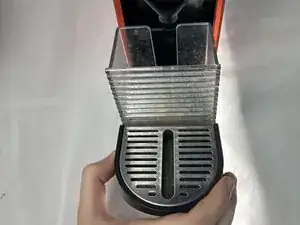
    • Remove the drip tray using your hand.

  4. w4aJgXowZmbSJQOL
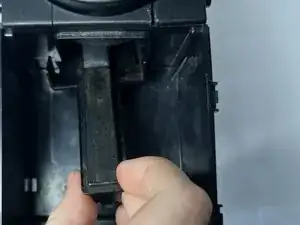
    • Use your hand to remove the black drip tray grill behind the drip tray.

  5. E3NnXiKIwWCwBu3m
    E3NnXiKIwWCwBu3m
    5fEyEscfc6l1jh5F
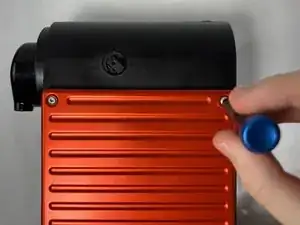
    • Use a Torx T4 screwdriver to unscrew each screw on the faceplates.

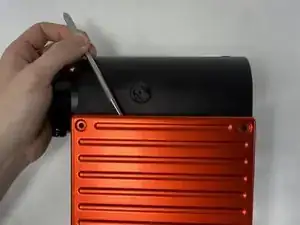
    • Remove the faceplate using a metal spudger.

    • Be sure to start in both corners to separate the pieces.

  6. MJlT3QVnTCjkc4Yn
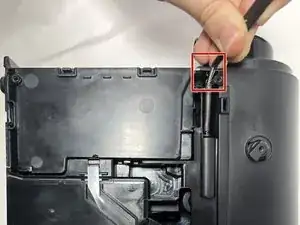
    • Locate the two springs in each top right corner and use a set of tweezers to remove them.

    • Be sure to set the machine in an enclosed container when this is done so as to not to lose the springs.

  7. qN4nU3ZjyRWTVMAq
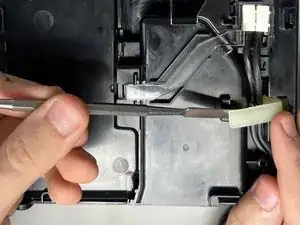
    • Take off the white plastic bits using a metal spudger.

  8. xBUIZrZcg3R5LIxX
    xBUIZrZcg3R5LIxX
    JDAT3GcMS26fEBKd
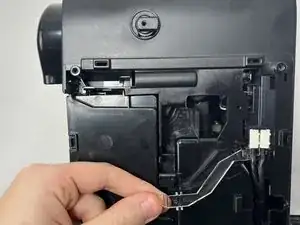
    • Remove the clear plastic bits using a metal spudger.

    • Be sure to pull it out using the hole in which it is indented.

  9. EPiWQaFHOqc6pBgd
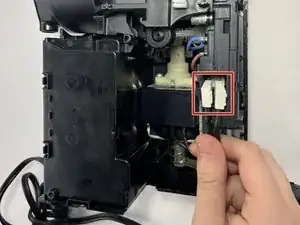
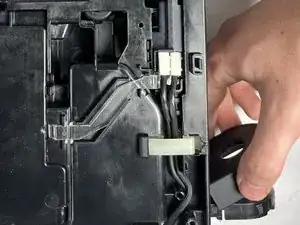
    • Use your hands to remove the cables that give power to the machine.

  10. CnqpbSiWyGwMbLQQ
    • Use your hands to remove the water spout.

  11. OOctWCGCD3EDsqrM
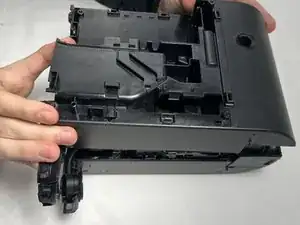
    • Seperate both halves of the machine using both a spudger and your hands.

    • Be sure to take your time and start in the middle. Note that it is incredibly well secured.

  12. LqLX4aEEUJe14SAc
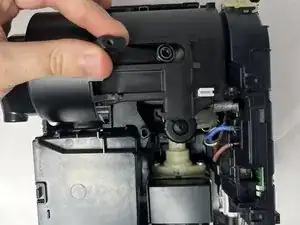
    • Use your hands to pull out the first lever housing in the spot shown in the picture.

  13. x5YkoMiYwQCWWD2L
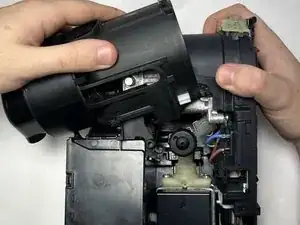
    • Pull the brewing mechanism apart from the remaining plastic barrier.

    • Once it is separated, pull off the other lever housing in the same way as was described in the previous step.

  14. VdPnaVEIpdCtQjQg
    VdPnaVEIpdCtQjQg
    TrXvNR5RVowWRScI
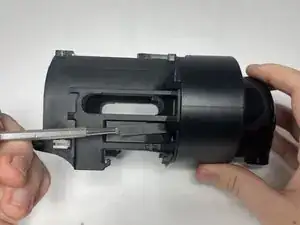
    • Use a spudger to unclip the clips holding the black case in place.

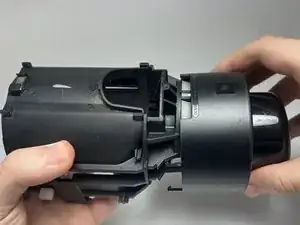
    • Pull the brewing chamber outwards from the machine and then pull it downwards to detach it.

  15. rpU3ANheJ1KRuMCp
    rpU3ANheJ1KRuMCp
    qkYHklLnLcLmSJOn
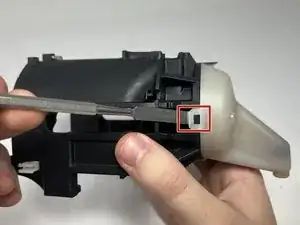
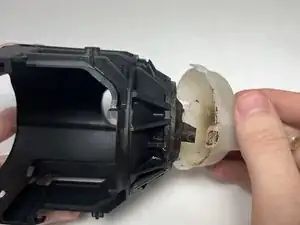
    • Pry off the clips holding the inner white chamber in place in the machine.

  16. GDa6YZJ5RAAciLuZ
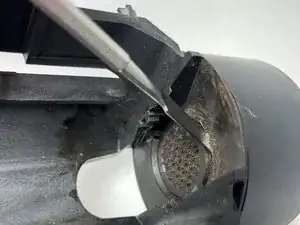
    • Use a spudger to take off your diffuser plate.

    • Insert your new diffuser plate.

Conclusion

To reassemble your device, follow these instructions in reverse order.
Drew

Member since: 06/11/23

253 Reputation

0 comments