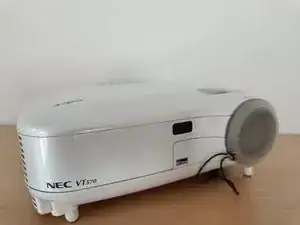
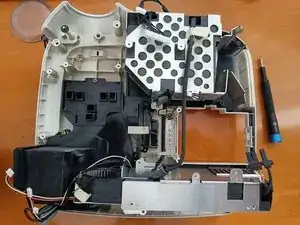
Introduction
-
-
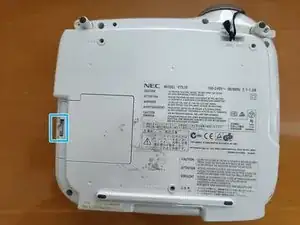
Turn the projector upside down.
-
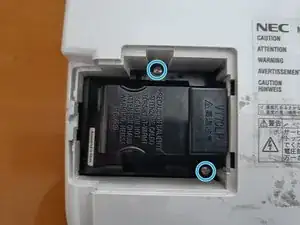
Remove the lamp small plastic cover.
-
Unsrew two srews and put out the lamp.
-
-
-
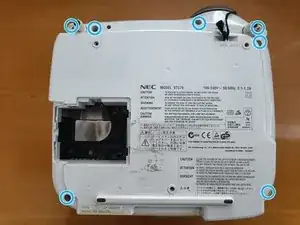
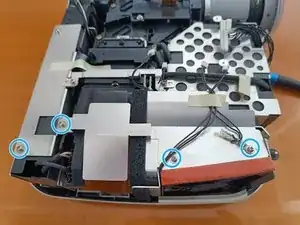
Unscrew all the screws marked on the pictures and remove the small backplate.
-
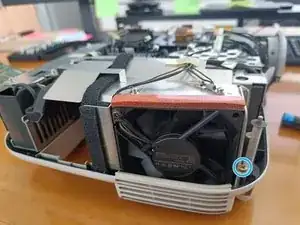
Pull out the fan.
-
-
-
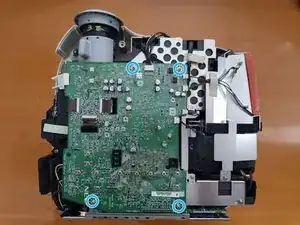
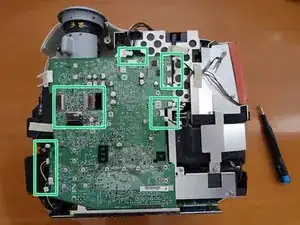
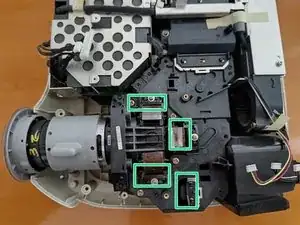
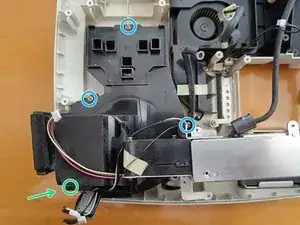
Remove screws Green are screws that are not seen in the picture.
-
After removing the top cover there are more screws
-
Remove four lances
-
-
-
Unsrew screws (blue), green screw is a bit hidden.
-
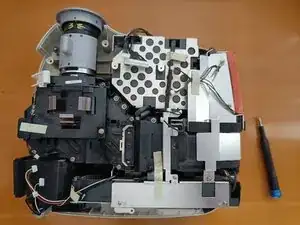
Remove upper backplate.
-
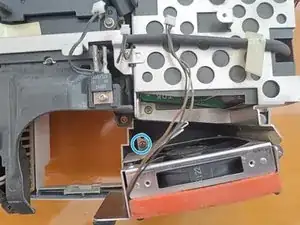
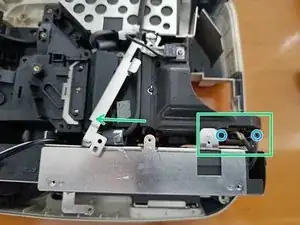
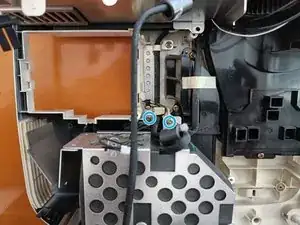
Unscrew the connector and pull it out.
-
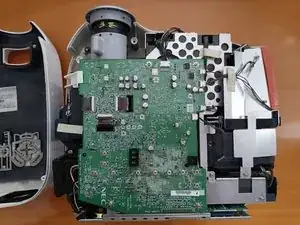
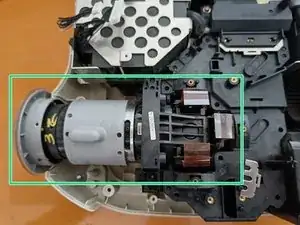
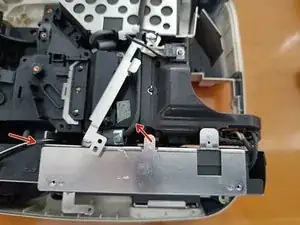
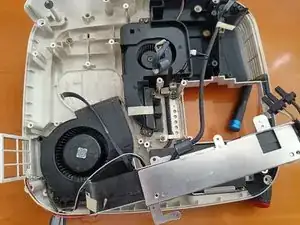
To pull the electricity part we should remove other parts first since they stick to cables connected to other modules.
-
-
-
Remove screws.
-
Take out the lens housing. Inside the lens housing are several small mirrors so be careful they don't fall out and brake.
-
-
-
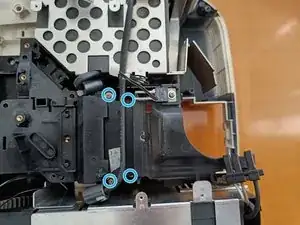
Remove screws.
-
Green marked screw is a bit hidden inside the case.
-
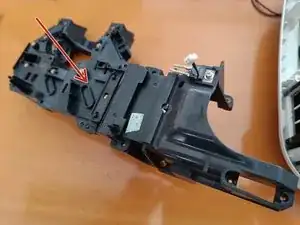
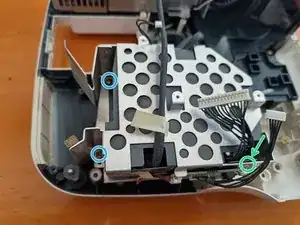
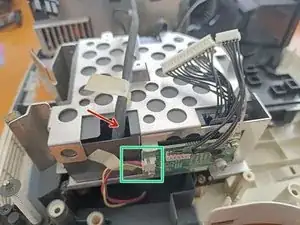
Unplug the side cable and you can take out the module.
-
Once the module is partly outside you can open the iron frame and unplug the other two black cables plugs into this module from each side.
-
-
-
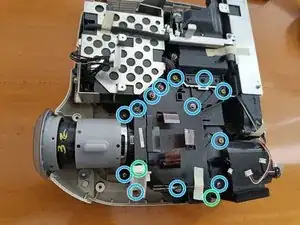
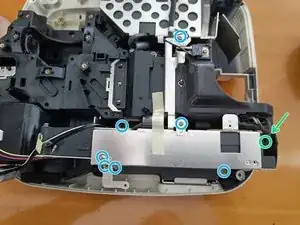
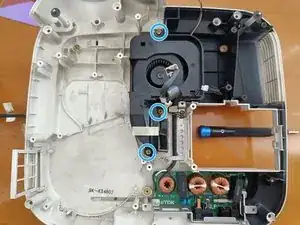
Remove marked screws. Green is not seen in the picture but it is there.
-
Remove the plastic cover and you'll find a big fan under it.
-
Now you can pull out the big fan together with the electrical module 1.
-

To reassemble your device, follow these instructions in reverse order.
