Introduction
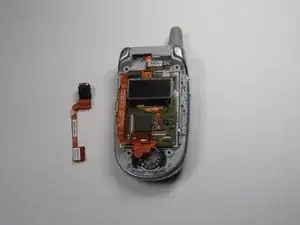
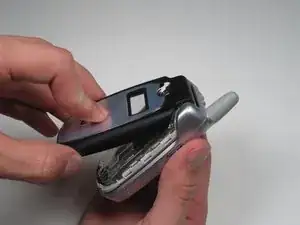
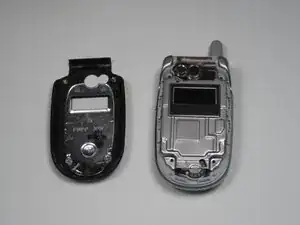
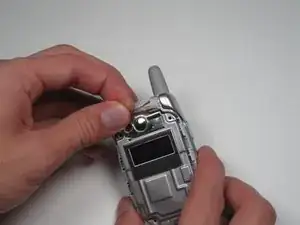
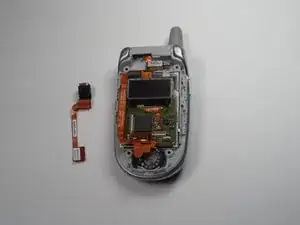
If you find that your Motorola V557 camera is not working properly, this guide will walk you through the steps to replace it. We will be replacing the entire camera along with the ribbon connecting it to the phone. A nonfunctioning camera may not show any picture on the screen or show a poor or unclear image. This would indicate that the camera needs to be repaired. This guide requires that the battery be below 25% for the safety of the repairer. No complicated skills or tools are needed for this repair. In order to complete this repair, tactile ability and hand tools are required. If this repair is done correctly your camera function should be restored and clear images will show up on the screen.
Tools
-
-
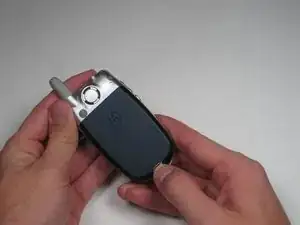
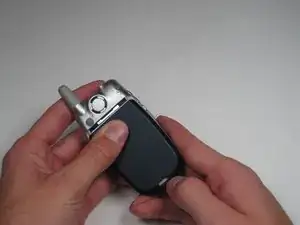
First, on the back of the phone find the silver button on the top left corner of the phone.
-
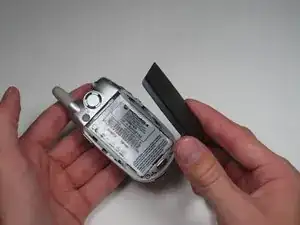
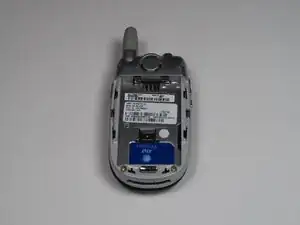
Simultaneously push down the button and slide the back plate down to reveal the battery.
-
-
-
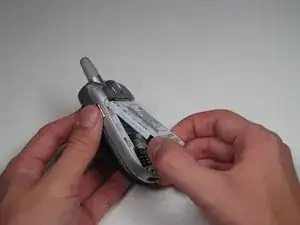
Grab the lower edge of the battery at the two bottom corners.
-
Pull upward on the edges to remove the battery.
-
-
-
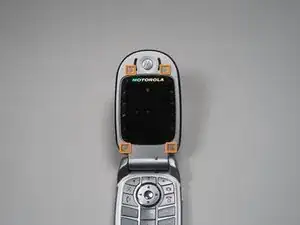
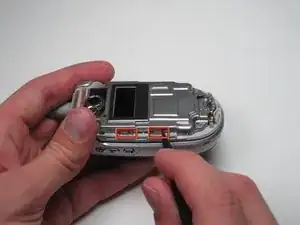
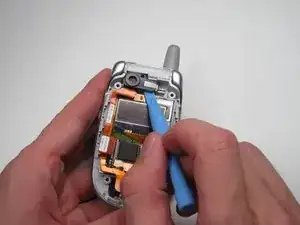
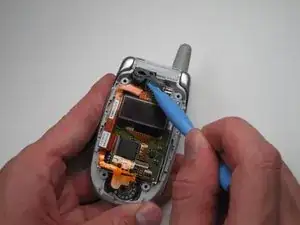
Insert the spudger into the slots marked and gently pry upwards to remove the metal cover.
-
Repeat the previous bullet for the two corresponding tabs on the opposite side of the phone.
-
-
-
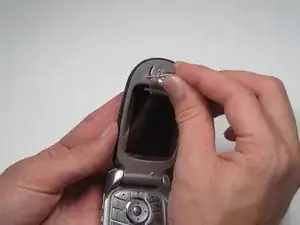
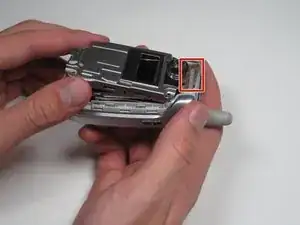
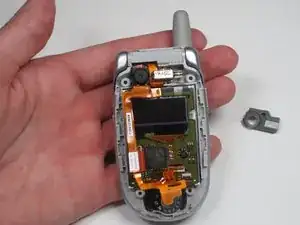
Lift and peel back the tape attaching metal casing to body of the phone.
-
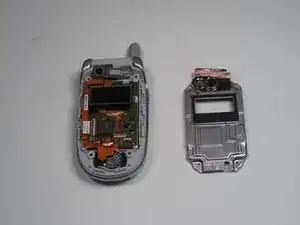
Gently lift the metal cover and remove to expose the circuit board.
-
-
-
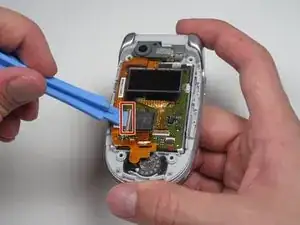
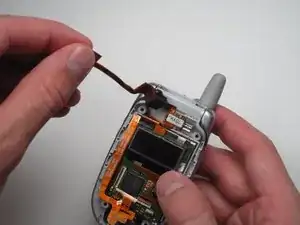
Using a plastic opening tool, pry or lift open the pink door shown.
-
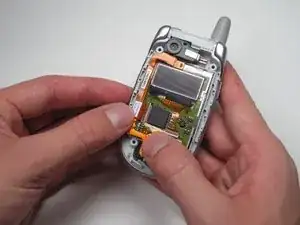
After the door is open, gently pull on the ribbon cable's corner to separate it from the board.
-
To reassemble your device, follow these instructions in reverse order.
