Introduction
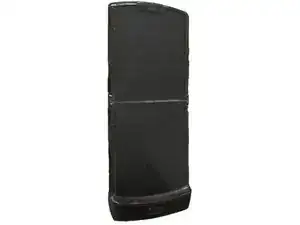
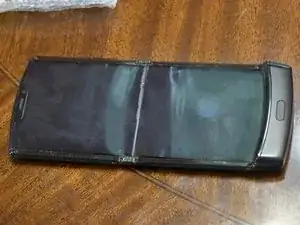
With Motorola no longer offering screen replacements, here is a guide on how to replace the main screen on the Razr 2019.
Tools
-
-
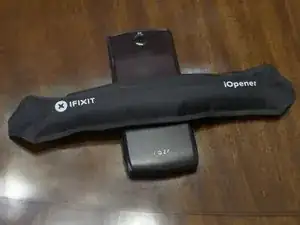
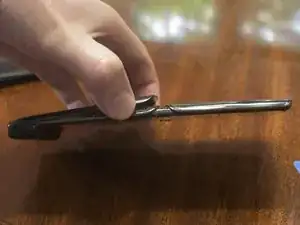
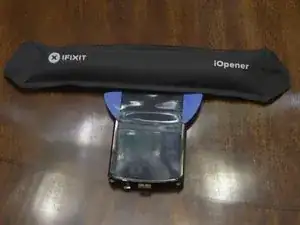
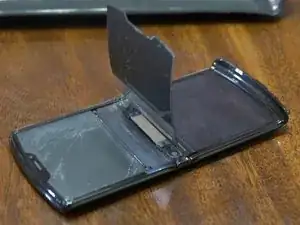
Use the iOpener to warm up the top portion of the Back Cover.
-
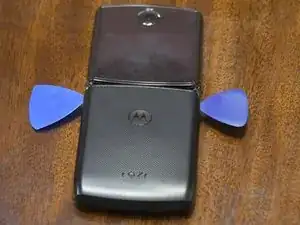
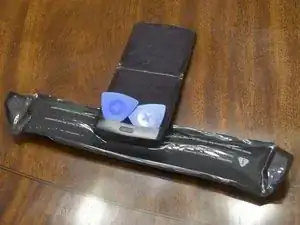
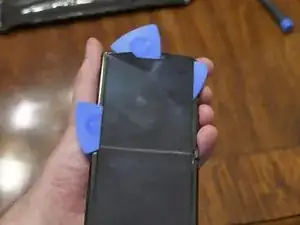
Insert picks between the cover and frame halfway down the phone and slide towards the hinge.
-
Carefully pry up the cover only enough to detach from the adhesive.
-
-
-
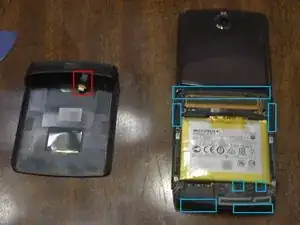
Use the iOpener to warm up the backside of the Back Cover chin.
-
There are several adhesive pads on the lower back and bottom of the phone
-
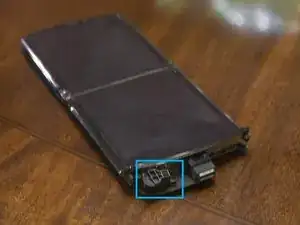
Slide the back cover away from the hinge, careful to not go too far.
-
Disconnect the fingerprint reader cable and fully remove the cover.
-
-
-
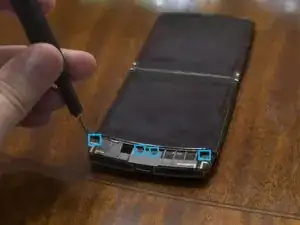
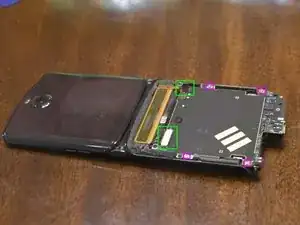
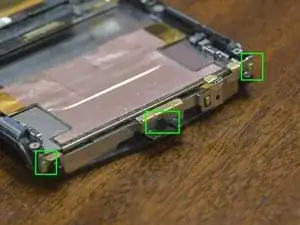
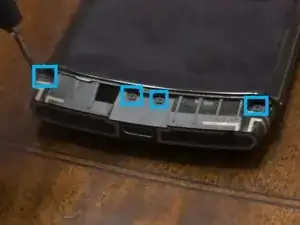
Unscrew 4 T3 screw from the top of the Chin Speaker assembly.
-
Flip the phone over, slide the assembly down slightly, and disconnect the speaker wire.
-
Remove the Chin Speaker Assembly.
-
-
-
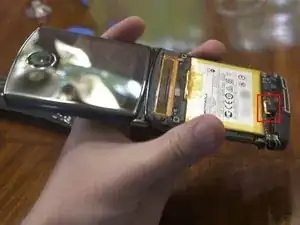
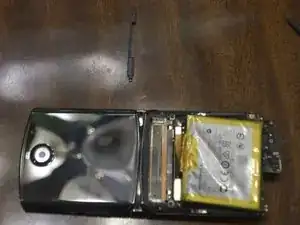
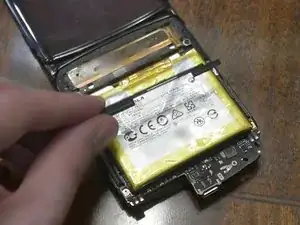
Carefully pry up the battery.
-
The adhesive is roughly a circle around the mid portion of the battery.
-
I used an iOpener to warm up the adhesive, but heating up batteries is not advised.
-
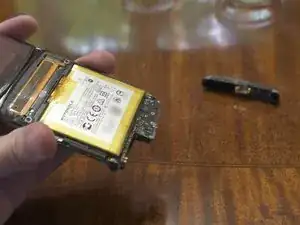
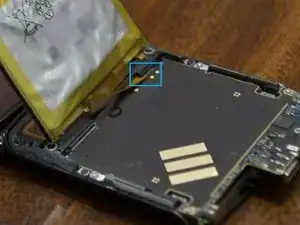
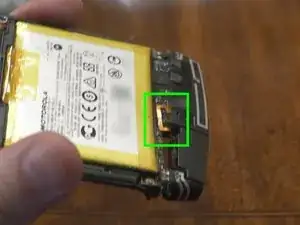
Pry off the small black bar at the top of the battery.
-
Disconnect the battery and remove.
-
-
-
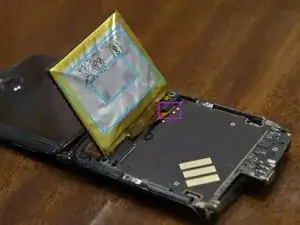
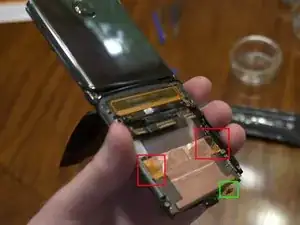
With the inside of the phone facing up, unscrew and disconnect the haptic motor.
-
Disconnect the 1 remaining connector under where the haptic motor was.
-
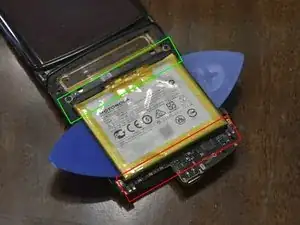
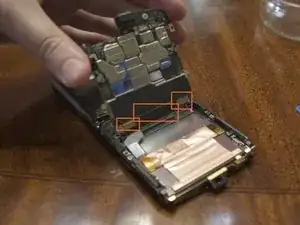
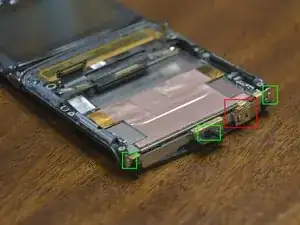
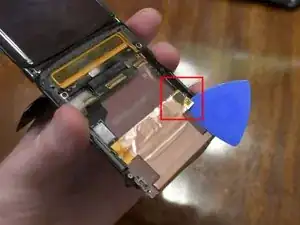
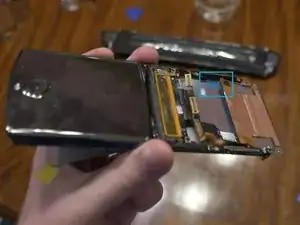
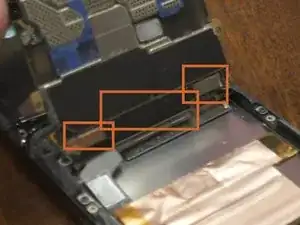
Flip the phone over and pry up the 2 visible connectors.
-
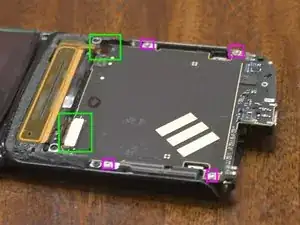
Remove 4 T3 screws.
-
Carefully lift the Motherboard up towards the hinge and disconnect the 3 connectors on the bottom.
-
-
-
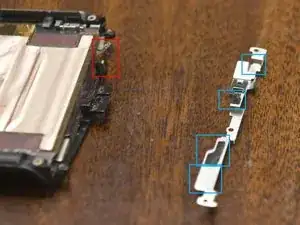
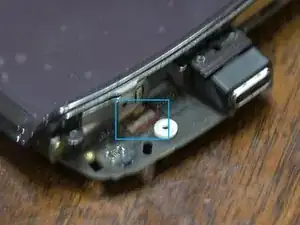
Remove 2 gold T3 screws and 1 black T3 screw from the chin bar.
-
Carefully pry off the Chin Bar.
-
There are adhesive pads all along the bar.
-
I carefully used a heat gun to soften the adhesive.
-
-
-
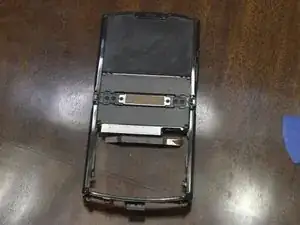
Use the iOpener to warm up the top half of the Main Screen.
-
Carefully pry the Main Screen off the phone body.
-
-
-
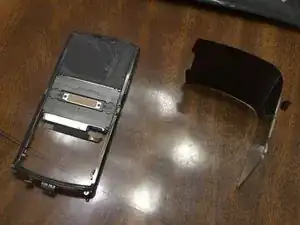
Slide the Main Screen out the bottom of the phone.
-
There is a small cable at the bottom of the screen that it may get caught on, but it can be pressed out of the way.
-
This completes the disassembly process.
-
-
-
Clean any residual adhesive from the top half of the phone.
-
I carefully used acetone.
-
Clean and inspect the rest of the phone as necessary.
-
-
-
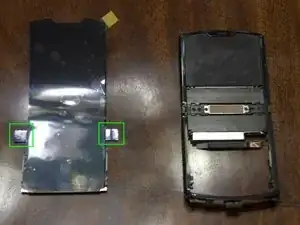
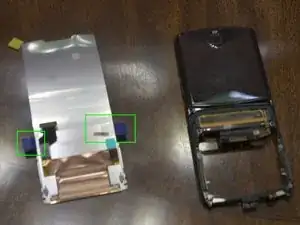
Remove the two tabs from the bottom sides of the Main Screen.
-
Slide the screen most of the way into the frame.
-
Once the screen components are past the catches, remove the protective film from the adhesive pads.
-
Finish sliding the screen up and press down the components.
-
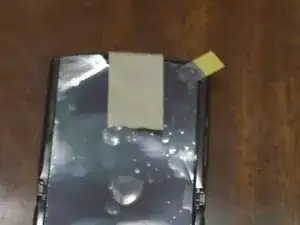
Temporarily tape the screen in place.
-
-
-
Connect 3 bottom connectors to the Motherboard.
-
Press the Motherboard down and towards the hinge until it hooks into the frame.
-
Install 4 T3 screws.
-
Connect the 2 top connectors.
-
Flip the phone over and connect 1 connector.
-
Connect the haptic motor and install with 1 T3 screw.
-
-
-
Connect the Battery to the motherboard.
-
My phone appeared to be unable to make phone calls, but it was functional enough to verify the screen worked properly.
-
Install the black bar over the battery connector.
-
Press the Battery to the motherboard, making sure it is pressed snugly against the black bar.
-
-
-
Connect the speaker cable to the motherboard.
-
Slide the Chin Speaker Assembly fully onto the phone.
-
Flip the phone over and screw in 4 T3 screws.
-
-
-
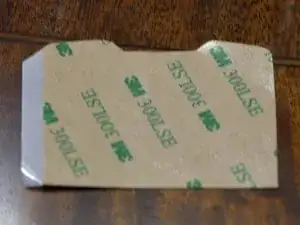
Cut adhesive to shape.
-
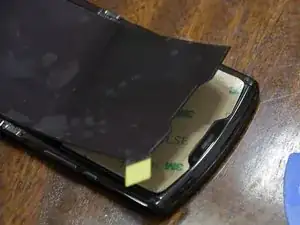
Attach the adhesive to the phone.
-
Press the screen onto the adhesive.
-
-
-
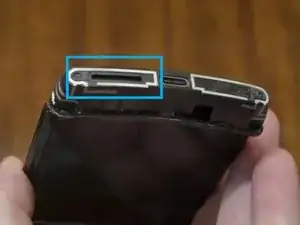
Fix/reattach the adhesive around the speaker opening.
-
Add new adhesive as needed to the phone.
-
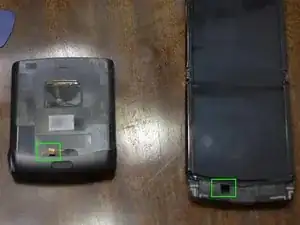
Plug in the cable from the fingerprint sensor.
-
Press the Back Cover up and then press the back together.
-

This should bring the phone back up to a usable state to extent its life.
Note: Keep an eye on the screen to make sure it does not shift or become detached. Also keep an eye on the back cover to make sure it does not slide down or detach.