Introduction

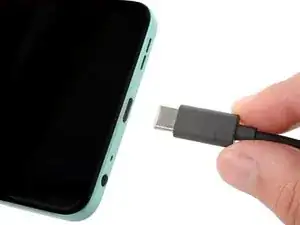
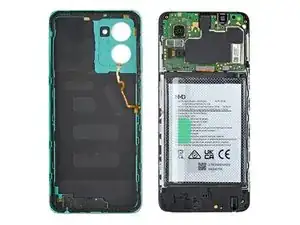
This guide shows how to remove the motherboard and earpiece speaker in your HMD Pulse Pro smartphone.

  1. amt5Vje6BeuotsUv
    • Let your phone's battery drain below 25% before starting this repair. A charged lithium‑ion battery may catch fire if damaged.

    • Unplug all cables from your phone and completely power it down.

  2. sdvvnF1bXJwJwQaX
    sdvvnF1bXJwJwQaX
    rgcQO1FgW2KkZEJb
    SuAbPuX6MmAGRS1P
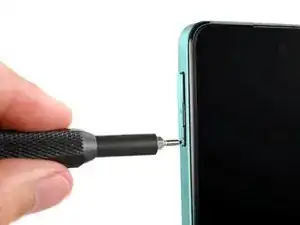
    • Firmly press a SIM eject tool, bit, or straightened paper clip into the SIM card tray hole on the left edge of your phone until the tray ejects.

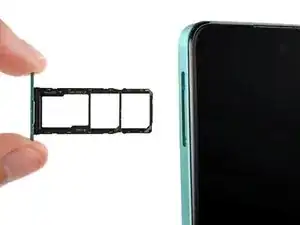
    • Remove the SIM card tray.

    • During reassembly, use the tray's markings to orient and reinsert it properly.

  3. 1CSt2OQlhintMYfI
    1CSt2OQlhintMYfI
    BXJflHpYJrgZKVVb
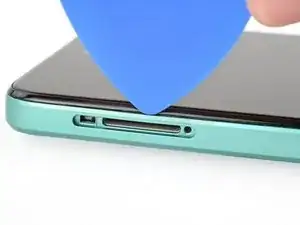
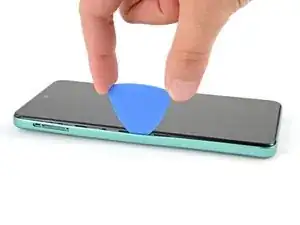
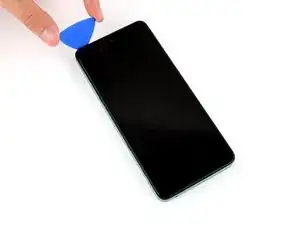
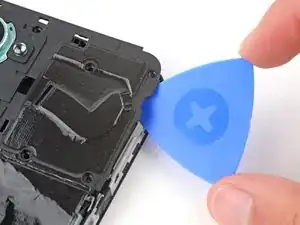
    • Insert the tip of an opening pick between the back cover and frame, at the SIM card tray cutout.

  4. QZGFsbTBats3rxun
    QZGFsbTBats3rxun
    Ycu4coIPYCQTQtB2
    CUN53yHCNHp3LYyP
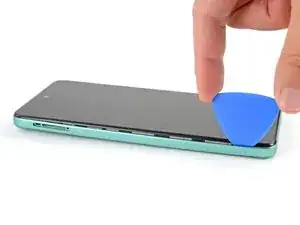
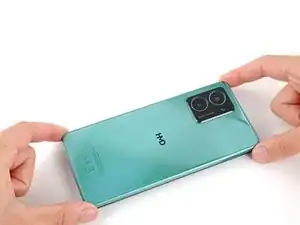
    • Position the opening pick straight down and slide it along the left edge to begin unclipping the back cover.

  5. wKmFbnySTIAkMe3k
    wKmFbnySTIAkMe3k
    cx51TXPlNX2yTRfg
    pI2L3EdMc5ktHYFA
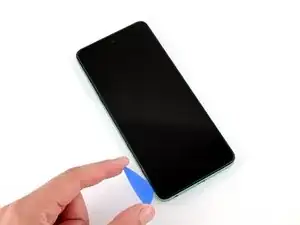
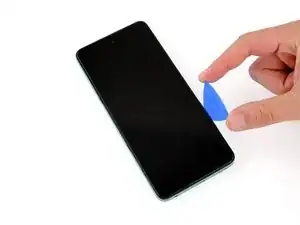
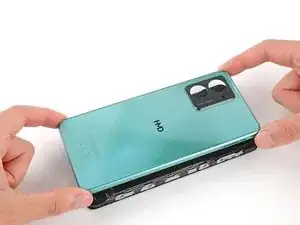
    • Continue sliding the pick around the perimeter of your phone until the back cover is fully unclipped.

    • The corners can be tricky to unclip and may take some force. If you're having trouble, try prying up with the pick.

    • Don't try to fully remove the cover yet, as a delicate cable still connects it to your phone.

  6. VgyOMHJZGGi1ciIC
    VgyOMHJZGGi1ciIC
    bJAS13uVyGuYIJU2
    tksSLEagPKBXaflJ
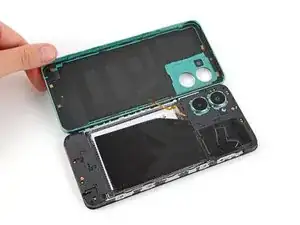
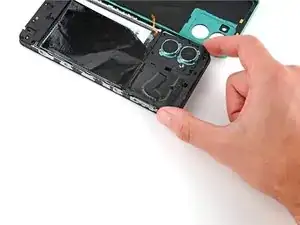
    • Carefully flip your phone over so the back cover is facing up.

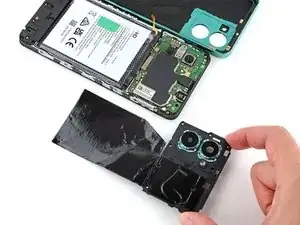
    • Lift the back cover off the frame and flip it over the left edge of your phone, laying the cover flat on your work surface.

    • Be very careful not to strain the back cover's delicate cable.

    • During reassembly, place the back cover onto the frame and firmly squeeze around the perimeter to reengage all the clips.

  7. IC3CW4xgpDF5RWTB
    IC3CW4xgpDF5RWTB
    HutodbbbIVumoGF2
    • Be very careful not to puncture the battery with your screwdriver.

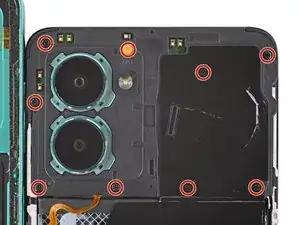
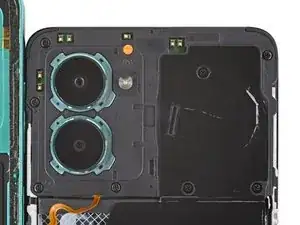
    • Use a Phillips screwdriver to remove the nine 3.6 mm‑long screws securing the motherboard cover.

    • The screw near the center of the top edge is covered by a sticker. Pierce through it with your screwdriver, or use tweezers to remove it.

  8. 6umKvBVOrdMlkBwn
    6umKvBVOrdMlkBwn
    fOrZDobZAFELtvpU
    mhpGg2EVudRtTVNB
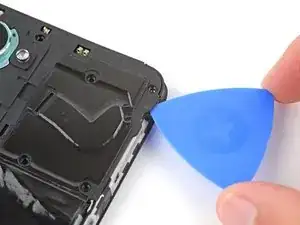
    • Insert an opening pick between the right edge of the motherboard cover and frame.

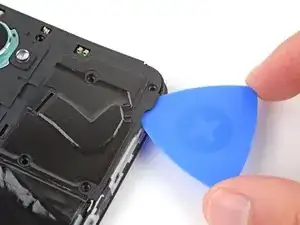
    • Twist the pick to fully unclip the cover.

  9. UsI2ej14SmDE5Xb4
    UsI2ej14SmDE5Xb4
    cVtxISurU2FvlM2e
    • Remove the motherboard shield and its connected graphite sheet.

    • During reassembly, set the motherboard shield into place and press down firmly around the perimeter to reengage the clips.

  10. wcFpiyyYOLJmLK2V
    wcFpiyyYOLJmLK2V
    abFeGexYYU5RQNqt
    • Use the flat end of a spudger to pry up and disconnect the battery press connector from the bottom edge of the motherboard.

    • To reconnect these type of connectors, align the connector over its socket and press down with your fingertip—first at one side, then the other—until it clicks into place. Don't try to force the connector into place, or you may permanently damage it.

  11. ucQj3ErgPIlQsrPd
    ucQj3ErgPIlQsrPd
    P4pLyExcJJPkhxc6
    • Use the flat end of a spudger to pry up and disconnect the back cover press connector from the bottom edge of the motherboard.

  12. LgGrDvTVHL2wENYu
    • Remove the back cover.

  13. gDLMJAVP4mYZWAyG
    gDLMJAVP4mYZWAyG
    pAEUHHMol5XbYKep
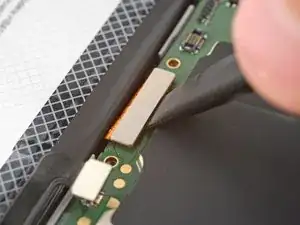
    • Use the flat end of a spudger to pry up and disconnect the display cable press connector, next to the battery cable.

  14. wDBomHTjnYGU6Mrl
    wDBomHTjnYGU6Mrl
    qQ4HnFRGFGXtBksw
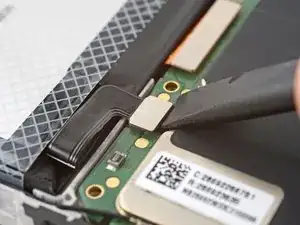
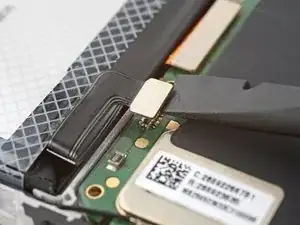
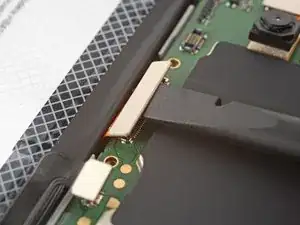
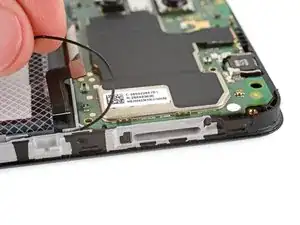
    • Slide one arm of a pair of tweezers under the metal neck of the black antenna cable's connector head, near the top right corner of the motherboard.

    • Lift straight up to disconnect the cable.

    • To reconnect the cable, hold the metal head over its socket and press down with the flat end of a spudger—it should snap into place. If it's not connecting, reposition the metal head and try again.

  15. SNqDkkbFHCyF2SBM
    SNqDkkbFHCyF2SBM
    t3ZSOMVw3HqF3M6N
    • Gently pull the antenna cable out of its two clips on the right edge of the motherboard.

  16. Pifadd3ALEW3Cb5i
    Pifadd3ALEW3Cb5i
    gfxk2OqIPSioXm2e
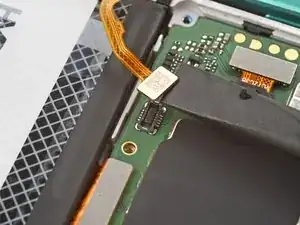
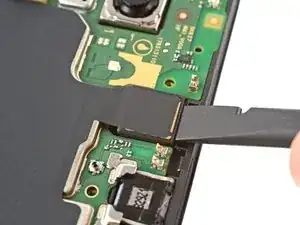
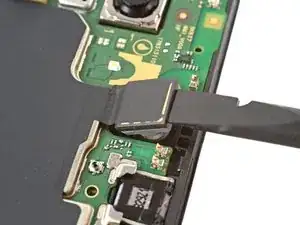
    • Insert the flat end of a spudger under the top edge of the front camera and gently lift it out of its recess.

    • Don't try to remove the camera, as it's connected to the bottom of the motherboard.

    • During reassembly, push down on the front camera until it's snug in its recess.

  17. oirJZKoErXm6GA4A
    oirJZKoErXm6GA4A
    Yst1RTVgTbpO3W1L
    FBWBKO2yfTy6FjJV
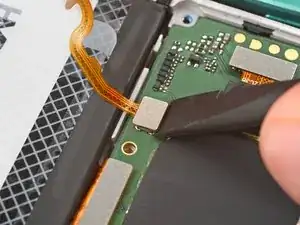
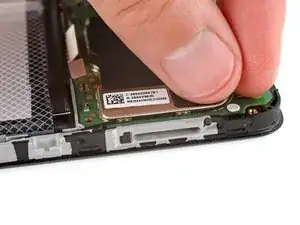
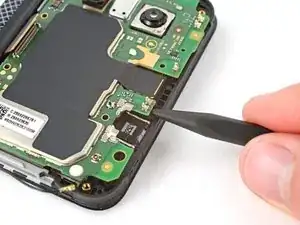
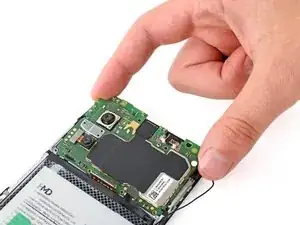
    • Use the point of a spudger to pry up the bottom right corner of the motherboard until it unclips.

    • If the board still feels stuck in place, use the spudger to pry up the top edge.

  18. VEL4UNWim3kNik6h
    VEL4UNWim3kNik6h
    DJedj52U52OYfDAX
    nEpERercQT2RSgDe
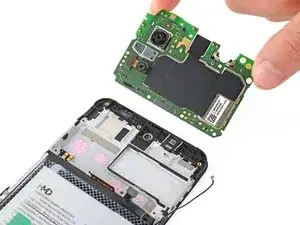
    • Lift and remove the motherboard.

    • The front camera may have disconnected from the bottom of the board during removal. If it did, reconnect its press connector.

    • During reassembly:

    • Make sure the two press connectors on the bottom edge and the antenna cable on the right edge are out of the way so they don't get trapped underneath the board.

    • Lower the board into its recess and press down on the edges to clip it into place.

  19. atyNnOmsOSCSEuve
    atyNnOmsOSCSEuve
    vt6qFwKvZurGWeDK
    VQbRZE5nFi6YnCRM
    • During reassembly:

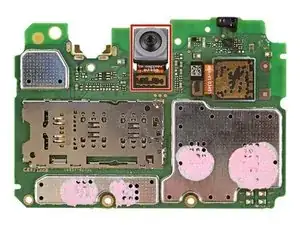
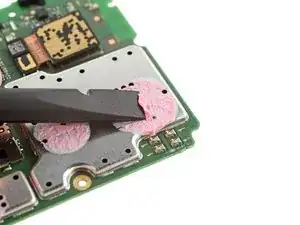
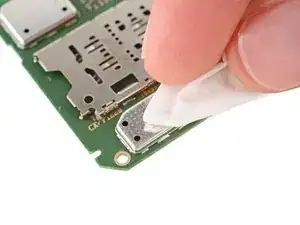
    • Use the flat end of a spudger to scrape off any large chunks of thermal paste from the bottom of the motherboard.

    • Use a pipette or syringe to apply a drop of isopropyl alcohol (>90%) to the thermal paste residue.

    • Wipe away all the residue with a coffee filter or lint-free cloth. Wait one minute to allow the alcohol to completely dry.

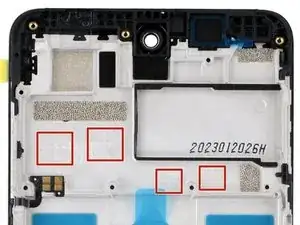
    • Apply a small bead of thermal paste to each of the four plus (+) signs that are lightly engraved in the frame.

  20. ptwA2QrNxagbI1NF
    ptwA2QrNxagbI1NF
    PHMBcJPJLBjEwTMn
    A5GXL2CDdTUBDEkw
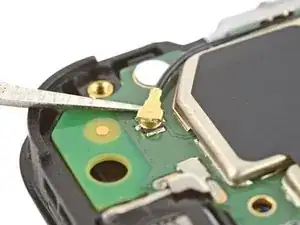
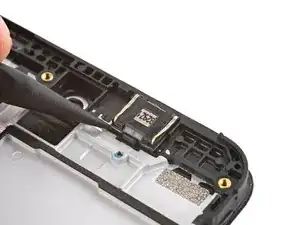
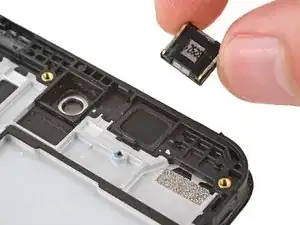
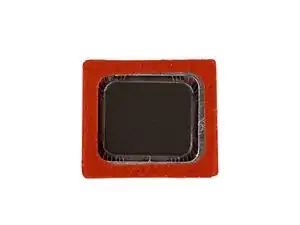
    • Use a spudger to pry up the earpiece speaker from the bottom edge of your phone.

    • Remove the speaker.

    • During reassembly:

    • Remove the plastic liner from the earpiece speaker adhesive on the screen and frame assembly.

    • Push the speaker into place so the raised ends of its metal contact arms are on the bottom edge.

  21. qJ5SXI1MOLUZIEfD
    qJ5SXI1MOLUZIEfD
    uiXik1eegEhDGmPj
    STQjyZmLpsZyYXVp
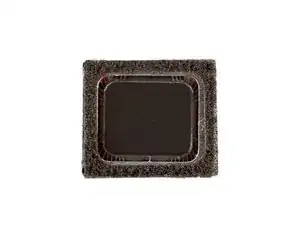
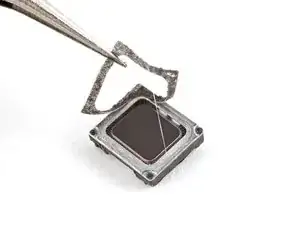
    • Use tweezers to carefully remove the layer of foam adhesive from the perimeter of the earpiece speaker's underside.

    • Discard the adhesive—it can't be reused.

Conclusion

To reassemble your device, follow these instructions in reverse order.

Spencer Day

Member since: 14/09/22

88286 Reputation

0 comments