Introduction
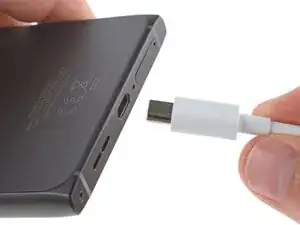
Prereq for removing the motherboard cover and disconnecting the battery.
Tools
-
-
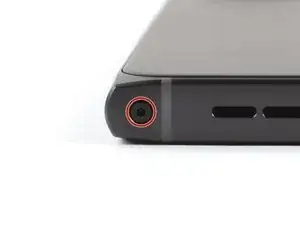
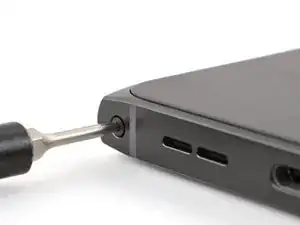
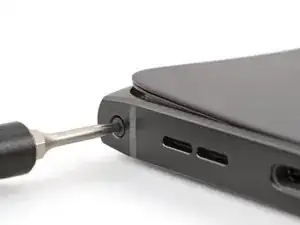
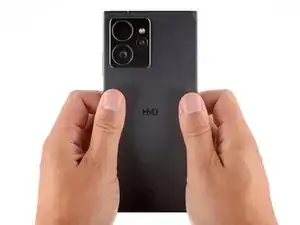
With the back cover facing up, use a T3 Torx screwdriver to turn the screw in the bottom edge counterclockwise until the back cover pops up.
-
-
-
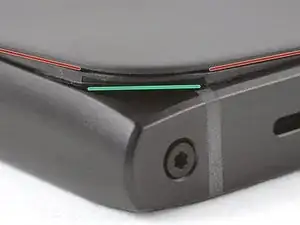
There's a seam just under the back cover panel. Don't insert your tool here.
-
Insert your tool completely under the back cover, so it's between the frame and the underside of the back cover.
-
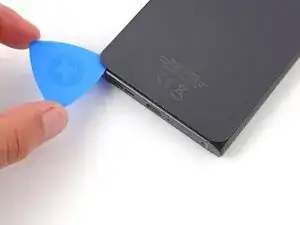
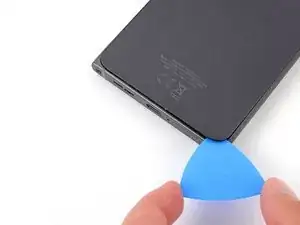
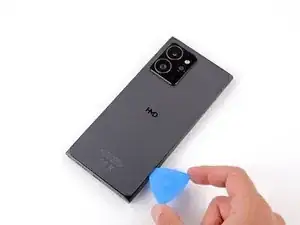
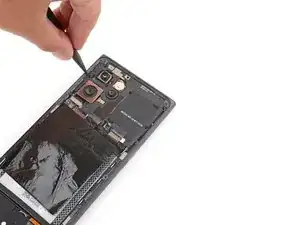
Insert an opening pick under the bottom left corner of the back cover and slide it along the bottom edge to release the clips and separate the adhesive.
-
-
-
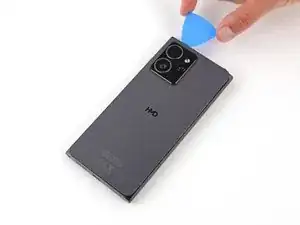
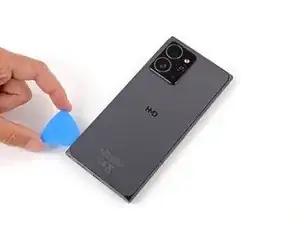
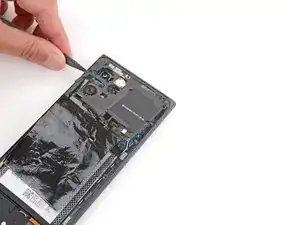
Continue sliding the pick under the perimeter of the back cover to fully separate the clips and adhesive.
-
-
-
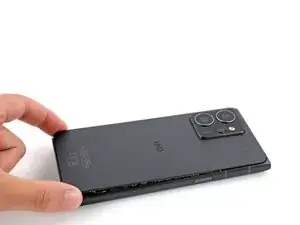
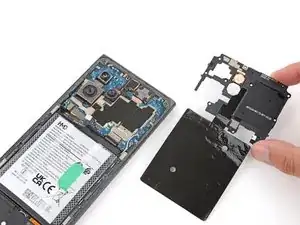
Lift and remove the back cover.
-
Now is a good time to test your phone before sealing it up. Power it on and check that it works. Power it back down before you continue reassembly.
-
Make sure you remove all liners from the underside.
-
Use the flat end of a spudger to press the small cable above the wireless charging coil into place over its alignment posts.
-
Place the back cover onto the frame and firmly squeeze around the perimeter to reengage all the clips.
-
-
-
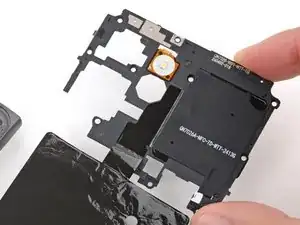
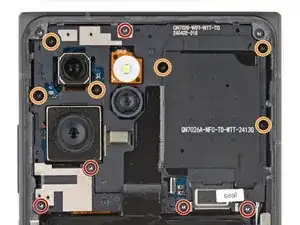
Use a T3 Torx screwdriver to remove the 11 screws securing the motherboard cover:
-
Five 4.9 mm‑long screws
-
Six 3.9 mm‑long screws
-
-
-
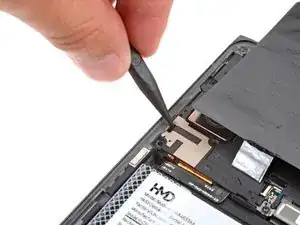
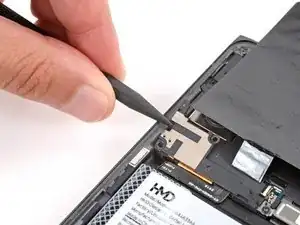
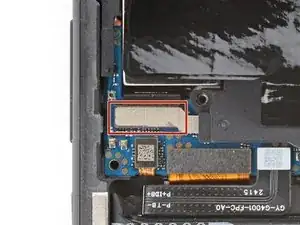
Insert the point of a spudger in the notch on the left edge of the battery connector cover and pry up to release its clips.
-
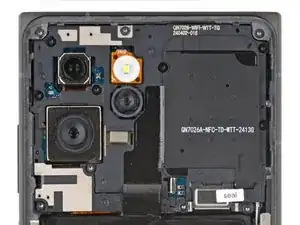
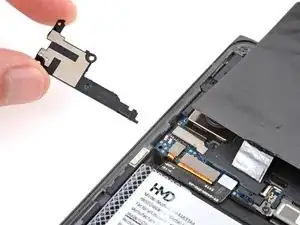
Remove the cover.
-
-
-
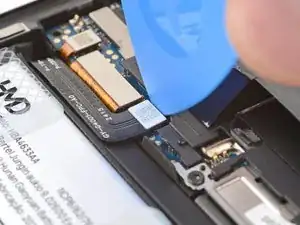
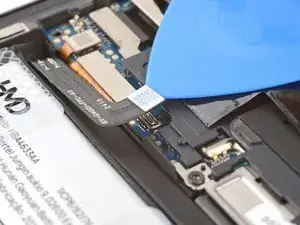
Insert the tip of an opening pick under the top edge of the battery press connector and pry up to disconnect it.
-
Check if the rear camera press connector got disconnected during the previous step. If it did, reconnect it.
-
-
-
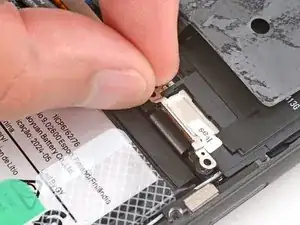
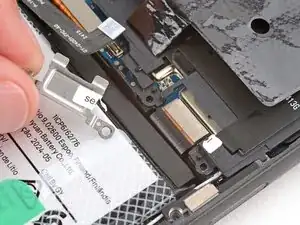
Use your fingers to grip a bottom corner of the screen connector cover.
-
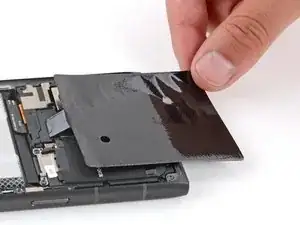
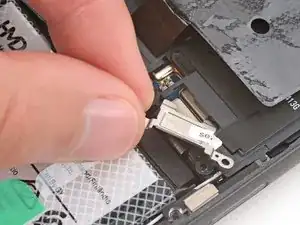
Lift the bottom edge of the cover and pull it towards the bottom of your phone to tear the "seal" sticker and remove the cover.
-
