Introduction
The speakers are necessary output devices that allow us to hear and enjoy audio content. Without the speakers no sound would be produced from the tablet, whether that's music, notifications or calls. A successful replacement removes the need to purchase headphones or temporary Bluetooth technology to accommodate for the lack of sound.
There will be no need to solder throughout any portion of the replacement process. Even so, it is important to be careful with any and all electrical components being modified to ensure a safe and successful repair session!
Tools
Parts
-
-
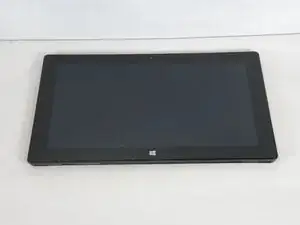
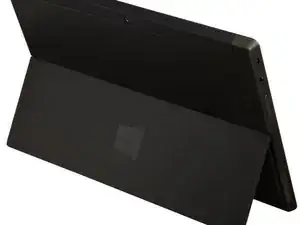
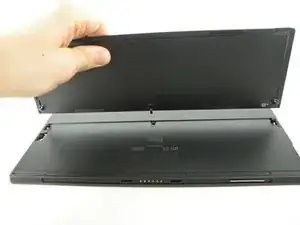
Carefully turn the tablet over so the screen is facing down.
-
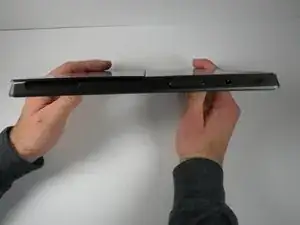
Pull up on the bottom corners to open the stand.
-
-
-
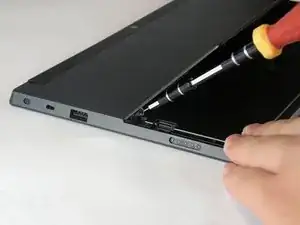
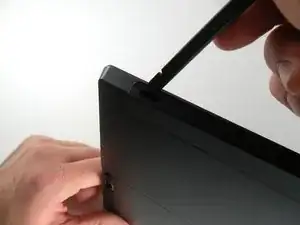
Remove the two 5.1 mm T5 Torx screws.
-
Make sure when removing the screws to be careful to prevent stripping of the head.
-
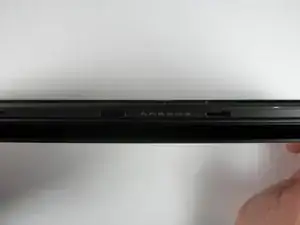
With all the screws removed gently wiggle the stand side to side until the lever in the middle is free, releasing the stand.
-
-
-
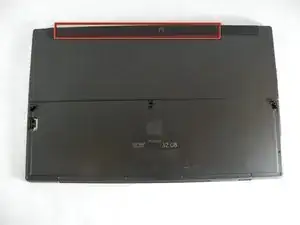
Use a spudger or similar flat headed tool to release the small bezels out lined in the image. Remove the plastic trim covering the camera with the soft flat headed tool.
-
-
-
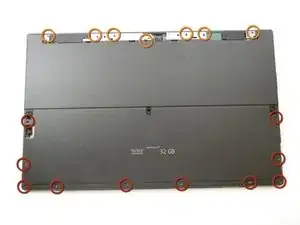
Next, remove the ten 5.92mm T5 torx screws located underneath the kickstand.
-
Remove the seven 5.87mm T5 torx screws located under the camera casing. There is a sticker covering the second screw from the left.
-
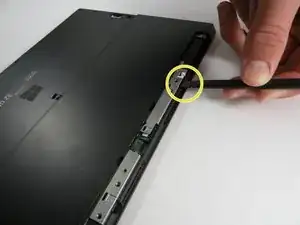
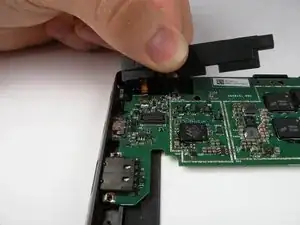
Disconnect the rear cover from the main shell of the system by loosening it with a spudger where the gaps exist.
-
Continue working your way around to each corner and loosen the snap-ons on each side until the rear cover comes off.
-
-
-
Rotate the device 180 degrees so that the bottom of the device is facing you.
-
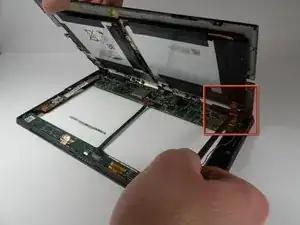
A ribbon connects the battery on the rear cover, to the motherboard. Slowly lift the bottom of the rear cover up until you can see the ribbon.
-
Use a spudger to push the ribbon away from the motherboard and parallel to the motherboard in order to remove the ribbon.
-
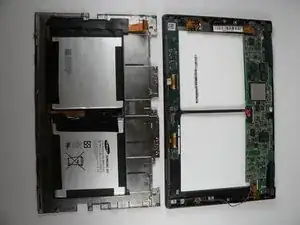
Separate the rear cover by lifting it up away from the main system.
-
-
-
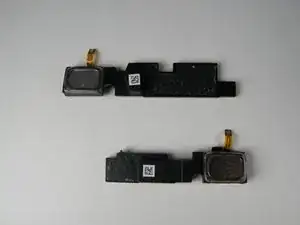
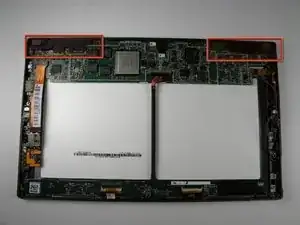
Locate the two speakers on the left and right sides of the motherboard.
-
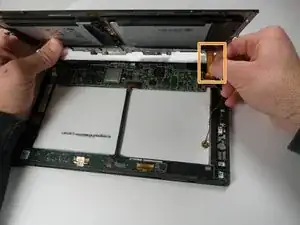
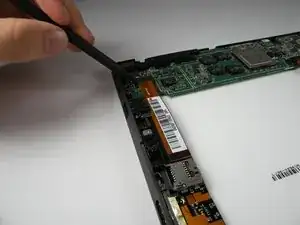
Use a spudger to remove the orange ribbon connected to the motherboard located on the left.
-
-
-
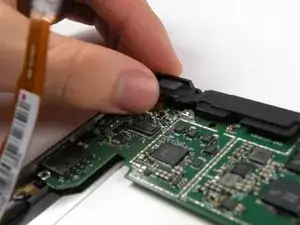
On the motherboard, locate where the orange ribbon of the speakers is connected to the motherboard and flip the white switch upwards so that it is perpendicular to the motherboard.
-
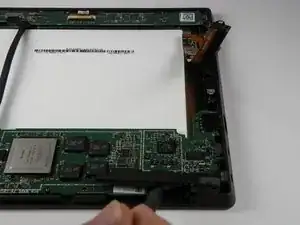
Loosen the speakers from the motherboard using a spudger.
-
Gently pull out the speaker's electrical ribbon from the motherboard for both speakers.
-
To reassemble your device, follow these instructions in reverse order.
Thes instructions should include publish date and which generation of Surface they are based on. It’d be unfortunate if lead someone to disassemble a device that has changed.
BigMo -