Introduction

This guide will go over how to remove the screen/display on the Microsoft Surface Pro 5, also known as the Microsoft Surface Pro (2017).

  1. 1D52DTmCJjhGfUnN
    • Before you begin, discharge the Surface Pro's battery below 25%. A charged lithium-ion battery can catch fire and/or explode if accidentally damaged during the repair.

    • The display is strongly glued to the frame of the device.

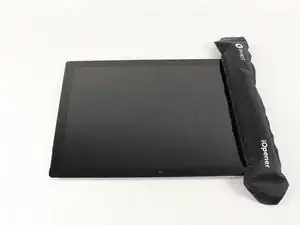
    • To remove the display, first soften the adhesive by applying heat. You can use a heat pad, heat gun, or iOpener. In a pinch, a hair dryer can also work.

    • Be careful when using a heat gun, as too much heat can permanently damage the display and/or battery.

    • Steadily and evenly heat the perimeter of the display until it's too hot to touch, and try to maintain that temperature for several minutes.

  2. MiUNUVYa41ryXMPx
    MiUNUVYa41ryXMPx
    KRdRVA2RHLTtclHY
    yppINHAEbZMkdjiS
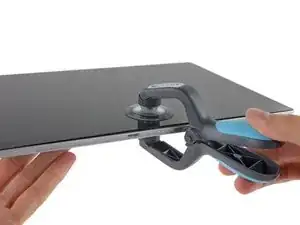
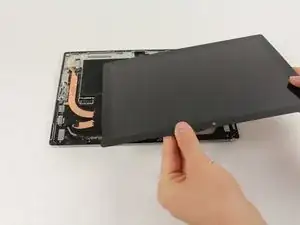
    • Use a suction cup or an iSclack to pull up on the glass and create a slight gap between the glass and the metal frame.

    • If your display is badly cracked, a suction cup may not adhere. It may help to first cover the display with a layer of packing tape. Alternatively, you can superglue your suction cup to the display.

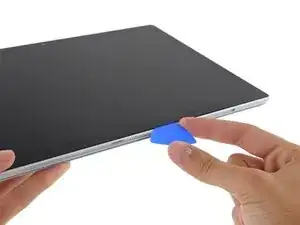
    • Insert an opening pick into the gap.

    • Slide the pick around the sides and bottom of the display to cut the adhesive. Apply more heat as needed.

    • Work carefully—the glass is thin and will crack easily if you try to force it.

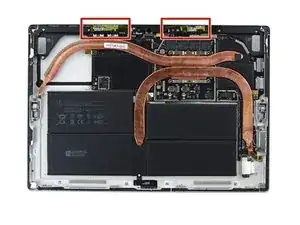
    • Separate the top edge last. There are antennas on both sides, so be careful not to damage them. Use more heat or a bit of isopropyl alcohol to help weaken the adhesive.

  3. kVVUJmOUFDRR1LTg
    kVVUJmOUFDRR1LTg
    RhqwPWgTqS6sNBKr
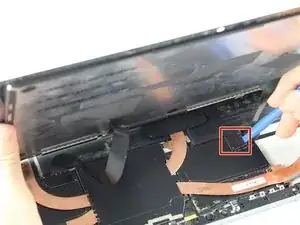
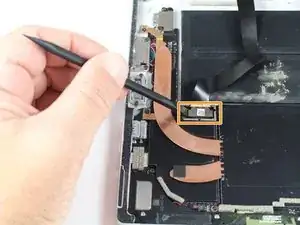
    • Pry up the metal shield covering the smaller ribbon cable port using the plastic opening tool.

    • Disconnect the smaller ribbon cable by prying up with the nylon spudger.

  4. KWX2QjJWsEg5JTPh
    KWX2QjJWsEg5JTPh
    NppFDIw2UQW3MRrP
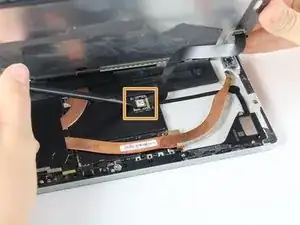
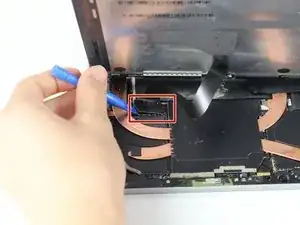
    • Pry up the metal shield covering the larger ribbon cable port using the plastic opening tool and remove.

    • Disconnect the larger ribbon cable by prying up with the nylon spudger.

  5. 4oRvS13pnKdwTODB
    • Remove the screen from the rest of the device .

    • To replace the adhesive securing the screen, carefully remove any old adhesive from both the device and the back of the display. Clean and prep the surface with isopropyl alcohol and a lint-free cloth, swiping the cloth in one direction (not back and forth). Apply a strong double-sided tape, such as 2 mm Tesa 61395.

Conclusion

To reassemble your device, follow these instructions in reverse order.

Caleb Granch

Member since: 02/10/17

990 Reputation

0 comments