Introduction
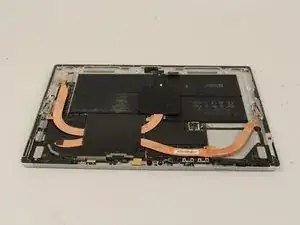
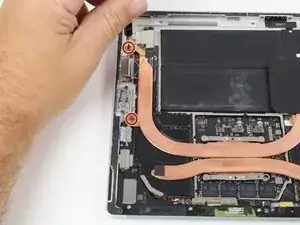
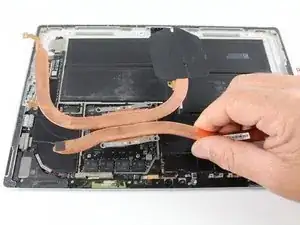
This guide will go over how to remove the heat sink on the Microsoft Surface Pro 5. Removal of the heat sink will be necessary to provide ease of access for many of the components within the Surface Pro 5. It is identified by the four prominent copper bars that span the interior of the device, converging over the CPU. The iOpener is used in this guide, but a hair dryer or heat gun could also be used. See instructions for the iOpener here.
Tools
Parts
-
-
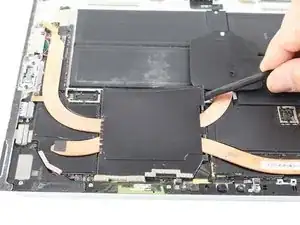
Pry off the protective metal shield covering the main processor using either the nylon spudger or the plastic opening tool.
-
-
-
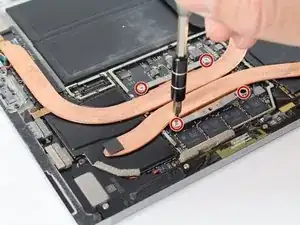
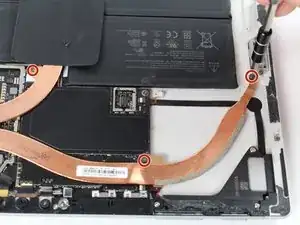
Remove the heat sink from the device by grabbing one of the copper bars with your fingers and lifting straight up.
-
To reassemble your device, follow these instructions in reverse order.
