Introduction
The official guide has been updated and can be found here. This guide is archived for historical purposes.
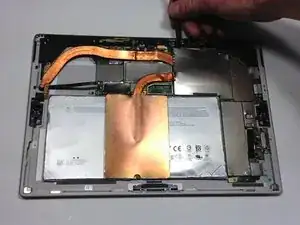
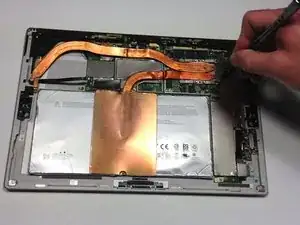
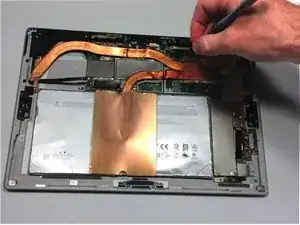
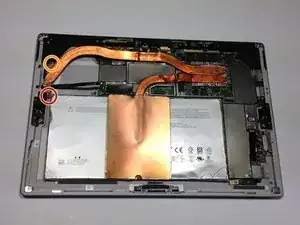
The Surface Pro 4's heat sink cooling system consists of copper tubing and a connected copper plate. Here is how to remove it for replacement or to access the components below.
-
-
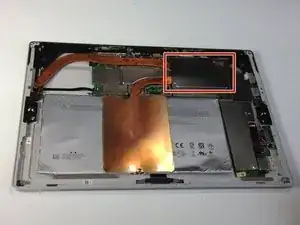
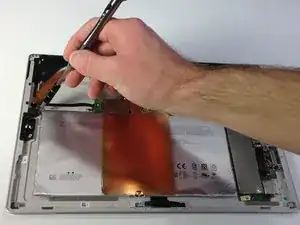
Both sections of the heat sink are connected to the motherboard via a panel which is covered by a metal casing.
-
Remove the casing by prying around the edges and then lifting the entire piece once it is loose.
-
-
-
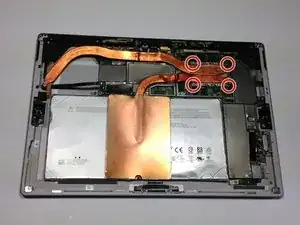
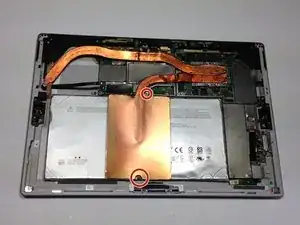
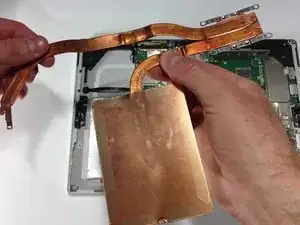
Remove the four 1.5mm Torx T5 screws holding the main body of the heat sink to the motherboard
-
-
-
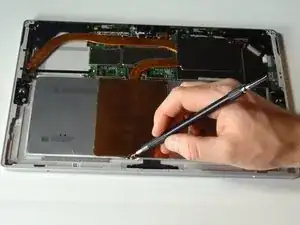
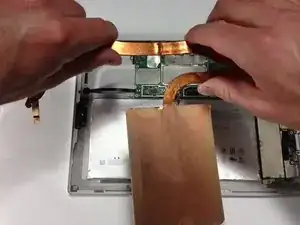
Remove the 1.5mm Torx T4 screw holding the heat sink tubing to the frame of the device.
-
Remove the 3.0mm Torx T4 screw.
-

To reassemble your device, follow these instructions in reverse order.