Introduction
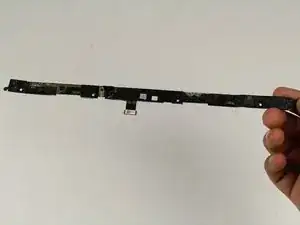
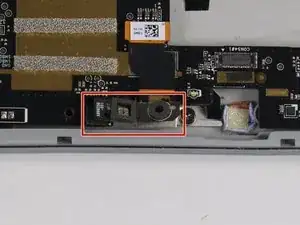
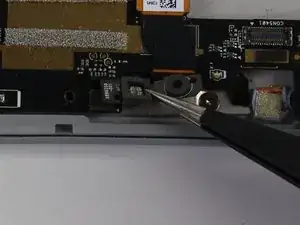
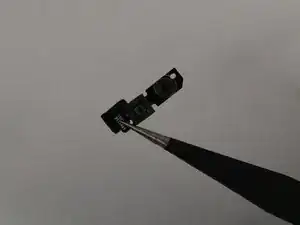
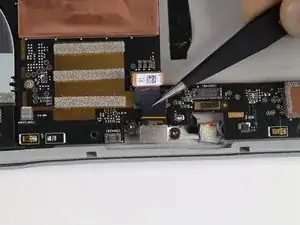
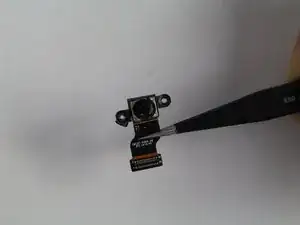
This guide will teach you how to safely remove your rear camera from you Surface Pro 3. The guide starts by removing the screen and digitizer and then goes right into removing the rear-facing camera.
Tools
Parts
-
-
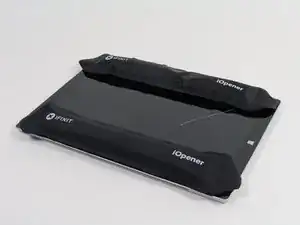
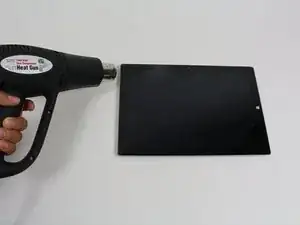
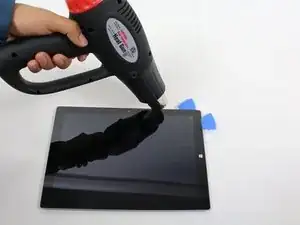
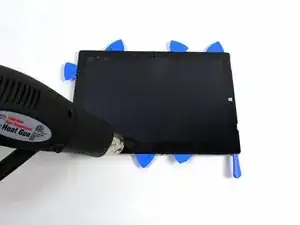
To remove the display, first soften the adhesive by applying heat. You can use a heat pad, heat gun, or iOpener. In a pinch, a hair dryer can also work.
-
Steadily and evenly heat the perimeter of the display until it's too hot to touch, and try to maintain that temperature for several minutes.
-
-
-
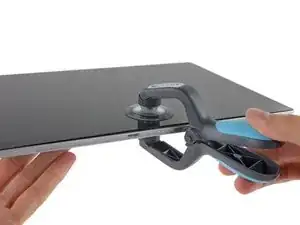
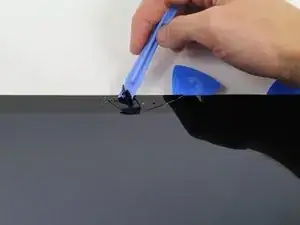
Use a suction cup or an iSclack to pull up on the glass and create a slight gap between the glass and the metal frame.
-
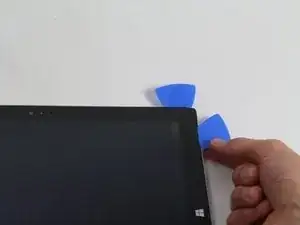
Carefully insert an opening pick into the gap between the screen and the device to cut the adhesive.
-
Slide the pick around the sides and bottom of the display to cut the adhesive. Apply more heat as needed.
-
-
-
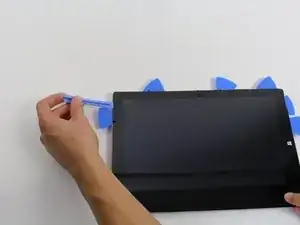
Continue to heat sections of the screen with the heat gun.
-
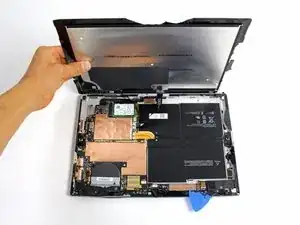
As you make your way around the screen with the heat gun, use the plastic opening tool and the opening picks to pry the screen loose.
-
-
-
Remove the 3 mm T3 Torx screw securing the battery connector, and disconnect the battery connector.
-
-
-
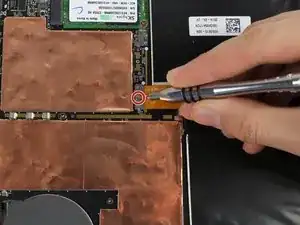
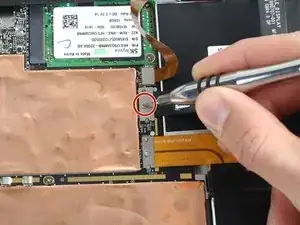
Remove the single 4 mm T3 Torx screw securing the display cable.
-
Lift the connector to disconnect the cable.
-
-
-
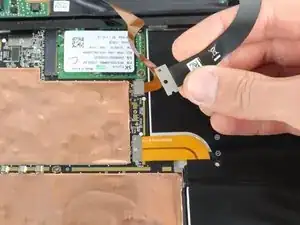
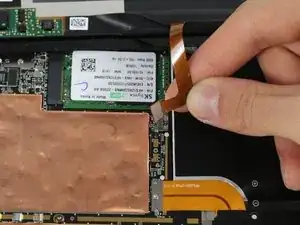
Grasp the orange cable connected to the silver connecter.
-
Carefully lift the orange cable up until the connecter pops off.
-
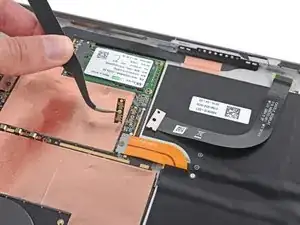
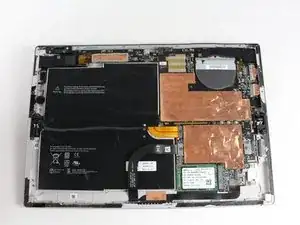
The screen will now be completely disconnected.
-
-
-
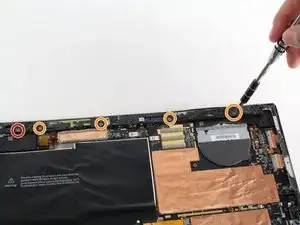
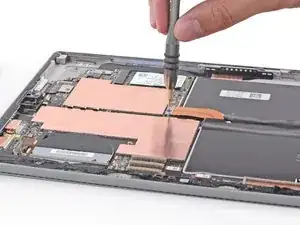
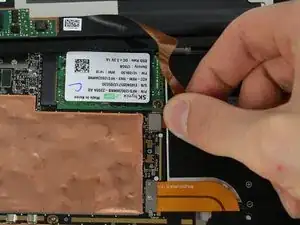
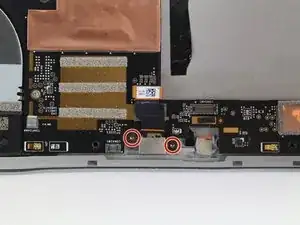
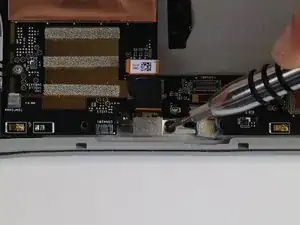
Remove the 4mm screw with the T3 Torx Screwdriver.
-
Remove the four 7mm screws with the T3 Torx Screwdriver.
-
To reassemble your device, follow these instructions in reverse order.
I just replaced both my screen and battery. It took four hours and a couple of wrong turns but I was successful learning what to do next time. However, I am not sure I would do it again.
It takes more heat than one imagines - all most too much and made me queasy fearing I was going to damage something. I would say it actually too hot and likely to damage something so be careful and do not prolong the removal. To get started I used a glass top warming/buffet heating tray set to about 200 degrees. I turned the surface pro glass side down before turning it one so it would heat gradually with the tray. I let it heat for 15 minutes. In end, I am not sure it helped or not by starting this way. This was not an easy removal so I shudder to think how worse it would have been if this didn’t help. I used a variable heat gun for the remaining steps. My screen was broken so breaking it further while nerve racking was not going to be catastrophic.
michael jones -
I attempted battery replacement, but during disassembly, i damaged the display by inserting the picks to far, and separating the display circuitry from the glass.
I used a Milwaukee precision hot tool model 1400, which has only a fixed heat setting, but it worked perfectly to soften the adhesive.
(I was very careful to heat the entire glass panel by playing the heat gun over the entire surface so that it would expand uniformly.
Robert Gerlach -
I just broke mine during the heating process as well…. The glue at the corner was so strong that I cant even slip a blade into the edge… Then when keep applying heat using a hair dryer at low tempreture the glass expanded too much and broke……
C Y Wong -
If you have never done this repair, YOU WILL SHATTER THE SCREEN! I've repaired dozens of these over the last several years for my client's and I still shatter them. It's a 98% probability that you will break the glass; it's very thin and shatters easily. Be prepared.
Gregg Stanley -