Introduction

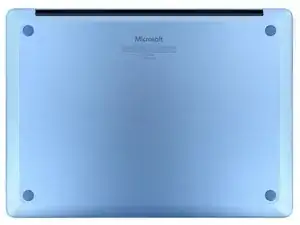
Follow this guide to replace the right speaker in your Microsoft Surface Laptop 7 (13.8‑inch).

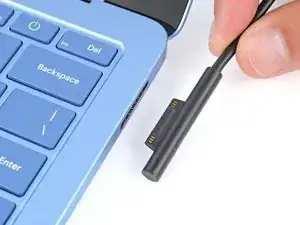
The right speaker is on the same side as the Surface Connect port.

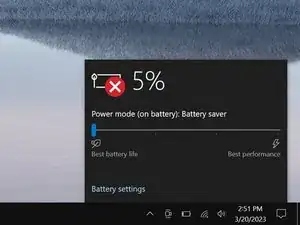
If your speaker sounds crackly, like static, or isn't making noise, it may be damaged and in need of replacement.

  1. pLaoFHetRFEVh2sU
    pLaoFHetRFEVh2sU
    DgSxy3daBSoXIZNA
    L2adWoXTRTli32DM
    • Before starting this repair, allow your laptop's battery to drain below 25%. A charged battery may catch fire if damaged.

    • Unplug all cables and fully shut down your laptop.

  2. 1OLhjNJLTLJMcARr
    1OLhjNJLTLJMcARr
    hlS6l4Hts6TMZLW6
    jRZjDS4oJSaQwrwL
    • Close your laptop and lay it down so the rubber feet are facing up.

  3. s3FLbRNojPmjUY2b
    s3FLbRNojPmjUY2b
    NWxYixQhNN4mWDcV
    YJsxktBQKPUGk1Dt
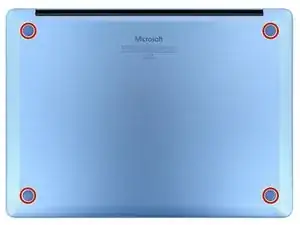
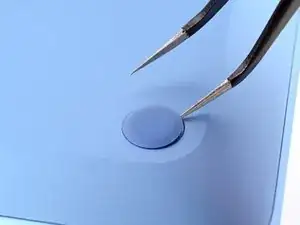
    • Gently slide one arm of your angled tweezers into the recess near the upper right edge of one of the feet.

    • You can also use the point of a spudger. However, you're more likely to damage the foot, if you're reusing it.

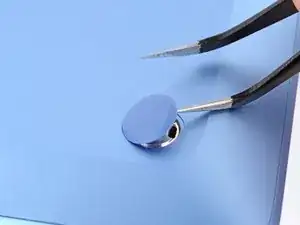
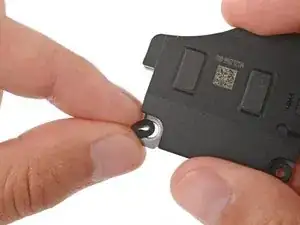
    • Use your tweezers to pry up and remove the foot.

    • The feet may eject very quickly—be careful not to lose them.

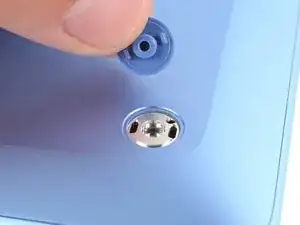
    • Repeat the process to remove the remaining feet.

    • To install a foot, align the pegs on the bottom with their cutouts in the frame and press the foot into place.

  4. 4FRVeiqJuxvBwVUm
    4FRVeiqJuxvBwVUm
    KjXi2r4q3vI1hdQ5
    • Throughout this repair, keep track of each screw and make sure it goes back exactly where it came from.

    • While the Surface Laptop 7 uses Torx Plus screws, standard Torx bits work. Make sure to apply constant, downward force to prevent stripping.

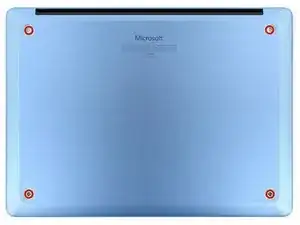
    • Use a Torx Plus 5IP screwdriver to remove the four 4.5 mm‑long screws (with washers) securing the lower case.

  5. XQ4GNyTIlnlOSHPB
    XQ4GNyTIlnlOSHPB
    ExteNkfEv6lAfa2d
    AbvbbSICZkhxIc2E
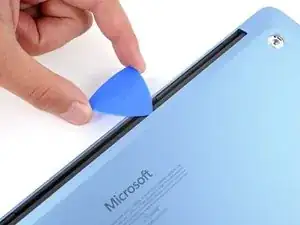
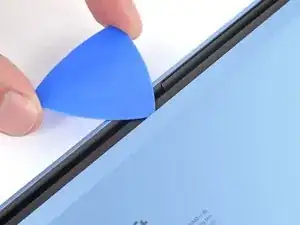
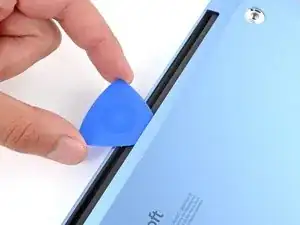
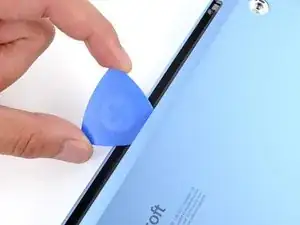
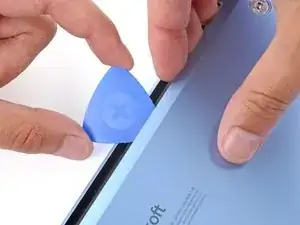
    • Insert the tip of an opening pick under the top edge of the lower case, about an inch (2.5 cm) to the left or right of the Microsoft logo.

    • Don't insert the pick near the outer edges or you'll damage the antenna bar.

  6. mSPYSPoSwErGrPXn
    mSPYSPoSwErGrPXn
    WbchX4FijRPxW1WQ
    Ir1axlIHCHJR616s
    • Twist the pick to lift the lower case enough that you can grip it with your hand.

  7. KopKb1IkGwVL5JoJ
    KopKb1IkGwVL5JoJ
    Lf4lfn4HIoWSJkpR
    WLZRNwAGjgpftyVG
    • Lift the lower case and remove it.

  8. OjCKNNVR2xXenJSl
    OjCKNNVR2xXenJSl
    jWiZnTFmd5U5JJmr
    mVNDMTVF3IdyyGmt
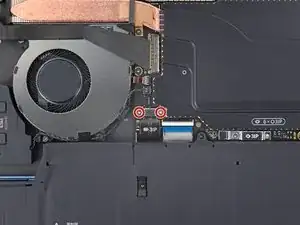
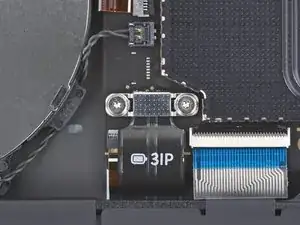
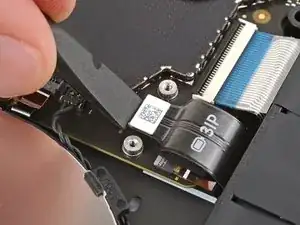
    • Use a Torx Plus 3IP screwdriver to remove the two 2.3 mm‑long screws securing the battery connector cover.

  9. BLF3YGwZV1bMPsMw
    BLF3YGwZV1bMPsMw
    T64XNCKZAPFo2L5K
    • Use tweezers or your fingers to remove the battery connector cover.

  10. pJkcq32giDBXdOky
    pJkcq32giDBXdOky
    PaVbSWLlu6dokZaS
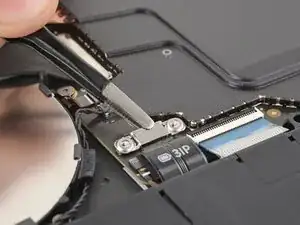
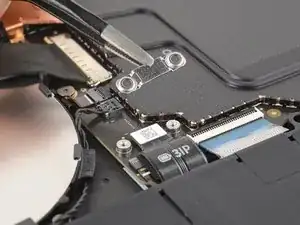
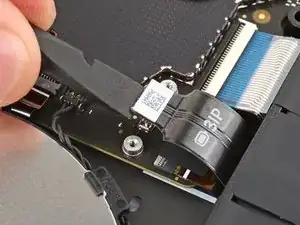
    • Insert the flat end of a spudger under the top edge of the battery press connector and pry up to disconnect it.

    • To reconnect a press connector, align it over the socket and gently press down on one side until it clicks into place, then press down on the other side. It may take a few tries to align the connector—don't try to force it into place.

  11. hcEq1CYROFepw3LM
    hcEq1CYROFepw3LM
    QvObHUsyBvracoXB
    RWcXZbMFsPpSYDF4
    • The right speaker will be on your left-hand side, since the laptop is laying upside down.

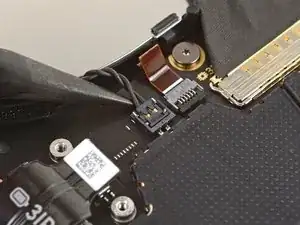
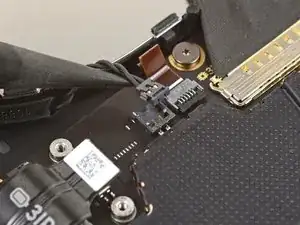
    • Slide the point of a spudger under the right speaker connector and gently lift it straight up and out of the socket.

    • Don't lift on the cables themselves, or you may damage them.

    • During reassembly, hold the connector over its socket and press down gently with the flat end of a spudger until it clicks into place. If you're having trouble, don't try to force the connector into its socket—reposition it and try again.

  12. 4gxxyOejrupijga2
    4gxxyOejrupijga2
    LEBhESKa5HEsavSH
    LJJTnNBX53xLYlIu
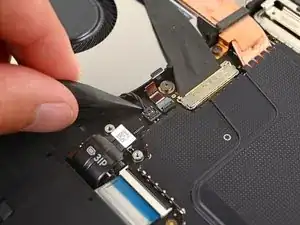
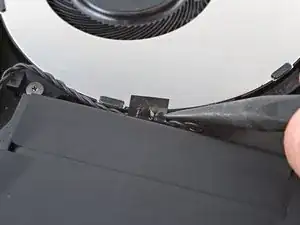
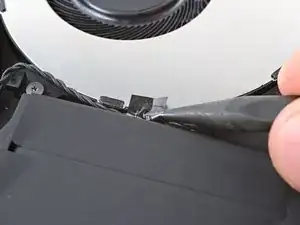
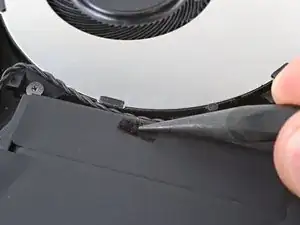
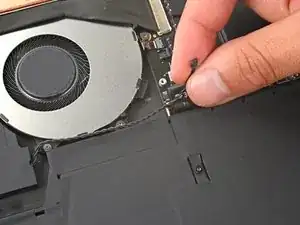
    • Use the point of a spudger to separate the tape from the bottom of the fan and move it out of the way of the speaker cable.

  13. L2MWZYF25tfcksZS
    L2MWZYF25tfcksZS
    HchK13BZrtUrudAL
    B2XKMBGxBwVGxdFV
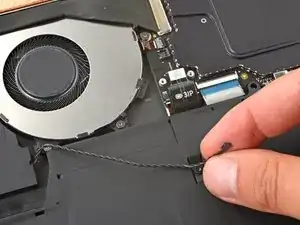
    • Use your fingers to grip the speaker cable and gently guide it out of the clips along the edge of the fan.

  14. Xu6ZXRMSHkmToMWg
    Xu6ZXRMSHkmToMWg
    aZb36OtR4hxmRbLG
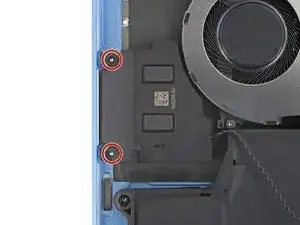
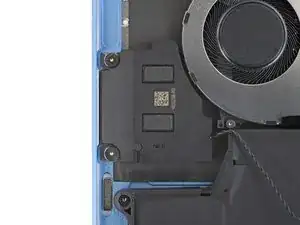
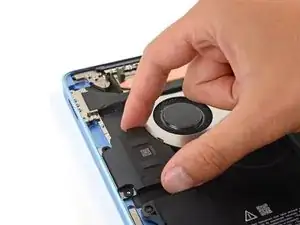
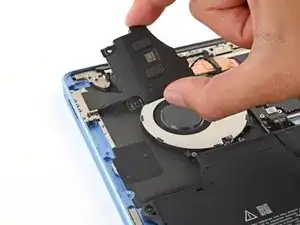
    • Use a Torx Plus 3IP screwdriver to remove the two 3.2 mm‑long screws securing the right speaker.

  15. 4DWInTOo4ZyqMwKf
    4DWInTOo4ZyqMwKf
    EwoKqRDeMoXEhc4F
    • Remove the speaker.

    • During reassembly, place the speaker onto the frame so the grommets on the left edge go over their screw posts.

  16. TgIB3UICGFTASqtY
    TgIB3UICGFTASqtY
    kxn421kxUmqV5hAW
    ToW2BcGlpNuvEDEx
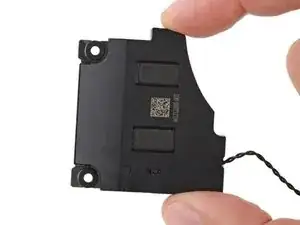
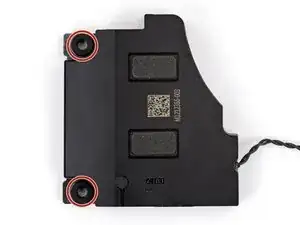
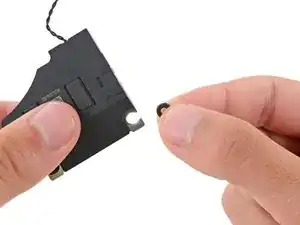
    • Make sure your replacement speaker has two rubber grommets installed on its left edge.

    • If it doesn't, remove the grommets from your old speaker and install them in your replacement.

    • Installing these can be tricky. Use your fingers to pinch the grommet and slide it into its notch.

Conclusion

To reassemble your device, follow these instructions in reverse order.

Take your e-waste to an R2 or e-Stewards certified recycler.

Repair didn’t go as planned? Try some basic troubleshooting, or ask our Answers community for help.

Spencer Day

Member since: 14/09/22

88286 Reputation

0 comments